203
Basic Programmable Stitch Creator Operations
Basic Programmable Stitch Creator Operations
Creating Motif Stitch Pattern
Now, we will create a new motif stitch pattern. Motif stitch patterns are created in Motif mode.
Step 1 Enter motif mode
Start up Programmable Stitch Creator.
Click Mode, then Motif.
→ The application enters Motif mode.
Step 2
Shaping a single line to create motif
stitch pattern
In Motif mode, you can create original patterns by
changing the shape of a single line. These patterns
can be applied in line sewing and region sewing in
Layout & Editing, and region sewing in Design
Center.
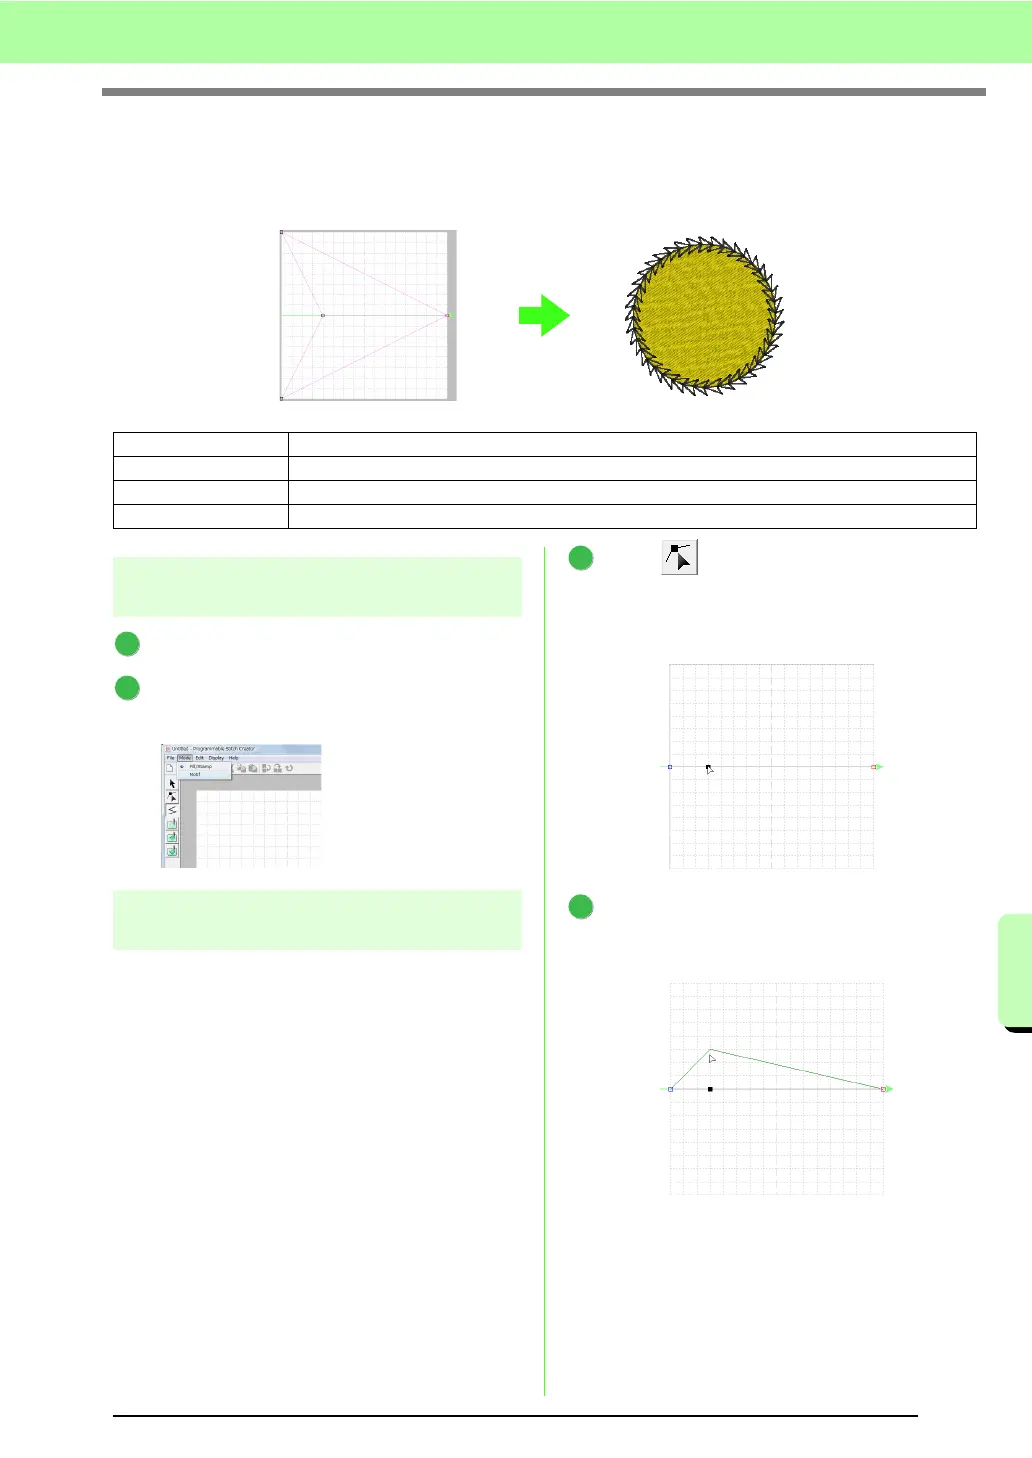
Click , then click the base line between
the start point (blue square) and end point (red
square).
→ A block square appears.
Drag the point.
The line that moves turns green when moving
a point.
Step 1 Enter motif mode
Step 2 Shaping a single line to create motif stitch pattern
Step 3 Saving the created motif stitch pattern
Step 4 Using the edited motif stitch pattern in Layout & Editing
1
2
1
2
 Loading...


