WARNING: DRILLING HOLES IN THE WALL OF A FIRE SAFE REDUCES THE
EFFECTIVENESS OF THE FIRE-RESISTANT MATERIAL. IF HOLES ARE DRILLED
IN THE SAFE BODY, HOLES MUST BE SEALED WITH A HIGH-TEMPERATURE
SILICONE CAULKING. FAILURE TO DO SO MAY ALLOW HOT GASES TO ENTER
YOUR SAFE DURING A FIRE, WHICH COULD DAMAGE YOUR VALUABLES.
WARNING: WHEN USING A DRILL OR OTHER POWER TOOLS, ALWAYS USE
EYE AND EAR PROTECTION AS WELL AS A DUST MASK.
ANCHORING TO THE FLOOR
CONCRETE FLOOR
IMPORTANT: PRE-DRILL THE PASS-THROUGH HOLES IN THE SAFE BACK
AND FLOOR PRIOR TO ANCHORING THE SAFE TO THE FLOOR OR WALL
.
1 Remove the safe interior shelving, floor panel and elevation brace.
See removal instructions under “Shelf Adjustment”on page 16.
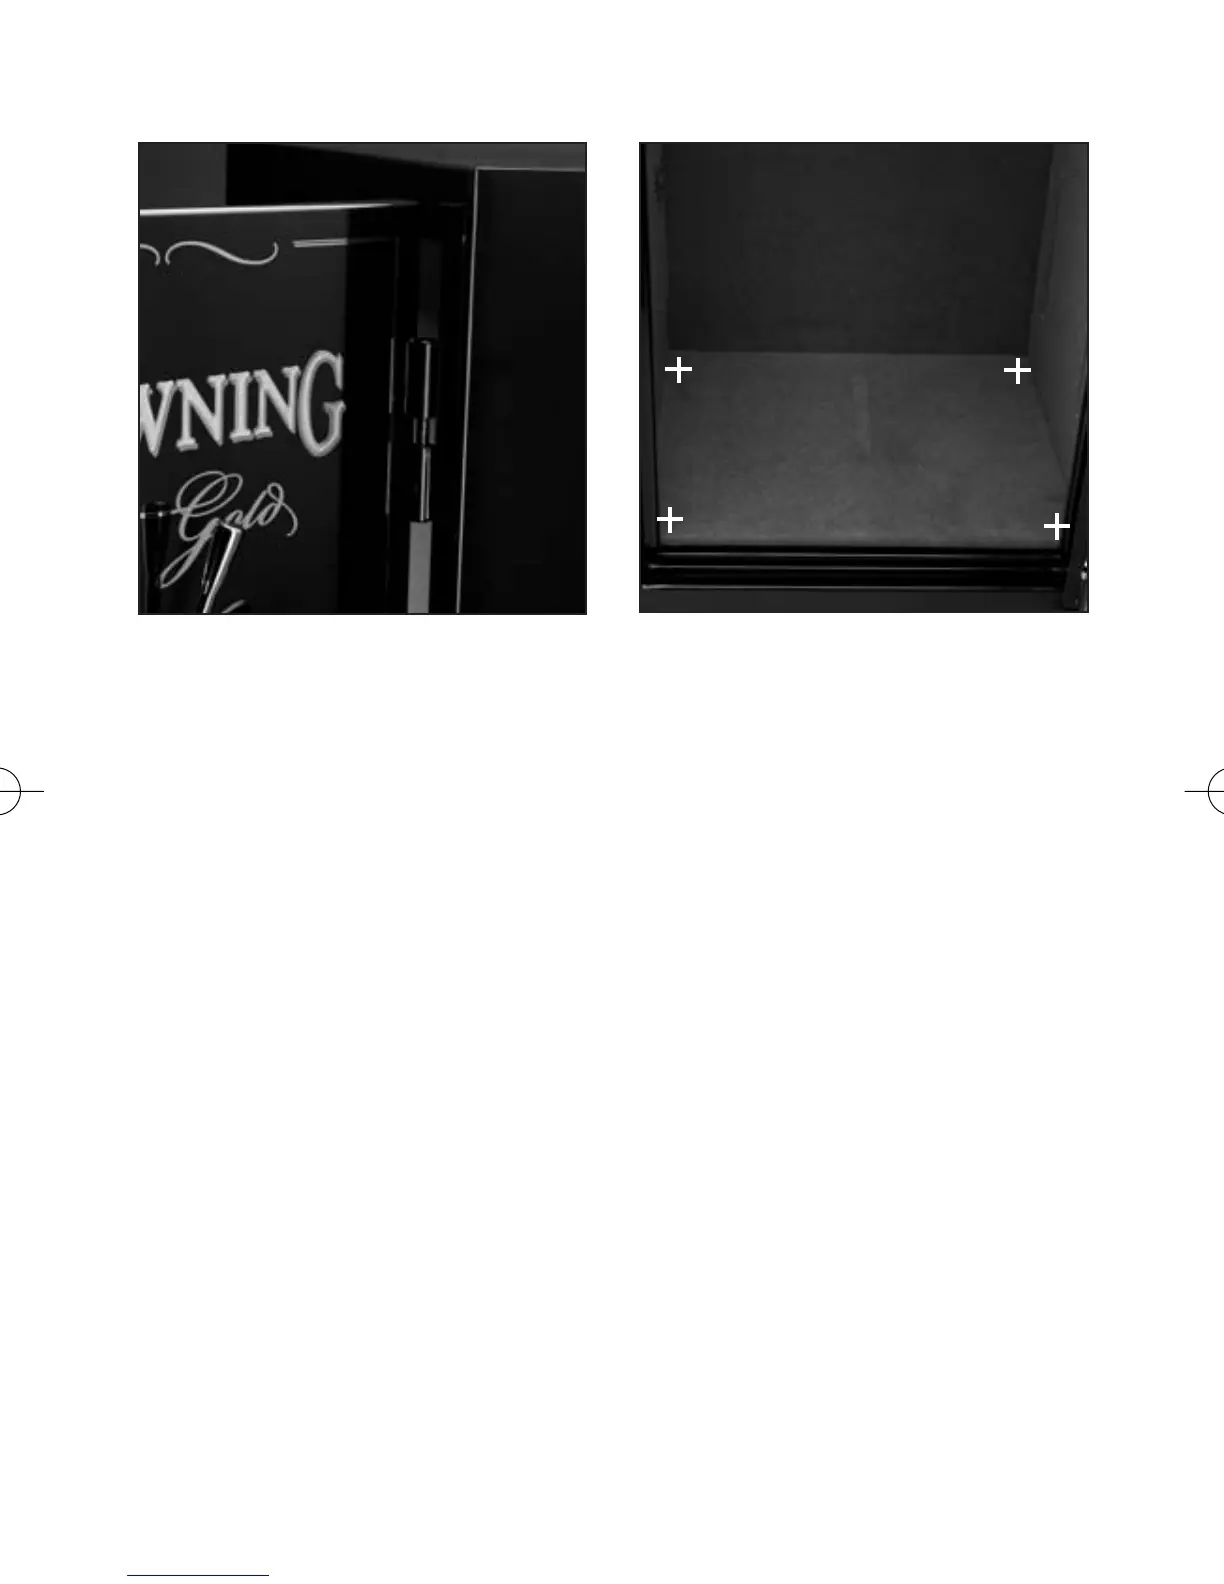
2 Measure and mark four anchor holes 2" from the safe corners. Use a
minimum of
3
⁄8" x 4" expansion-type anchor bolts and 1
3
⁄4" steel washers
inside the safe floor to reinforce it at the anchor positions (Figure 2).
3 Elevate the safe by placing it on 2" x 4" wood braces. Place the 2" x 4"
wood braces flat on the floor and slide one brace under the front of
the safe and one brace under the rear of the safe, elevating the safe 1
1
⁄2".
7
FIGURE 1
Door must be clear of frame to remove.
Lift straight up to avoid damaging bolts.
FIGURE 2
Anchor holes should be placed in
the corners.
05-142-BSF_Safe OM 10/12/05 4:13 PM Page 7