BB106411.book : 2237-ch3 Black 4
Chapter 3 – Taking Measurements
Calibration
3–4
Brüel & Kjær2237 Controller
User Manual
3.1.5 Calibrating the 2237 Controller
1. Stand away from loud noise sources.
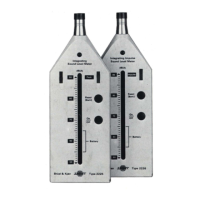
2. Fit the calibrator carefully onto the sound level meter
and rest the assembly on a table or other flat surface as
shown in Fig. 3.1. Ensure that the calibrator fits snugly
on the microphone.
3. Press to switch on the sound level meter.
4. Press to stop the sound level meter from measuring.
5. Set the calibrator to emit a 1 kHz signal at 94dB (see
the calibrator’s user manual for instructions). The Type
4231 does this automatically.
6. Press on the sound level meter to display the Cali-
bration Window, as shown below.
7. Check your calibrator’s documentation for the correct cal-
ibration level. Different values are usually listed for free
field (IEC standard – usually 94 dB) and diffuse field
(ANSI standard – usually 93.85 dB) calibrations. Pressure
field calibrations are the same for both standards (usually
94 dB). In some cases, you may need to round to the
nearest tenth of a dB. For example, if your calibrator’s
chart reads “93.85 dB” then set your sound level meter
to 93.9 dB. Use the and keys on the sound level
meter to set the Level to the correct value.
8. Switch on the calibrator. Wait a few seconds for it to
warm up.
Fig.3.2 The Calibration Window
CALIBRATION
Level:>94.0 dB
Current Factor:
0.0 dB
 Loading...