Chapter 5– Outputting to Printer or Computer
Setting Up for Printing to a Printer
BB0955-13
63
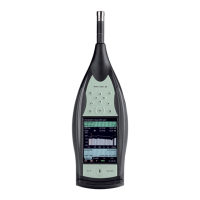
Modular Precision Sound Analyzer Type 2260
User Manual
● Number of data bits: 8
● Number of stop bits: 1
5.3 Setting Up for Printing to a Printer
The baud rates and handshakes (see section 5.2) of the ana-
lyzer and the printer must be the same to enable them to
communicate without losing or corrupting data.
Warning! When connecting the analyzer to a printer, ensure
that both the printer and the analyzer are switched off. Oth-
erwise the instruments could be damaged.
1. Connect the printer to the analyzer. If the printer has a 9-
pole interface socket, remove the adaptor.
2. With the Print/Output Set-up menu on the display (see
section 5.2), select
Type and set it to one of the settings
described in section 5.2.
3. Repeat step 2 for all the settings you want to change.
4. Press the
<Save> soft key to save the print/output set-up.
Alternatively, press the
<Undo> soft key to cancel any
changes to the printer/output set-up and return to the
previously saved printer/output set-up.
5. Press the
<Set-up Menu> soft key to return to the Set-
up Menu.
You are now ready to print the desired set-up data to a
printer.
6. Press the hard key to start the data transfer.
bb095513.book Page 63 Tuesday, April 9, 2002 1:42 PM
 Loading...