List of Figures
8 DOC-M88-EXX268_V1_12.2016
Figure 6.8: Connecting serial lines to the Universal IO-Board................................................... 55
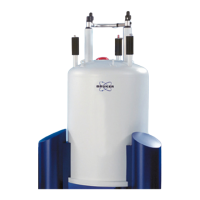
Figure 7.1: CHC plus chamber fully mounted on vertical diffractometer.................................... 60
Figure 7.2: Front view of TCU110.............................................................................................. 61
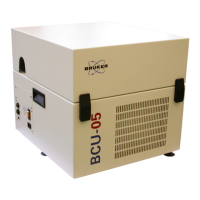
Figure 7.3: Front view of a CCU100 Controller.......................................................................... 61
Figure 7.4: Front view of MHG controller................................................................................... 61
Figure 7.5: Julabo Waterbath (Corio CD-201F) ........................................................................ 62
Figure 7.6: Power supply multiple socket .................................................................................. 63
Figure 7.7: MHG Power supply adapter..................................................................................... 63
Figure 7.8: Back side of Julabo Waterbath (Corio CD-201F) .................................................... 64
Figure 7.9: Back view of CCU100.............................................................................................. 65
Figure 7.10: Back view of MHG controller ................................................................................... 65
Figure 7.11: RS232 connection from UIOB to Temperature controller, MHG controller and Ju-
labo HE-4 water circuit............................................................................................. 66
Figure 7.12: CPU board with USB connection of the Corio water bath ....................................... 67
Figure 7.13: RS232 connections from UIOB to Julabo Heating Circulator and water connec-
tions ........................................................................................................................ 68
Figure 7.14: Water flow controller................................................................................................ 69
Figure 7.15: Setting a new temperature and humidity with COMMANDER................................. 71
Figure 7.16: Selecting the temperature mode in the COMMANDER........................................... 71
Figure 8.1: Fixing the DCS 350 onto the sample stage ............................................................. 74
Figure 8.2: Fixing the DHS 1100 onto the sample stage ........................................................... 75
Figure 8.3: Front view of a TCU series controller with built-in Eurotherm 2604 controller......... 76
Figure 8.4: Front view of a CCU100 Controller.......................................................................... 76
Figure 8.5: DA VINCI overview with sample stage .................................................................... 78
Figure 8.6: DA VINCI with DHS 1100 selected.......................................................................... 79
Figure 8.7: Temperature control field in COMMANDER............................................................ 79
Figure 8.8: Setting a new temperature and heating rate with COMMANDER .......................... 80
Figure 8.9: Selecting the temperature mode in the COMMANDER........................................... 80

 Loading...