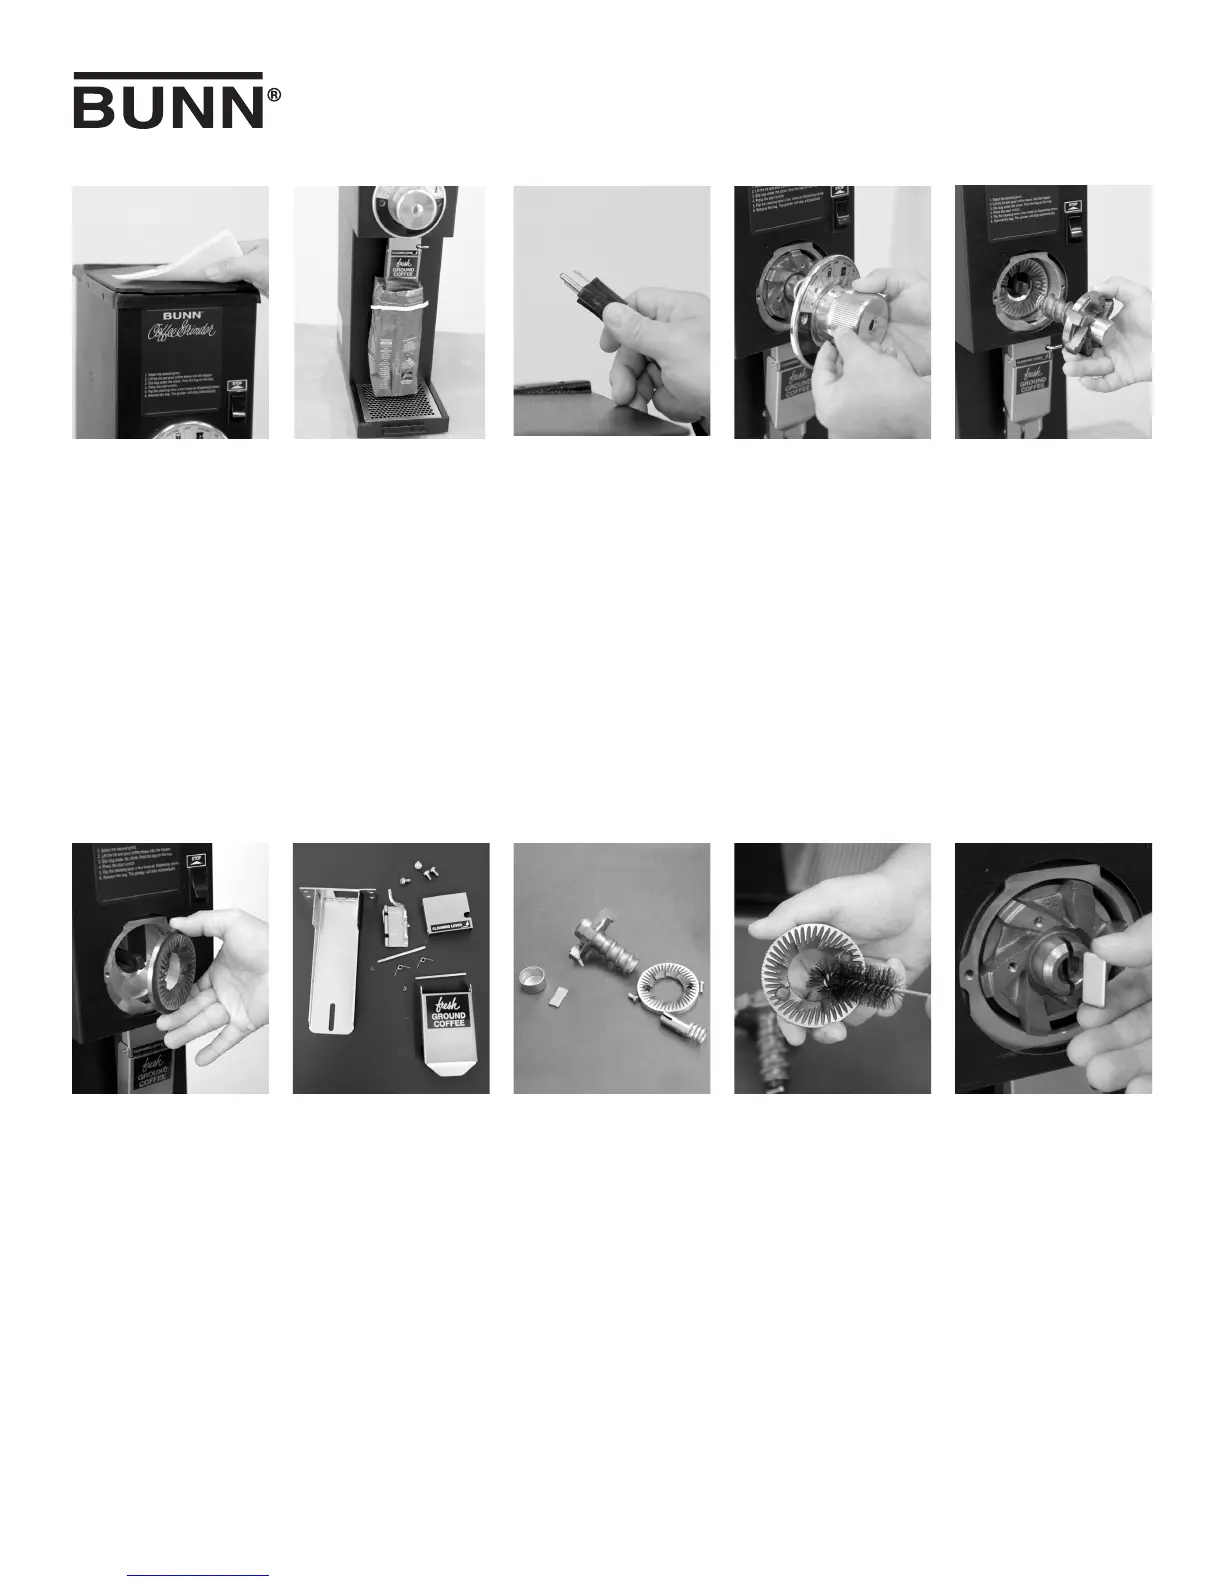
STEP 2 STEP 3
WARNI NG - Prior to
cleaning the grind cham-
ber, unplug the grinder
before removal of any
panel or grind chamber
housing parts.
Empty all beans from
hopper(s). Plug in the
grinder, place an empty
bag behind the dispense
chute. Press and release
the “START” switch. Run
a few cycles until all cof-
fee in the grind chamber
is dispensed and discon-
nect the grinder from the
power source. Remove
the bag.
STEP 1
Clean all exterior surfaces
using a damp cloth rinsed
in any mild, nonabrasive,
liquid detergent. Care
should be taken not to
scratch the grinder with
any abrasive material.
STEP 7
Wash all parts in a mild
solution of detergent with
hot water and a stiff non
metallic bristle brush.
Rinse all parts thoroughly
and allow them to air dry
before reinstalling.
STEP 4
STEP 8 STEP 9
STEP 10
Remove the two screws
and remove the dial plate
and selector knob as-
sembly.
39563 102506
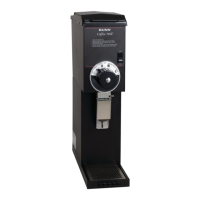
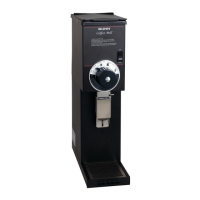
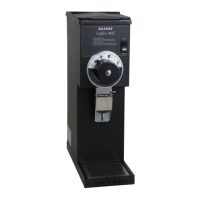
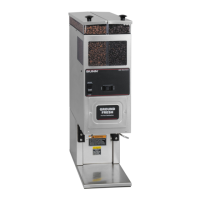
G1, G2 & G3 GRINDERS
USE & CARE INSTRUCTIONS
Carefully clean the grind
chamber, dial plate as-
sembly, chute opening
and dial plate opening
with a dry stiff non me-
tallic bristle brush. Wipe
with a clean cloth that has
been soaking in a mild
solution of detergent and
hot water. Reinstall the
spring and rotor with burr
onto the motor shaft.
Align the slot in the mo-
tor shaft with the rotor
and reinstall shear plate.
Reinstall rotor cup and
grind selector dial plate
to the burr housing. Re-
fer to the Operating and
Service manual for burr
adjustments.
Remove the four screws
at the top of the chute and
remove the chute. Using
a pair of pliers, remove
the C-clips securing the
flapper arm to the chute.
Remove the flapper se-
curement pins carefully
(noting the location of
each flapper spring).
CLEANING
STEP 5
Slide the burr auger ro-
tor/spring assembly off
the motor shaft and disas-
semble for cleaning.
STEP 6
Remove the two screws
securing the stationary
burr to the grind cham-
ber.
 Loading...