8
9
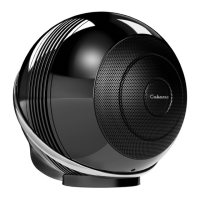
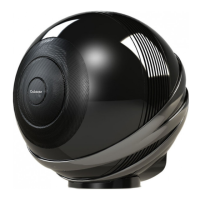
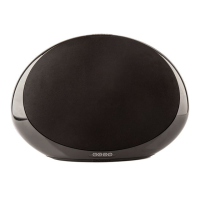
THE PEARL SUBTHE PEARL SUB
FIRST USE
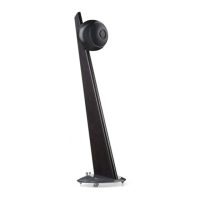
Connect THE PEARL THE PEARL AKOYA/THE PEARL SUB to the mains with the proper power
cord.
THE PEARL / THE PEARL AKOYA / THE PEARL SUB are operationals as soon as the LED on the
left of the rear panel opposite is lit in solid blue.
A voice announcement, if the volume of THE PEARL / THE PEARL AKOYA/ THE PEARL SUB
is not at a minimum, indicates the status of the network connection: current, successful,
failure.
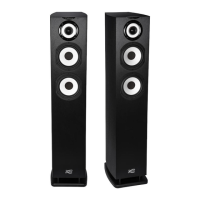
STEREO USE WITH 2 THE PEARL / THE PEARL AKOYA / THE PEARL SUB
Use only one remote control to drive a stereo pair. Do not activate another remote in the
same room.
REMOTE CONTROL ACTIVATION
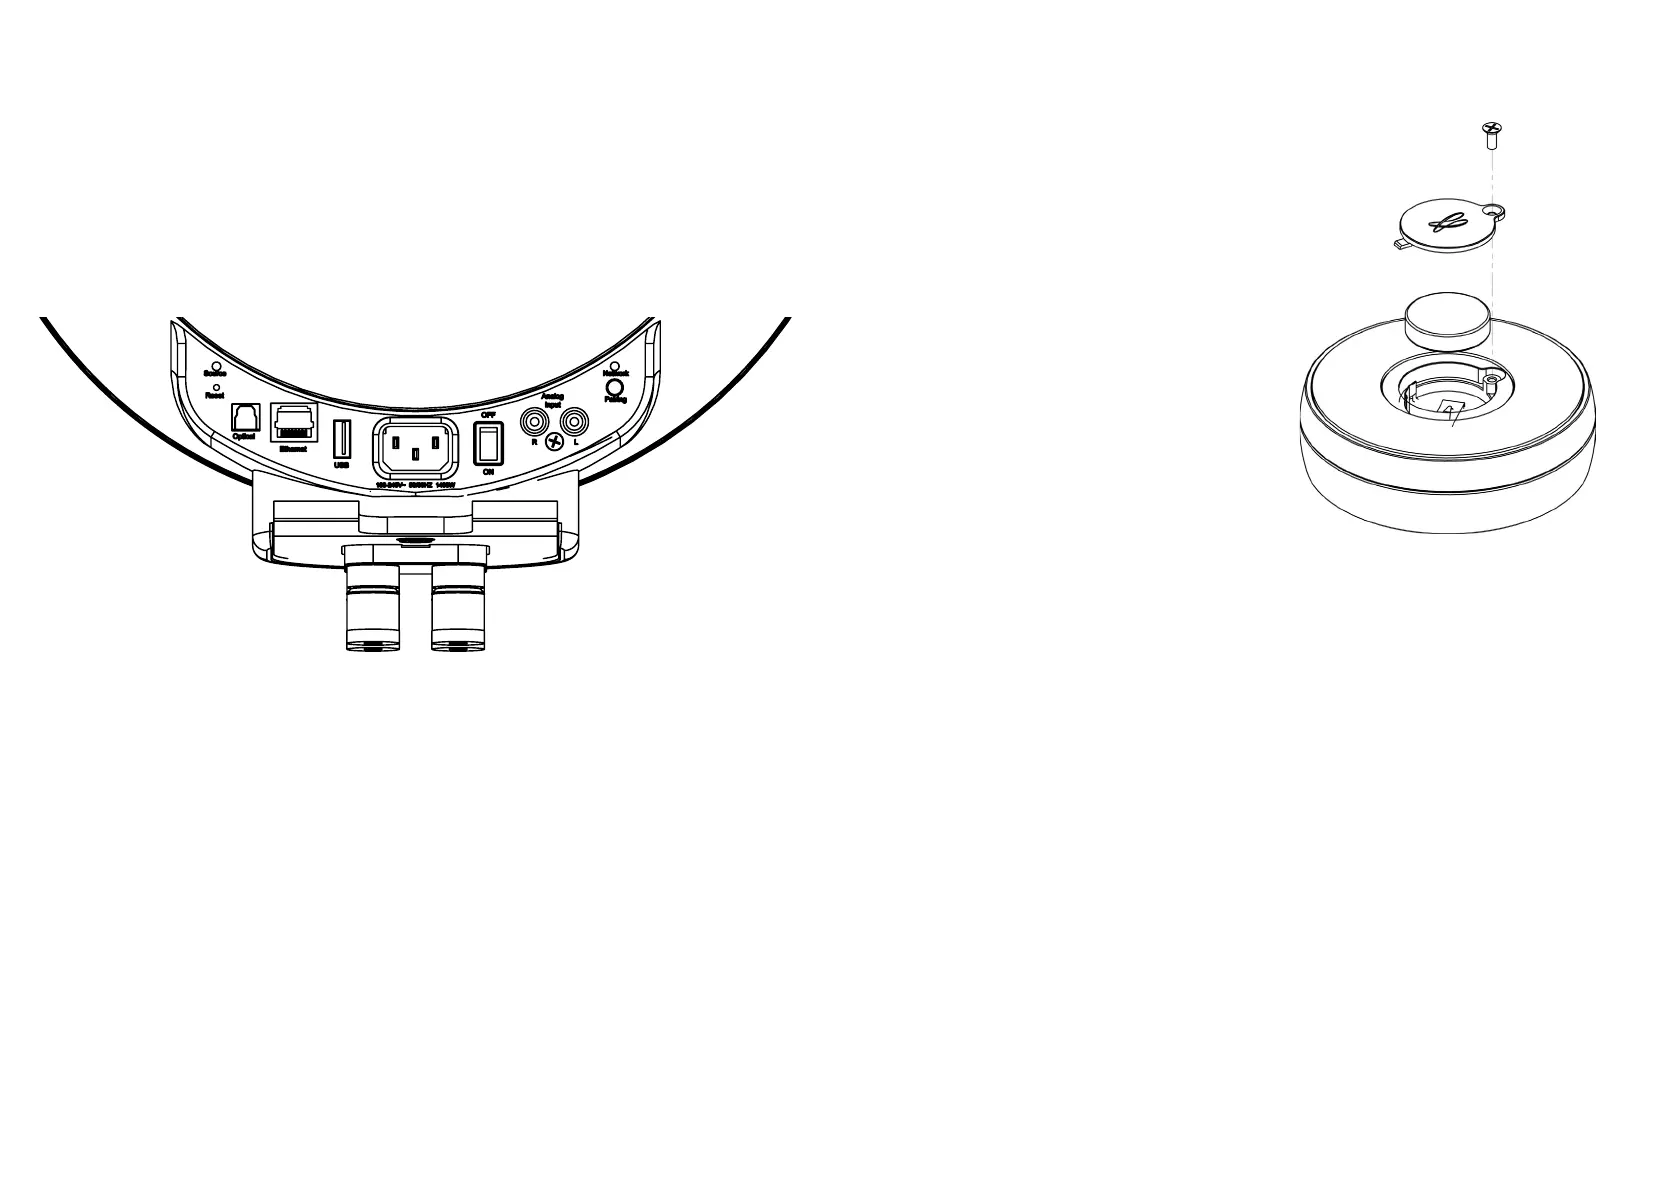
Before rst use, unscrew the screw (PH00
screwdriver), remove the cover, remove
the protective tab, replace the cover and
retighten the screw.
The blue LED on the remote control ashes,
waiting for pairing.
PAIRING THE REMOTE CONTROL
1- Connect the speaker to the mains.
2- Switch on the speaker using the on / o
button on the back.
3- Press the "pairing" button on the back of
THE PEARL/ THE PEARL AKOYA / THE PEARL
SUB briey. The LED "pairing" ashes.
4- The LEDs on the remote control and THE
PEARL stop ashing when the pairing is
nalized.
Replacement of the CR-2450 type button-
cell: turn the remote control over, unscrewthe
screw, remove the cover, remove the old
battery, insert the new battery, marked "+"
to the outside, replace the cover, tighten the
screw.
COLOR CODES OF THE STATUS LED
CYAN DLNA input: wi, Ethernet, domestic streaming , internet streaming
GREEN Spotify Connect
WHITE Aux In Input
YELLOW Optical input
BLUE Bluetooth input
RED (ashing) Connexion to network failed
PURPLE Automatic calibration running
Status LED Pairing LED
Reset Pairing
Optical LAN USB ON/OFF Analog RCA IN
POWER
 Loading...