' &"
! "#$
%&&
Lerchenfeldstr. 9
87600 Kaufbeuren
Tel.: +49(0)8341 / 9764-0 Fax: +49(0)8341 / 67806
38
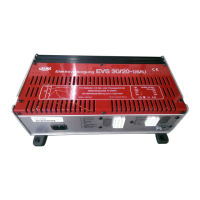
Fig. 11
When the device is delivered, it is set to operation with
liquid electrolyte batteries. Change changeover switch
(fig. 11) to “Gel” setting when using a gel battery.
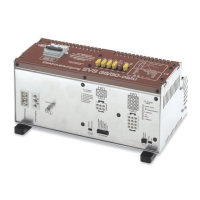
Connection of the 12-pole connector
Fig. 12
Connect the cables of the 12-
pole plug connector (fig. 12)
to the supply battery (battery II) and the starter battery
(battery I) according to the connection diagram (fig. 17).
Make sure that the contact pins engage securely with the
plug connector! Loose contact pin
malfunctions or short-circuiting.
Connect the negative charging cable for the battery II
(blue 10 mm²) to the contacts 24 and 25 of the device and
the negative pole (cage tension spring clamp fig.13) of
the unit and the negative pole of the battery II.
Fig. 13
Handling of the cage tension spring clamps
Prepare the connecting cable. Insulation must be removed
from 11 mm at the end of the cable. Cable end sleeves are
not required.
The following pictures show the
handling cage tension spring clamps.
in your device can differ in detail
but the fundamental method remains the same.
The cage tension spring clamp can be opened with the help of a suitable flat
screwdriver.
To do so, insert the flat screwdriver into the lower, square opening (fig. 14)
and open the cage tension spring clamp (fig. 15). The clamping element of the
spring in the round opening opens.
Insert the cable into the cage tension spring clamp up to the isolation (round
opening, fig. 15) and pull out the flat screwdriver (fig. 16). The cage tension
spring clamp closes again and the cable is securely clamped.
Make sure that the cable ends sit firmly in the cage tension spring clamps!
 Loading...