17
2.10 - Powering up the Control Panel
Connect protected mains power to terminals L1 + L2 in the control panel (L2 being LIVE!). Ensure that
the control panel is adequately earthed.
END OF INSTALLATION STAGE 2
BEFORE STARTING STAGE 3 - Installation
Commissioning the Control panel
PLEASE CHECK THAT YOU HAVE CORRECTLY:
Ref Page
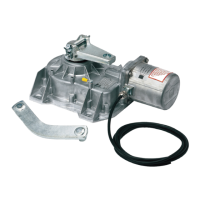
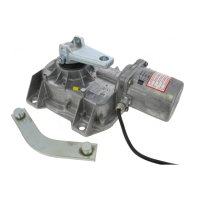
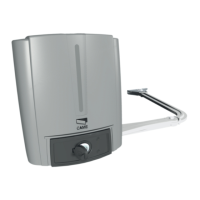
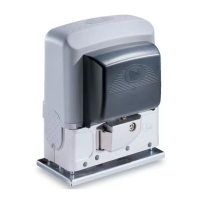
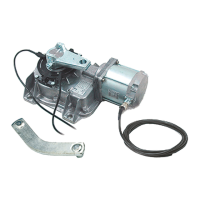
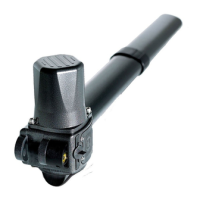
1. Installed Motors 2.1 10
2. Installed Centre Stops 2.2 11
3. Checked Manual Release 2.3 12
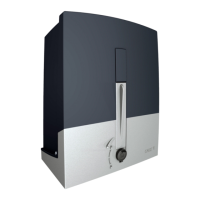
4. Fitted the Control Panel in the Casing 2.4 13
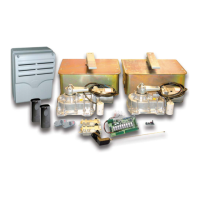
5. Wired the Motors 2.5 14
6. Wired the Safety Photocells 2.6 14
7. Inserted the Frequency Card 2.7 15
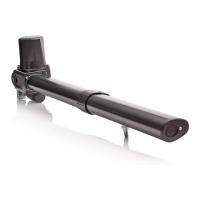
8. Wired the Tuned Antenna 2.8 15
9. Coded the Remote Controls 2.9 16
10. Powered up the Control Panel 2.10 17
NOW STAGE 2 IS FULLY COMPLETED YOU ARE READY TO BEGIN
STAGE 3 OF YOUR KRONO AUTOMATION KIT INSTALLATION.
 Loading...