EasyManua.ls Logo

Campingaz EX User Manual

Campingaz EX
24 pages
To Next Page IconTo Next Page
Page #1 background imageLoading...
Page #1 background image
Plancha EX Plancha EXB
Plancha EX
4010026599 (ECN20033697-02)
FR Instructions de montage
GB Assembly instructions
DE Montageanleitung
NL Montage-instructies
IT Istruzioni per il montaggio
ES Instrucciones de montaje
PT Instruções de montagem
NO Monteringsinstrukser
DK Monteringsvejledning
SE Monteringsanvisningar
FI Kokoamisohjeet
PL Instrukcjamontażu
CZ Návodkmontážipřiložen
SI Navodilazamontažo
SK Návodnamontáž
HU Összeszerelési-és használati utasítás
HR Upute za montiranje
RO Instrucþiuni de montaj
BG Óêàçàíèÿ çà ìîíòàæ
TR Montaj
GR Ïäçãßåò óõíáñìïëüãçóçò
Plancha EXB
X 2
Question and Answer IconNeed help?

Do you have a question about the Campingaz EX and is the answer not in the manual?

Campingaz EX Specifications

General IconGeneral
BrandCampingaz
ModelEX
CategoryGrill
LanguageEnglish

Summary

Step 01: Base Frame Assembly

Step 02: Base Plate and Lower Structure

Step 03: Lower Frame and Wheel Installation

Step 04: Attaching Feet and Wheels

Step 07: Connecting Gas Controls

Installing Gas Control Knobs

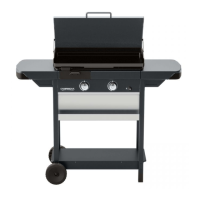
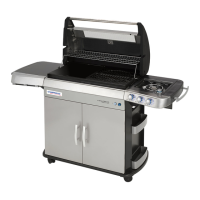
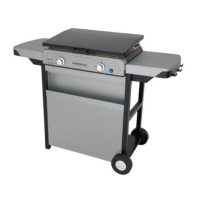
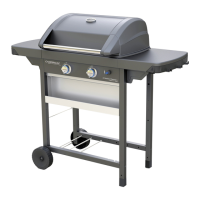
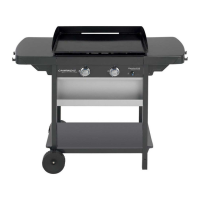
Attaches the gas control knobs and associated mechanisms to the unit.

Connecting Gas Supply Lines

Secures the gas supply lines to the control system.

Step 08: Attaching Drip Tray

Installing Drip Tray Holder

Attaches the bracket or holder for the drip tray.

Securing Drip Tray

Fastens the drip tray into its designated position.

Step 09: Installing Ignition System

Mounting Ignition Module

Installs the ignition module and its wiring to the burner assembly.

Connecting Ignition Wires

Connects the ignition wires to the spark igniters.

Step 10: Connecting Gas Burners

Attaching Burner Assembly

Secures the main burner assembly to the cooking unit.

Connecting Gas Lines to Burners

Connects the gas supply lines to the individual burners.

Step 11: Testing Gas Connections

Checking Gas Line Integrity

Verifies the proper connection and sealing of all gas lines.

Ensuring Correct Burner Seating

Confirms that the burners are correctly positioned and seated.

Step 12: Attaching Side Shelves

Step 13: Installing Side Covers

Step 14: Assembling Top Components

Step 15: Attaching Lid Handles

Step 17: Attaching Protective Covers

Related product manuals