PARTSTOBEINSTALLED
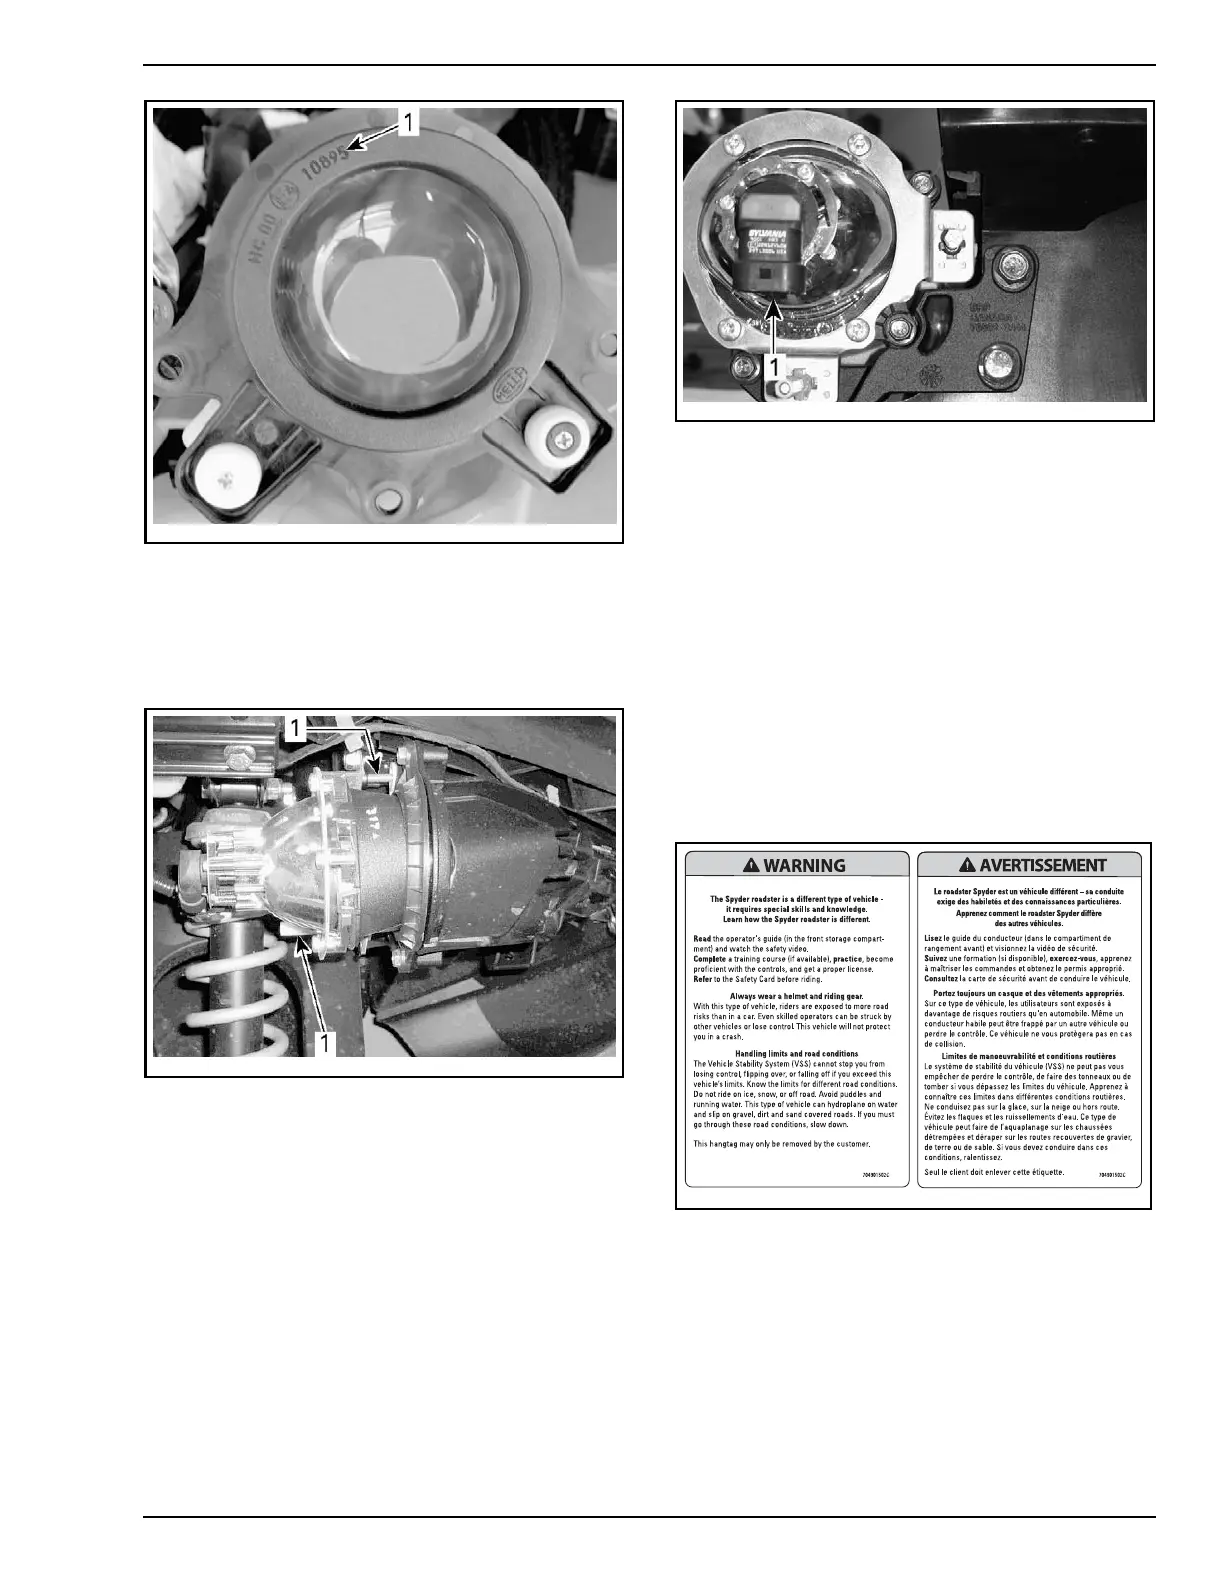
rbl2009-001-009_a
1. Number 10895 for left- hand traffic headlights
7. Secure headlight with the original screws.
8. Torque screws to 11 N•m (97 lbf•in).
9. Set the adjusting screws to the same length as
noted on the original headlights.
rbl2009-001-006_a
1. Adjus
tment screws
10. Repeat the procedure for the remaining head-
light.
All C
E Models
1. Connect wiring harness to low beam head-
lights.
rbl2008-003-215_b
1. Low beam headlight connector
2. Verify low beam headlights aiming. Refer to
LIGHTS
in
SETUP
.
Hang Tag and Safety Labels
This vehicle comes with a hang tag and labels
containing important safety information. The
labels are considered permanent parts of the
vehicle and should not be removed. Hang tag is
to be removed by the owner only.
Any person who rides this vehicle should read and
understand all the information given on hang tag
and safety labels before riding.
Safety labels of several language can be chosen
by customer, according to availability.
rmo2008-001-102
Licence Plate Installation
NOTE: When a license plate needs to be installed
or replaced, ensure to install two new damping
pads (P/N 293 740 028) on plate to be installed.
1. Remove existing plate on vehicle (if applicable).
2. Peal
off backing of new damping pads.
PREDELIVERY 2012-1 13 / 37
 Loading...