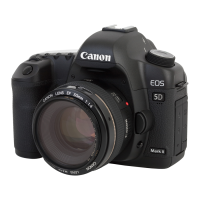
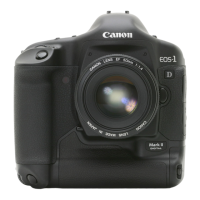
SMART GUIDE: Shooting movies with the Canon 5D Mark II
•
Insert battery and turn camera on
•
Set shooting mode to CA ( Creative Auto )
SETUP MENU #2
•
LCD brightness set to Manual (4)
•
Set the date and time and the operating language
•
Video system must be NTSC for North American video
•
Sensor cleaning - enable auto cleaning
•
Enable Movie recording
•
select Live View/ Movie func. set
•
Movie Recording to Enable
•
Grid Display to off
•
AF Mode to Quick Mode
•
Movie Rec. Size to 1920 x 1080 (24)
•
Sound Recording to On.
SETUP MENU #1
•
increase the time for Auto Power off or turn it OFF.
•
format the CF card
SHOOTING A MOVIE
•
Press the Live View button to the left of the viewfinder
•
Focus your subject with Auto Focus
•
set focus switch on lens to AF ( auto focus )
•
press and hold the AF-ON button to activate auto focus. hold this button until you see
one or more red lights on the dark screen. The image will reappear in focus.
•
Focus your subject with Manual Focus
•
Use the Magnify by 5X / 10X to “zoom” in on your subject.
•
Manually adjust the focus ring on the lens
•
Press the “Set” button of the back wheel to start and stop recording your movie.
The LCD Brightness setting is
designed to make the
camera adjust to the lighting
in your environment. This
can be problematic when
tr ying to make critical
exposure adjustments.
Therefore, it’s a good idea
to change this setting from
Auto to Manual and move
the adjustment slider to the
center setting, which is 4.