Do you have a question about the Canon iR2000 Series and is the answer not in the manual?
Details about high-speed copying, paper sources, networking, and hard disk capabilities.
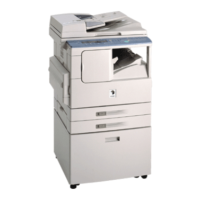
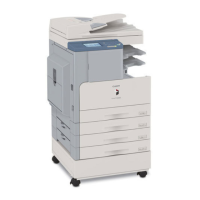
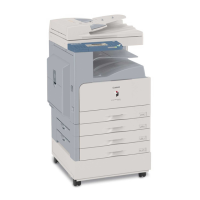
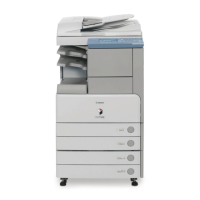
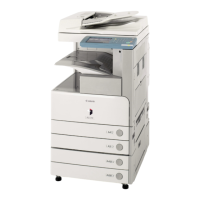
Technical specifications for the copier, including type, system, functions, and other details.
Overview of the control panel layout and functions for both non-fax and fax models.
Important safety information regarding laser light, CDRH requirements, and toner handling.
Overview of the machine's functional construction, divided into six key blocks.
Description of the main electrical mechanisms controlled by the PCBs.
Step-by-step sequence of operations when the machine is powered on.
Overview of the image reading/processing system and its major functions.
Explanation of how the machine detects original sizes using sensors and the feeder.
Overview of image processing and correction performed in copier mode.
General instructions for disassembling and assembling the machine.
Overview of the laser exposure system components and control methods.
Explanation of how the scanner motor is controlled for constant speed and pre-rotation.
General instructions for disassembling and assembling the laser exposure system components.
Overview of the image formation system's functions and methods.
Explanation of the primary charging control system, including bias application and control.
Explanation of the developing bias control system, including DC and AC bias application.
General instructions for disassembling and assembling components.
Explanation of the pickup mechanism, focusing on the 1-cassette type.
Explanation of how pickup from the cassette is controlled.
Information on jam sensors and how the machine detects and indicates jams.
General instructions for disassembling and assembling the pickup/feeding system.
Overview of the fixing system's functions and methods.
Mechanism for controlling the fixing temperature.
General instructions for disassembling and assembling the fixing system.
Description of the control panel's circuitry and construction for non-fax and fax models.
Explanation of the machine's DC power generation and supply system.
How the machine uses energy save mode (ESS) to conserve power in standby.
Information on the lithium and vanadium lithium secondary batteries used for data backup.
General instructions for disassembling and assembling external covers and PCBs.
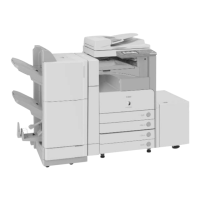
Overview of the cassette unit, including its types and functions.
Details on pickup, paper stack capacity, paper types, paper size, and pickup control for different cassette units.
Explanation of the pickup control system for different cassette unit types.
General instructions for disassembling and assembling the cassette unit.
Specifications for the inner 2-way tray, including number of bins, stacking, paper type, and size.
Explanation of how paper is delivered to the No. 2 delivery slot.
General instructions for disassembling and assembling the inner 2-way tray unit.
Requirements for the installation site, including power, environment, and levelness.
Points to note before starting the installation process, including condensation and teamwork.
Instructions for mounting the drum unit.
Step-by-step procedure for mounting the toner cartridge.
Points to note for installing the card reader accessory.
Instructions for installing the image RAM accessory.
Information on parts requiring periodical replacement to maintain machine performance.
Information on durable parts requiring replacement due to wear or damage.
Recommended service work to ensure longer product life.
Maintenance tasks to perform during a visit to the user's site.
Precautions for storing and handling the drum unit to prevent damage.
Step-by-step guide for performing basic image adjustments.
Standards for image position, including leading edge, left/right margins, and non-image widths.
Initial checks and troubleshooting steps for various image and operation faults.
Troubleshooting steps for general malfunctions like AC power absence or PCB issues.
Overview of the machine's service mode and its available blocks.
Overview of machine and accessory upgrading methods: firmware download or ROM DIMM replacement.
Steps required before starting firmware downloading via USB.
Procedure for downloading system software from a PC using a USB connection.
How to back up SRAM data from the image processor PCB.
| Copy Resolution | 600 x 600 dpi |
|---|---|
| Functions | Print, Copy, Scan |
| Print Speed (Black) | 20 ppm |
| Print Resolution | 600 x 600 dpi |
| Warm-up Time | Approx. 30 seconds |
| Paper Size | A4, A5, B5, Legal, Letter, Executive |
| Copy Speed | 20 cpm |
| Multiple Copy | Up to 99 copies |
| Scan Resolution | 600 x 600 dpi |
| Interface | USB 2.0 |
| Scanner Type | Flatbed |
| Fax Speed | Approx. 3 seconds per page (33.6 kbps) |