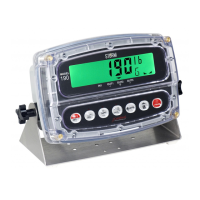
Model 190 Installation, Technical and Operation
8400-M022-O1 Rev J
10. The display will change to show the Hi 1= prompt.
11. Press the TARE key again.
12. The display will show the current value for the maximum
acceptable weight for ID 1.
13. If the setting displayed is acceptable, press the TARE key to
save it.
14. Otherwise, use the Fn/▲ key and UNITS/◄ key to enter a new
value for the maximum acceptable weight for ID 1.
15. When the desired value is displayed, press the TARE key to
save it.
16. The display will change to show the Lo 2= prompt.
17. Repeat steps 5-9 above to set the value for the minimum
acceptable weight for ID 2.
18. The display will change to show the Hi 2= prompt.
19. Repeat steps 11-15 above to set the value for the maximum
acceptable weight for ID 2.
20. Continue to enter minimum and maximum acceptable weights
for the remaining ID’s for up to ten (10) ID’s, or press the
UNITS/◄ key at the Lo n= prompt or the Hi n= prompt to
skip the entry of the remaining weights.
21. Repeatedly press the TARE key to step through the remaining
function prompts until the indicator returns to the weight
display.
22. Note that if low weight for ID 1 is set to 0, the Checkweigher
function will be disabled. The low and high weights must be
less than scale capacity and the high weight must be greater
than the low weight.

 Loading...