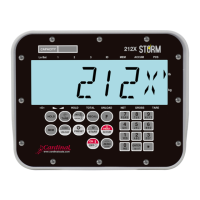
212/212X Installation & Technical
8200-M639-O1 Rev D 09/14
8. The next prompt you will see is COUNT=. This is the starting
value for the weight counter associated with the ID you are
creating. Press the ENTER key to display the starting value (0
is default). If this value is acceptable, press the ENTER key,
otherwise enter in a starting value for the weight counter and
press the ENTER key.
9. You will now be returned to weight display. Repeat these
steps for each ID you wish to store.
Editing a Stored ID:
1. Follow the procedure described above in the section “Adding
an ID to Memory” except when the display shows ID= , key in
the stored ID that you would like to modify then press the
ENTER key.
Reviewing Stored IDs and Accumulators:
1. While the indicator is displaying weight, press the RECALL
key. The indicator will enter an “ID Review” mode and will
display the first stored ID from memory. NOTE: The first
displayed ID is not necessarily the first ID stored. The ID's
will be recalled in numerical/alphabetical order.
2. If you wish to view the current accumulated value associated
with the ID displayed, press the MEM key. You can toggle
back to displaying the ID by pressing the MEM key again.
3. To view the next ID stored, press the RECALL key. Repeat
steps 2 and 3 to review the rest of the ID's stored.
4. Press the key to exit “ID Review” mode and return to the
displaying weight.
Selecting an ID to Use:
An ID can be selected 2 different ways:
1. Follow the procedure described above under the section
“Reviewing Stored IDs and Accumulators” until the ID you
wish to use is displayed then press the ENTER key. That ID
is now selected.
2. Or Press the ID/START key from the weight display. ID= will
be shown. Enter the ID you wish to use then press the
ENTER key. If the ID exists, it will be selected.

 Loading...