T
IMBRE
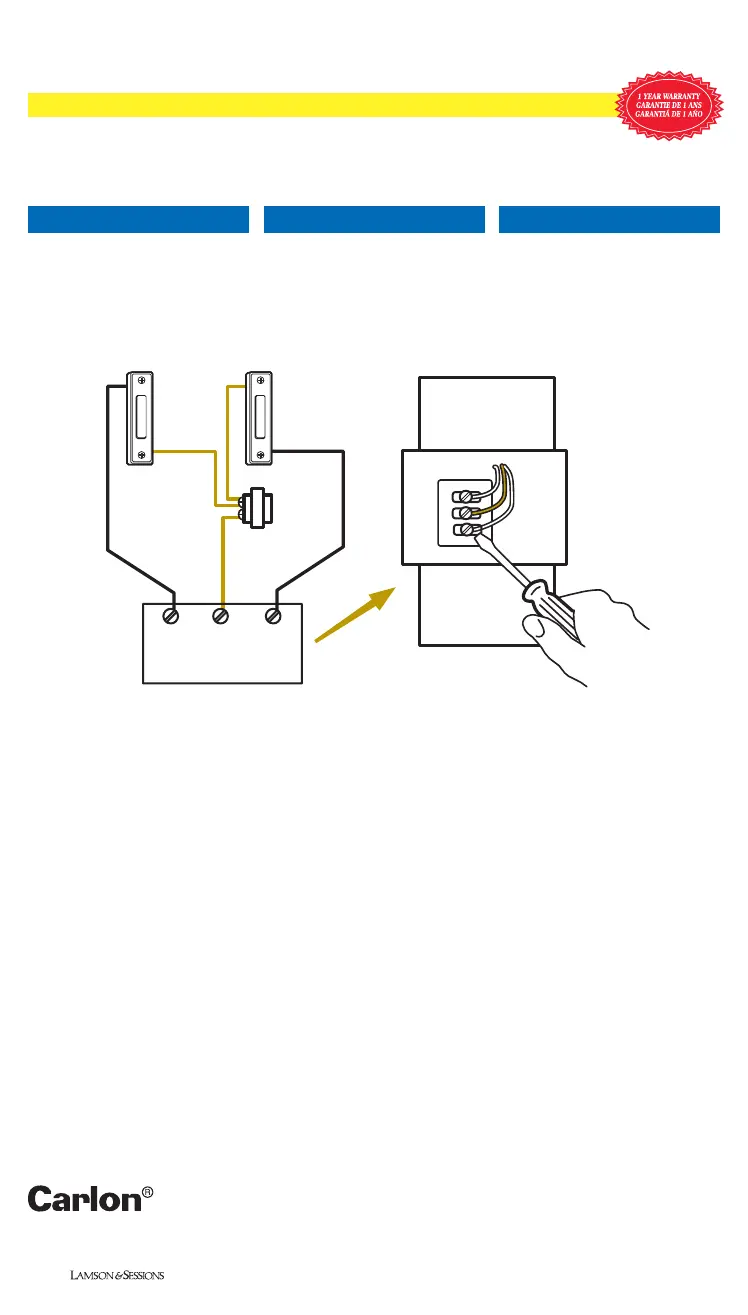
EASY TO INSTALL!
1. Remove chime cover from base.
2. Follow wiring diagram below.
FACILE À INSTALLER!
1. Séparer le couvercle du carillon
de sa base.
2. Suivre le schéma de câblage
ci-dessous.
¡INSTALACION FACIL!
1. Quite el cubierto del timbre.
2. Siga el esquema de cableado
más abajo.
C
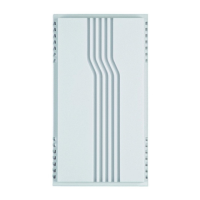
HIME
CARILLON
#81203-AABCAj
25701 Science Park Drive
Cleveland, Ohio 44122
www.lamson-sessions.com
Made in China | Fabriqué en Chine | Hecho en China
©2003
0305 SD120
For new installation, the
following is required:
• 16-volt, 10VA transformer -
Carlon #DH905
• Bell wire - Carlon #DH965
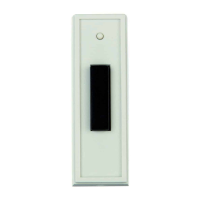
• Pushbuttons as needed
Note: Always turn off house
power before beginning
installation.
Pour une nouvelle
installation, il faut :
• Transformateur 16 V, 10 VA
Carlon DH905
• Fil de sonnette Carlon DH965
• Boutons, du nombre voulu
Remarque : Toujours couper le
courant de secteur avant de
procéder à l’installation.
Para una instalación
nueva, se necesita:
• Transformador de 16 voltios,
10 VA - Carlon #DH905
• Hilo de timbre - Carlon #DH965
• Botón o botónes
Nota: Siempre corte la corriente
antes de comenzar la instalación.
WIRED CÂBLÉ CABLE
Front
Devant
Delante
Rear
Arrière
Reverso
16V, 10VA
Trans
Rear
Arrière
Reverso
Trans
Do not oil chime base
terminal board
Ne pas huiler le
bornier du carillon
No engrase la bara de
conexión del timbre
Front
Devant
Delante
Installation Using Transformer Installation avec transformateur Instalación con Transformador


 To Previous Page