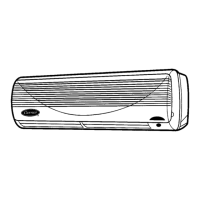
d. Install factory-supplied flare connection and Accu-
Rater metering device in liquid line at the fan coil unit
on 38HDC, HDL and 38BK systems (Fig. 9). Make
sure the arrow on the metering device body points AWAY
FROM the fan coil unit. Use Table 5 to verify that the
correct piston for your system has been shipped with
the unit.
NOTE: No AccuRatert device is installed on 38HDS
systems. The 38HDS systems have a TXV (thermo-
static expansion valve) in the condensing unit for re-
frigerant metering and control.
e. On heat pump installations, install factory-supplied pis-
ton in the AccuRater metering device located in the
service valve on the outdoor unit (Fig. 10). Make sure
Teflon seal on the piston faces toward the outdoor unit.
Use Table 5 to verify the correct piston for your sys-
tem has been shipped with the unit. Refer to 38BK
installation instructions for more details.
f. Install a liquid line filter drier near the outdoor unit
(38HDC, HDL and 38BK). On heat pump systems, a
bi-flow filter drier must be used. DO NOT install a fil-
ter drier in 38HDS systems.
3. Insulate and caulk wall openings to reduce air infiltration
and refrigerant pipe vibrations on structure.
4. Evacuate piping, if necessary. If either refrigerant piping
or the indoor coil is exposed to atmospheric conditions,
it must be evacuated to 1000 microns to eliminate con-
tamination and moisture in the system.
Fig. 6 — Bracket Mounting
NOTE: Use either point ‘‘A’’ or point ‘‘B.’’
Fig.7—WallHole Location for Rear Piping
Fig. 8 — Piping Hole
6
 Loading...