18
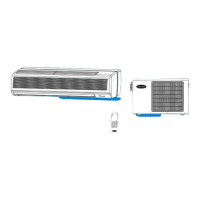
12. INSTALLATION OF INDOOR UNITS
12.1 PREPARATION STEPS OF INDOOR UNIT BEFORE INSTALLATION
a. Put packed unit as shown.
Remove plastic strap (item 1) from
cardboard.
d. Lift insert grille to the top of the unit
with both hands and it will be
automatically separated from unit.
e. Disassemble terminal block cover
by removing two screws from grille
frame.
b. Slide unit from carton (item 1)
Lift unit with Styrofoam
Parts from carton box
Remove Styrofoam parts
• By pulling right and left
Styrofoam you will find small carton box
containing electrical connection cords and
remote control with its accessories.
• Turn the unit up, you will find the
mounting bracket.
f. Pull the triangle marks located at
bottom of the grille frame.
g. Lift grille frame to top of the unit.
c. Remove the screw-fixing wall
mounting bracket with the unit.
Remove the wall-mounting bracket from the
unit by pushing up the indicated marks ( ▲)
at the bottom of the body.
h. Fix the optional plastic holder of the
remote control on the wall by using
optional anchor screw and screw
1
3
2
Removal of wall hang bracket
REMOVE SCREW
 Loading...