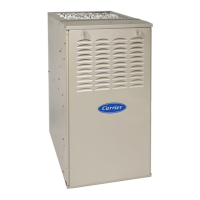
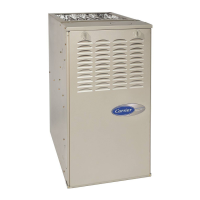
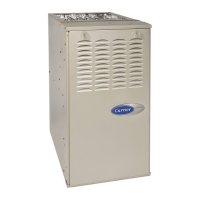
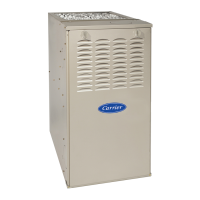
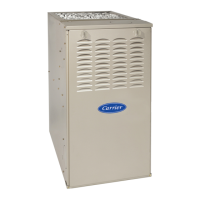
58SU0A (Series 2 & 3): Troubleshooting Guide
Manufacturer reserves the right to change, at any time, specifications and designs without notice and without obligations.
3
MODEL NUMBER NOMENCLATURE
A220581
INSTRUCTIONS
This guide uses your expertise and observations to lead you to the
trouble spot as efficiently as possible. This is only intended as a guide
and should not be used blindly. Your experience and expertise are of
high value when troubleshooting this unit. Do not disregard your
instincts.
The furnace control was designed with diagnostic capabilities built in.
An AMBER LED is used to flash a status code which will lead you to
one of the sections as listed in the Index.
You should ALWAYS begin in the START HERE section (see Index for
page number) which will guide you to the appropriate section where a
minimal number of steps will be used to correct the problem. Once in a
section, read the ACTION. An ACTION may have a number in the GO
TO column. Do whatever the ACTION says, then proceed to the step
indicated in the GO TO column.
If the ACTION is a question (a question will have a number in the YES
or NO column), answer YES or NO. If the answer is YES, go to the step
indicated in the YES column. If the answer is NO, go to the step
indicated in the NO column.
Let’s try our guide out using the EXAMPLE section below and see how
it works. Suppose that the problem is a defective Limit Switch (for
example the contacts will not re-close). This is an internal problem and
cannot simply be seen. We go to the START HERE section to Step 1.
EXAMPLE
Start Here Section
59
M
N
7
6
B
060
E
17
13
1
1
16
|||| |||||
58 = 80%
Non-Condensing
59 = 90%+
Condensing
M = Modulating
T = Two Stage
S = Single Stage
C = Single Stage
Communicating
---
08 = 800 CFM
10 = 1000 CFM
12 =1200 CFM
14 = 1400 CFM
16 = 1600 CFM
20 = 2000 CFM
22 = 2200 CFM
B = Base
C = Comfort
E = Export
N = Infinity
P = Performance
U = Ultra Low
Nox
(Not Ultra Low
NOx)
2 = 92%
5 = 95%
6 = 96%
7 = 97%
8 = 98%
2 = 230V/50Hz
C = Constant Airflow
Variable- Speed
(VCA) ECM
V = Variable-Speed
(VCT) PWM
M = Multi 18-Speed
Constant Torque
(MCT) ECM
026 = 26,000 BTU
040 = 40,000 BTU
060 = 60,000 BTU
---
155 = 155,000 BTU
A
---
14 - 14.2"
17 - 17.5"
21 - 21.0"
24 - 24.5"
STEP ACTION YES NO GO TO
1.
Step 1 tells us to remove main furnace door first and NOT TO REMOVE THE BLOWER ACCESS
PANEL. It then asks the question, “Is AMBER LED status light on?”. If the Limit switch was defective,
a limit circuit lockout status code would be flashing, so the answer is YES. We go to Step 2.
2 19
2.
Step 2 asks the question, “Is the AMBER LED status light blinking rapidly without a pause?”. If the
limit switch was defective a limit circuit lockout status code would be flashing, so the answer is NO.
We go to Step 4.
3 4
3.
Step 4 asks the question, “Is the AMBER LED status light blinking ON/OFF slowly with a combination
of short and long flashes?”. If the limit switch was defective, a limit circuit lockout status code would
be flashing, so the answer is YES. We go to Step 5.
5 7
4.
Step 5 tells us to determine the status code. The status code is a 2-digit number with the first digit
determined by the number of short flashes and the second digit by the number of long flashes. We
count the short and long flashes and see that status code 13 is flashing and go to Step 6.
6
5. Step 6 tells us to go to status code 13 section INDEX

 Loading...
