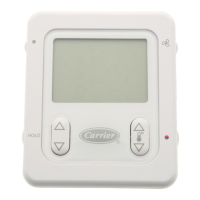
Creating Snap control programs for ZS Sensors
ZS Sensor CARRIER CORPORATION ©2020
Applications Guide All rights reserved
14
Step 6: Add optional values, statuses, and icons
Use the following microblocks for optional icons, values, or statuses that you want to display on the sensors.
Individual uses are discussed throughout this document. See the Microblock Reference Help for a full description
of each microblock.
BACnet Analog Value Parameter
BACnet Binary Value Parameter
BACnet Multi-State Value Parameter
BACnet Analog Value Status
BACnet Binary Value Status
BACnet Multi-State Value Status
On each microblock's
tab, you must check the
field to have the microblock communicate values
with the ZS Sensors, and you must select the appropriate
.
See Icons and text indicators (page
15) for instructions on adding specific optional icons.
Step 7: Set the order of information displayed on a sensor
To program the display order and rotation time of information on each screen, select
>
. In this example, Zone Temp displays on the Home Screen for 10 seconds, then Zone Humidity, Zone CO2,
and Zone VOC each display for 10 seconds.
To change the display order, select the microblock(s) you want to move, then click or .
 Loading...