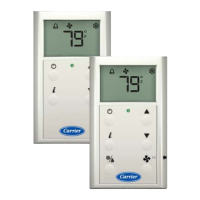
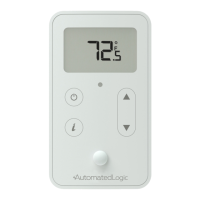
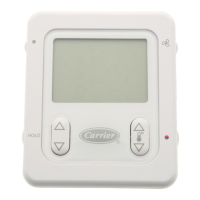
Alternate space temperature sensor
Carrier Sensors CARRIER CORPORATION ©2021
Installation Guide All rights reserved
27
To wire and mount the sensor
1 Turn the 2 setscrews at the bottom of the sensor clockwise to release the sensor's cover from the mounting
plate.
2 Lift the cover from the bottom, and then release it from the top fasteners.
3 Feed the wires from the electrical box through the opening in the center of the sensor mounting plate.
4 Use the 2 mounting screws provided to attach the mounting plate to the electrical box.
5 Strip the outer jacket from the cable for at least 3 inches (7.62 cm). Strip .25 inch (.6 cm) of insulation from
each wire. Cut the shield and drain wire from the cable.
6 Use the appropriate diagram below to connect the wiring to the sensor's terminals.
7 Reattach the sensor's cover to the mounting plate, inserting the top first.
8 Turn the two Allen screws counterclockwise to secure the cover to the mounting plate.
9 Wire the sensor to the Open controller. See the controller's Installation and Startup Guide for details.
NOTE Clean sensor with damp cloth only. Do not use solvents.
 Loading...