Introduction
ZS Sensor CARRIER CORPORATION ©2020
Applications Guide All rights reserved
4
Before you begin to create a control program in the Snap application, decide:
• How you want users to interact with the ZS zone sensors
• What information you want your ZS Pro and ZS Pro-F sensors to display
• Which screens should display what information
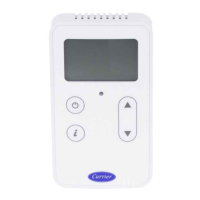
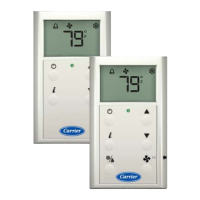
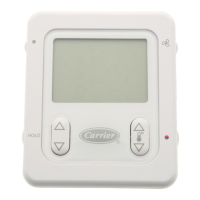
The ZS Pro and ZS Pro-F sensors have the following screens that you can assign information to.
: This is the initial screen that a user sees. It typically displays the zone temperature. We
recommend that you keep the Home Screen simple and uncluttered. However, if you assign more than one value
to the Home screen, the values cycle from one to the next. Typically, the first item displays for 10 seconds and any
other items display for 3 seconds each.
: This screen displays when the user presses the sensor's button. The user then taps the
button to cycle through the information that you assign to this screen.
: This screen displays when the user holds the sensor's button for at least 3 seconds. The
user then taps the button to cycle through the information that you assign to this screen.
Setpoint Adjustment Screen
: When a user presses the or button, this screen displays allowing the user to
adjust setpoints. Options that you select in the BACnet Setpoint microblock affect how this screen looks.
To understand what can be displayed on a screen, see:
Icons and text indicators (page 15)
Appendix B: ZS Sensor screen fields (page 37)

 Loading...