13
Fitting the trims and cover pieces
1. Open the door and lift out the decorative covers (marked ‘a’) in figure 20
2. Remove the position guides (d), turn them round so that the lip at the
top faces outwards and insert them into the slots shown in the image
(e); these will be used to line up the fascia panels before securing them
in position.
3. Line up the fascia panel against the housing unit to determine where they
need to be when installed and position the guides to the top of the fascia
panel. Once this has been performed do not move the position guides.
4. Remove the mounting bracket (c) after removing the fixing nuts (b) and
lay the mounting brackets with the guides in position over the underside
of the fascia panel, as shown in figure 400. Secure the mounting bracket
to the fascia panel using the provided wood screws, ensuring that the
screws will not penetrate through the fascia where there are any rebates,
etc. and then remove the guides. Any small errors, as in the image above,
can be adjusted for after the fascia has been mounted.
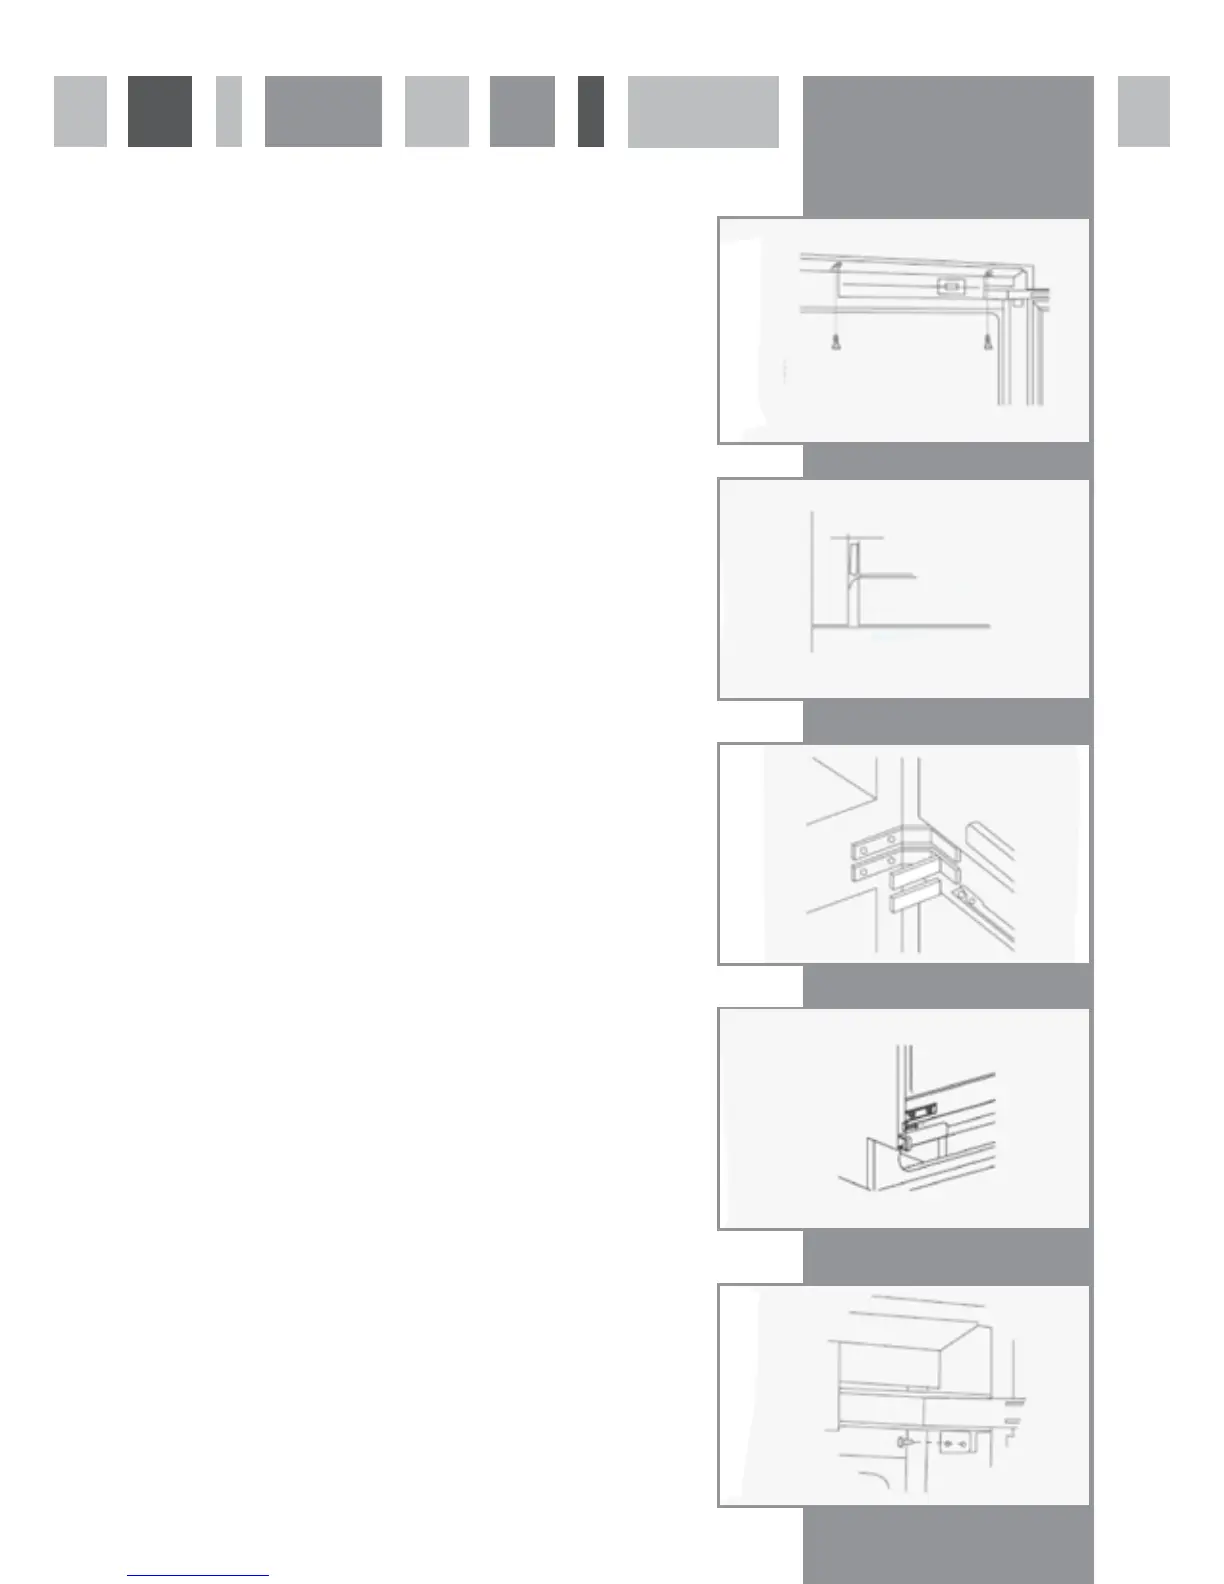
5. Hang the fascia panel on the support pins and check that the fascia is
positioned correctly. Adjustments can be made in all directions at this
stage using the adjustment points shown in figure 444. Loosening this
screw allows the fascia panel to be moved closer to or further away from
the door.
The left right and vertical position can be set using this screw. Insert
a screwdriver in the slot at the top and move up (anti-clockwise) or
down (Clockwise). Simply slide the bracket left or right to fine tune the
horizontal position of the fascia.
6. To fit the lower fascia support brackets , secure each of them to the
underside of the door with a single screw. At this stage do not fully
tighten to allow adjustment to be made after the door is fixed in place.
The fascia panel can then be secured to the bracket using two of the
supplied wood screws. Finally, fully tighten the bracket mounting screw
to fix the bracket at the required position
and fit the cover trim pieces for the fascia mount brackets, as shown in
figure 3029.
fig. 22
fig. 23
fig. 24
fig. 25
fig. 26
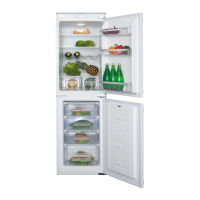
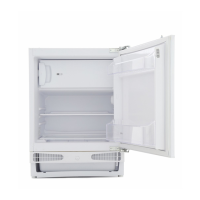
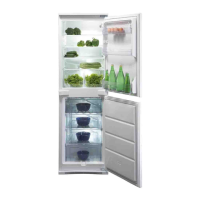
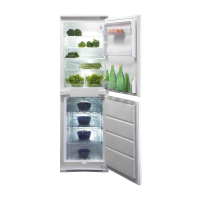
Cupboard door
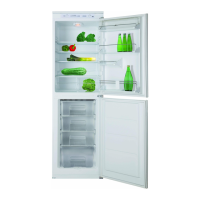
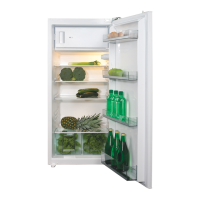
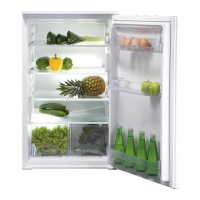
Refrigerator door
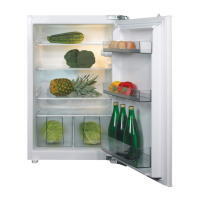
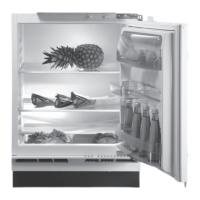
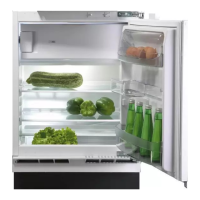
Cabinet door

 Loading...