Do you have a question about the cecotec Conga Rockstar Wet&Dry Steel and is the answer not in the manual?
| Brand | cecotec |
|---|---|
| Model | Conga Rockstar Wet&Dry Steel |
| Category | Vacuum Cleaner |
| Language | English |
The handle attached to the hose for better grip and control.
The flexible tube connecting the appliance to the accessories.
The main switch to turn the appliance on and off.
The main carrying handle for the appliance.
The upper part of the appliance, housing controls and components.
Mechanism for storing the power cord neatly.
Port for blowing air, used for specific functions.
A hook for hanging or securing parts.
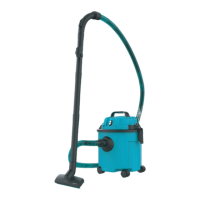
The main container for collecting dirt and liquids.
Wheels attached to the base for mobility.
Connection point for vacuuming both wet and dry materials.
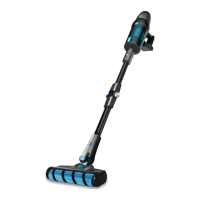
The main brush attachment for cleaning floors.
Filter designed to capture fine particles and allergens.
A specific tank or filter component for liquid collection.
A versatile accessory combining two functions.
A stiff extension tube for the hose.
The main flexible hose assembly for vacuuming.
A specialized attachment for cleaning tight corners and edges.
List of items included in the product packaging.
Step to fix the wheels onto the appliance base for mobility.
Install the correct filter based on whether vacuuming solids or liquids.
Connect the main unit to the dust tank securely.
Attach the hose to the appropriate port for desired function.
Connect the selected accessory to the flexible hose.
Verify the high-efficiency or liquid filter is properly fitted before use.
Connect hose to the correct port for suction or blowing.
Plug in and power on the appliance using the on/off button.
Disconnect the appliance from the power outlet after each use.
Ensure the appliance is disconnected from power before cleaning.
Regularly clean the tank, filters, and main unit for optimal performance.
Recommended filter replacement schedule for consistent suction.
Check power cord connection, socket condition, and if the appliance is switched on.
Clear obstructions in the appliance and consider changing the filter.
Check liquid filter placement or if the tank capacity has been exceeded.