BIO X6 User Manual v. 1.0 74
4.4.11 Manual photocrosslinking – Model
When you tap Manual photocrosslinking after the print is finished, you will be redirected to
the Photocrosslinking tab in the Printing Utilities menu (see screenshot below).
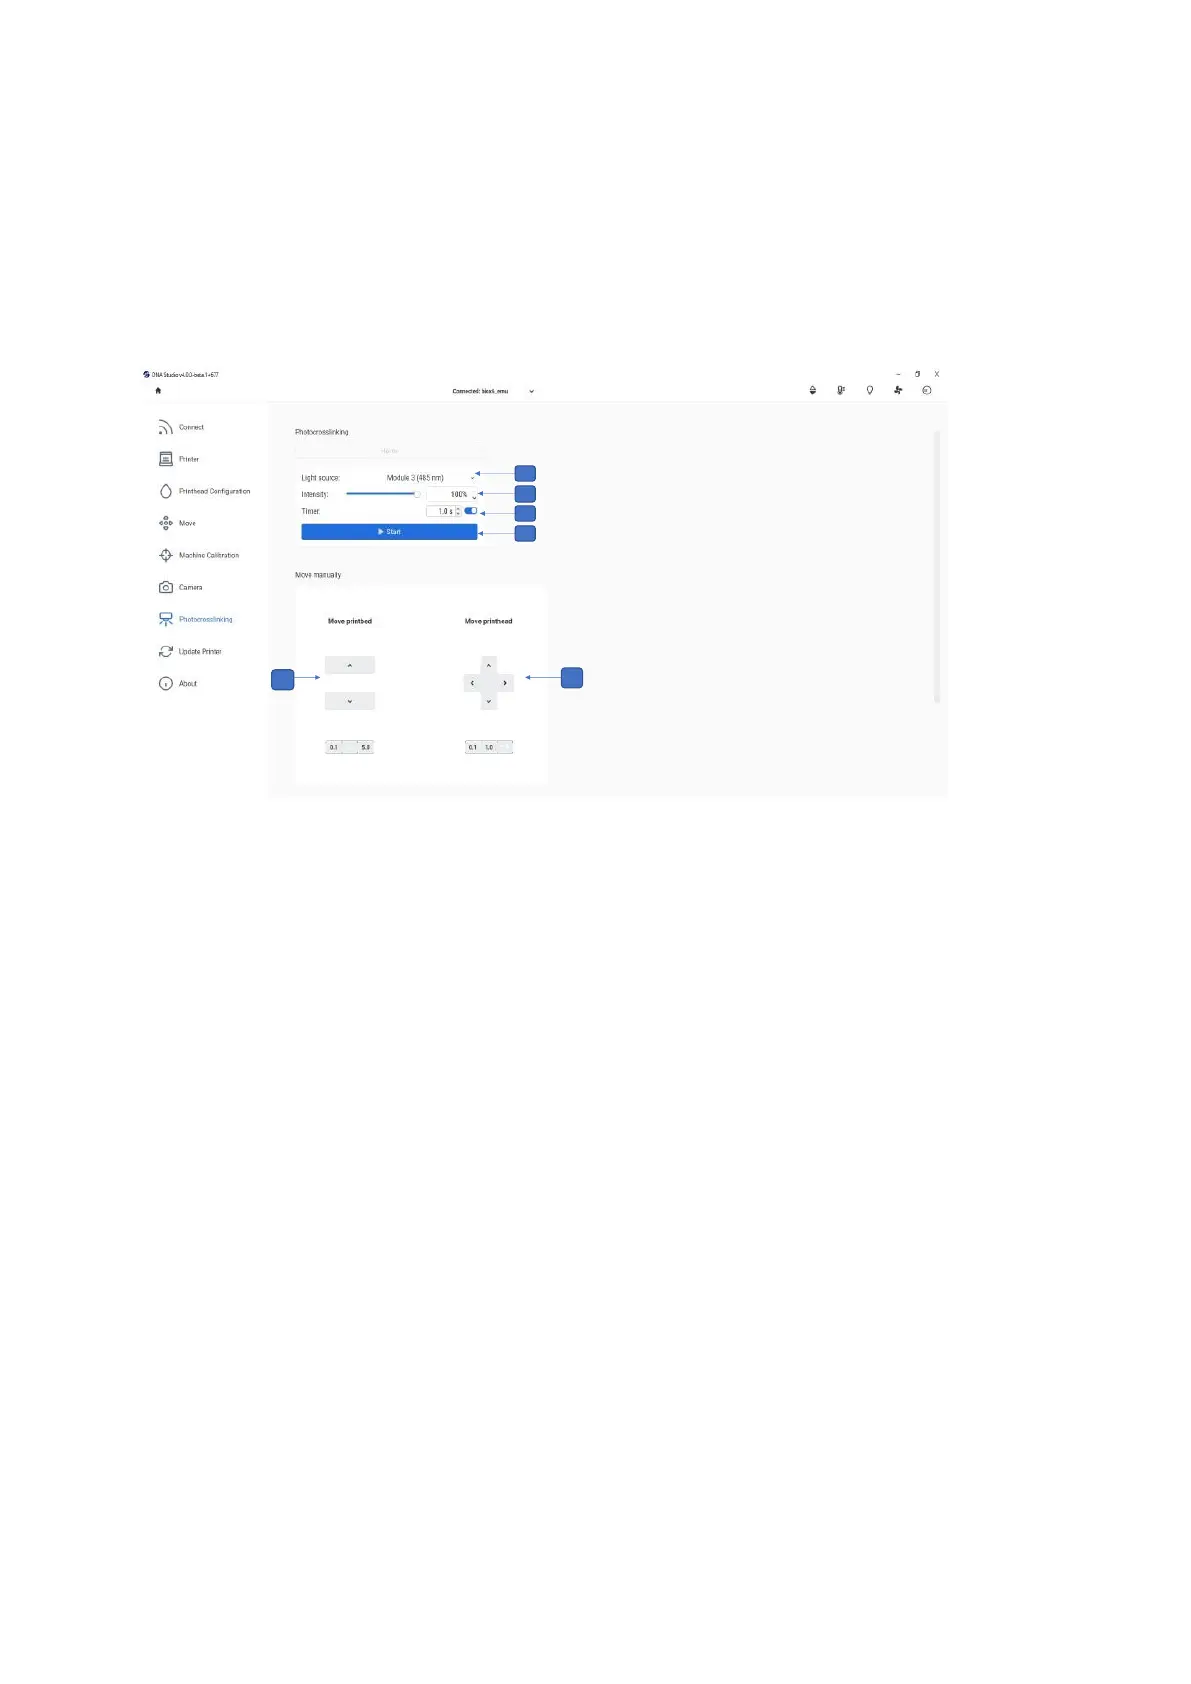
1. Select the distance from the surface bed up and down and adjust it for precision by
using 5-, 1- or 0.1-mm steps.
2. Select the wells to be manually photocrosslinked and select the distance from the
surface (up, down, left, right) and adjust it for precision by using 5-, 1- or 0.1-mm
steps.
3. Light source: Tap to select the light source for photocrosslinking. You can choose
one of the UV curing LEDs or the Photocrosslinking tool.
4. Intensity: Tap to change the intensity from 0 to 100%.
5. Timer: Tap to set the timer for photocrosslinking (0.1 s to 600 s).
6. Start: Tap to start the photocrosslinking.
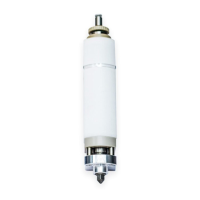
Note that the Photocuring Toolhead offers even more targeted and powerful
photocrosslinking than the built-in photocuring modules.