20
IMPORTANT INFORMATION
Please check the construction set for completeness using the position
list in good time before starting construction or commissioning your
construction team. If individual parts are defective or missing, we will
deliver these as quickly as possible. However, we cannot refund the
costs for any resulting construction delays to a construction company.
PLEASE UNDERSTAND THAT WE CANNOT
ASSUME ANY GUARANTEE FOR THE FOLLO-
WING DEFECTS:
• incorrect storage before assembly
• incorrect anchoring with the ground or inadequate foundation (foundation
according to statics)
• damage due to erection errors, e. g. the house is not level or not right-angled
• damage through a higher level of snow burden than statically envisaged. Re-
commendation: lad relief of the roof by removing the snow layer
• storm damage (insurance cases) or violent destruction
• damage through any alteration to the design by the client
• natural formation of cracks, branch holes, twisting, decolouration or similar
modication (natural process; has no inuence on the statics)
STORAGE INFORMATION UNTIL CONSTRUC-
TION:
• Store pallet on a level and dry surface.
• Protect from exposure to sunlight and the inuences of weather; wood can
warp drastically in a loose condition!
GENERAL TIPS AND REFERS TO:
When using roong felt, we recommend using two layers; rst the underlay
on the bottom, and then the bitumen felt on top. We do not recommend using
a tiled roof because of its weight.
TIPS FOR ASSEMBLY:
• Make sure that the foundation is even and frost proof.
• The foundation timbers of the building are proofed, but we still recommend
installing a strip of roong felt between the foundation timbers and the
foundation itself to prevent moisture rising from the soil into the timber (felt
not included).
• If you are installing a composting seat that rises through the oor of the buil-
ding, design the foundation of the building so that the composting seat is at
a suitable height.
• To start assembly, arrange the parts in numerical order next to the assembly
site. You can identify the parts needed for each step of the assembly process
by their measurements (please see the list of parts).
• Keep the small parts (screws, nails, ttings, etc.) in their bags during the
assembly process to stop them from getting lost.
• We recommend that you use protective gloves and eyewear during the as-
sembly process.
• Reserve 1–3 days for the assembly process.
• Some steps of the assembly require two people.
EN
• Paint the wooden surfaces of the structure soon after assembly to protect it,
and install roong cover or sheeting onto its roof (e.g. roong felt).
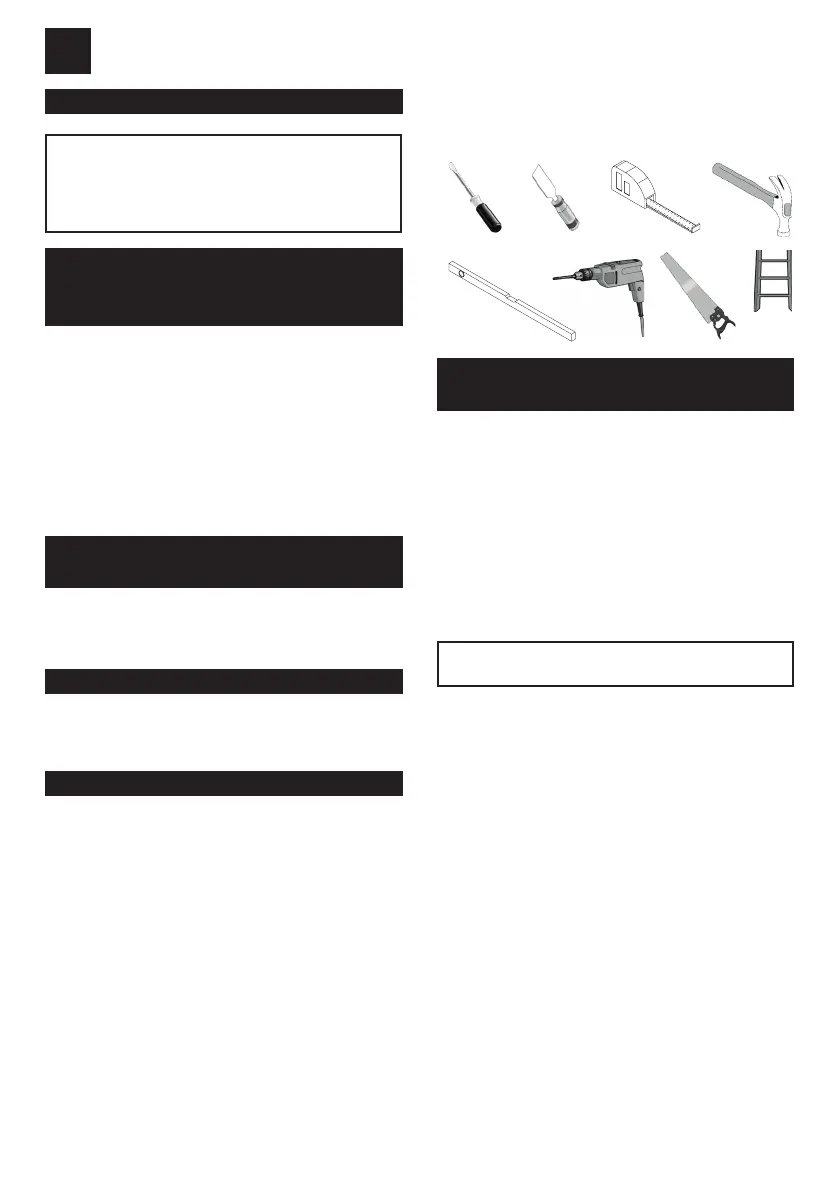
• You will need the following tools during the assembly process:
INSTRUCTIONS FOR MAINTENANCE/COLOUR
TREATMENT
Except for foundation beams and stair, all wooden parts are untreated. Woo-
den parts that are not treated, must be protected with wood paint.
RECOMMENDATION:
An initial coat on all sides with a wood primer (protection against fungi
and insects), and then one coat each of intermediate and top coat with a
high-quality wood-preserving varnish (colour tones, UV protection, prote-
ction against weathering).
Regular varnishing is necessary to maintain the wood. Make sure the pro-
ducts are given good UV protection and that the working guidelines of the
varnish manufacturer are observed.
* Technical modifications reserved. All dimensions are approximate
dimensions. Stand 11/22
 Loading...