7
INSTALLATION AND
CONNECTION INSTRUCTIONS
General
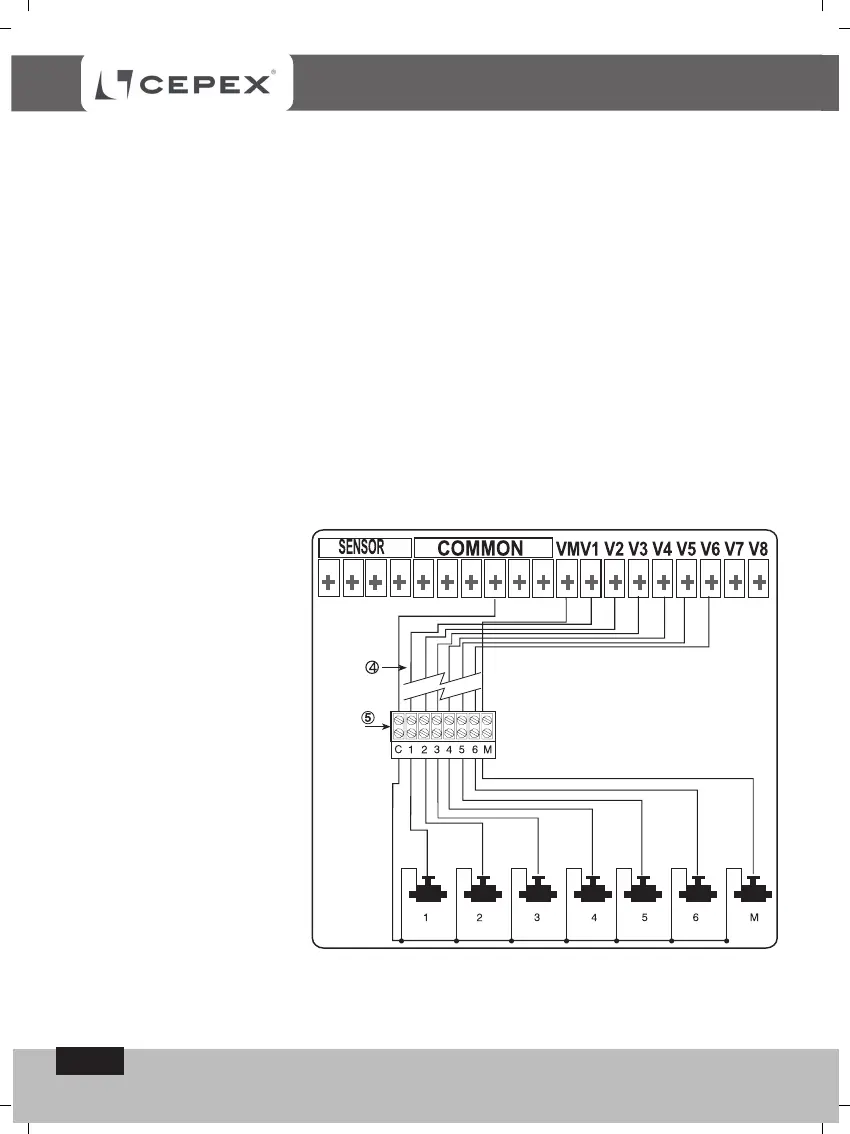
Two indentically coloured leads extend from each solenoid. One lead (either one), is connected
to the suitably numbered valve on the controllers connections panel (2). The other lead is
connected to COM. For the users convenience there are 4 COM points. The distance between
the controller and the valves usually exceeds the length of the solenoid leads and there is
need of an extension between them via a extension wire
(4). The solenoid leads are connected
into a connections box setup closeby (5), with the extension wire
connecting between the
controller and the connections box.
The connections-box and the extension wire
are not included with the product.
Connecting the solenoid leads to the connections-box
1. Mark the connection points in the connections-box C, 1, 2, 3, 4, 5, 6, 7, 8 M (5). It is
recommended that all the points are marked even where the number of valves is less than
that.
2. Connect single leads from each of the solenoids to a separate point in the connections-box
(5). Ensure that the valve number in the field matches the number in the box : Valve No.
1 to point No. 1, valve No. 2 to point No. 2 and so on. The Master-valve (if there is one),
is connected to point M.
3. Connect the second lead
rom each of the solenoids
to point C in the
connections-box.
Connecting the
Communications Cable
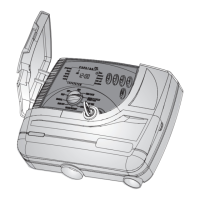
1. Remove the lower cover
from the controller (1).
2. Connect the extension
wire to the connection points
on the controller panel: points
1 to 6 on the right
hand side connections bar (2)
and points M and C on the
left-hand side bar (3),
the connection points C
are identitical. Make
a record of the numbering of the
points and of the lead colours connected to them.
3.Connect the wire-ends from the extension wire(4) to the connections-box (5) alongside the
valves per the colour key and the numbers you prepared at the previous stage.
 Loading...