OPERATING INSTRUCTIONS
HOW TO USE THE ICE MAKER
The ice maker makes a full batch of restaurant-style ice in less than 20 minutes and,
with the help of a professional plumber, can be connected directly to your water line
for a convenient, effortless ice-making experience.
1. Set the ice maker on a hard, level surface away from any sources of heat. Leave at
least 6 inches of clearance on all sides of the unit for proper ventilation. NOTE: If the
ice maker has been moved since its last use, let it sit for 30 minutes before plugging
it in, to allow the refrigerant uid to settle.
2. Make sure the drain tubes are rmly in place in a closed position.
3. Plug the power cord into a grounded outlet. The ICE indicator light will blink as
the ice maker enters standby mode, signaling that the unit is plugged in but not yet
powered on.
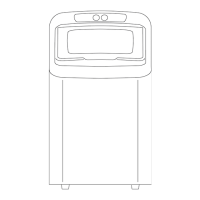
4. Manually ll the water reservoir: Open the front cover and gently lift and remove
the ice basket. Fill the water reservoir with ltered or bottled water up to but not
exceeding the MAX ll line. To ensure sanitation, change the water in the reservoir
at least once a day. CAUTION: Only use cold to room temperature water. Hot water
can damage the ice maker.
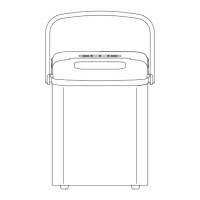
5. Replace the ice basket and close the front cover.
6. Alternatively, for an automatic, continuous ow of water, the water inlet tube can
be used to connect the ice maker directly to your water line. CAUTION: To avoid
damage to your plumbing, contact a professional plumber to connect the unit with
the inlet tube.
7. Press the START button. The ICE indicator light will illuminate, indicating that the ice
maker is running and no longer in standby mode.
12
 Loading...