Do you have a question about the Chicco Smart Support and is the answer not in the manual?
Raise the sun canopy to a vertical position to avoid hindering subsequent operations.
Raise the bumper bar to the horizontal position until a click is heard.
Ensure the bumper bar is locked correctly by checking contact and applying gentle downward pressure.
Fit the fabric inside the joints using the hook and loop straps.
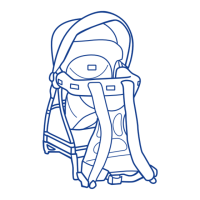
Pull the rear stand towards the backpack to automatically lock it into position.
Close the stand until completely locked when using the backpack on shoulders.
Fix the backrest to the backpack joints by inserting the support tubes as shown.
Verify tubes are fitted correctly, checking locking springs are visible and pulling backrest upwards.
Fix the supports of the sun canopy's second small arch as shown in the diagram.
To open the sun canopy, pull the small front arch forward.
Adjust seat up or down via buckles at the rear and crotch strap, using the plastic slide adjuster.
To raise the seat, pull down on the end of the strap.
Adjust leg openings snugly for the baby's legs using the buckle on the crotch strap.
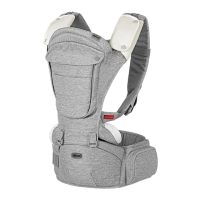
The backpack includes an insert/pillow for maximum comfort to the child.
Place child in backpack and secure with the 5-point retention system.
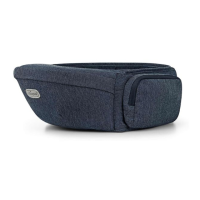
Put backpack on shoulders, adjust waist strap, and fasten front buckle.
Fasten the chest buckle and adjust shoulder strap for correct position.
Regular maintenance includes wiping plastic parts and drying metal parts to prevent corrosion.
Provides contact details for questions, comments, or missing parts for USA customers.
| Brand | Chicco |
|---|---|
| Model | Smart Support |
| Category | Baby Carrier |
| Language | English |