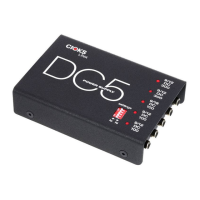
The status of each isolated output or section is shown by a LED indicator also situated on top
of the enclosure just above the voltage figure. The function of this advanced and unique
monitoring feature is described in detail later on.
Back
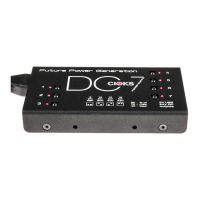
In the space on the back of the enclosure you’ll find the AC power input socket, mains voltage
selector switch, fuse and the settings switch.
The AC power input socket is called C6 according to the IEC 60320 standard and it’s the same
type used in many laptop power supplies.
Mains voltage selector switch should be used for setting the correct mains voltage 115 or
230V. The Japanese version is made only for a 100V nominal mains voltage and has no mains
voltage selector switch.
The fuse is the only part which can be replaced by the user. In case it’s blown, replace with a
5x20mm, T 500mA (slow blow/time lag) type.
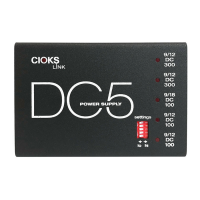
The settings switch should be used for changing the operation settings of the power supply.
Bottom
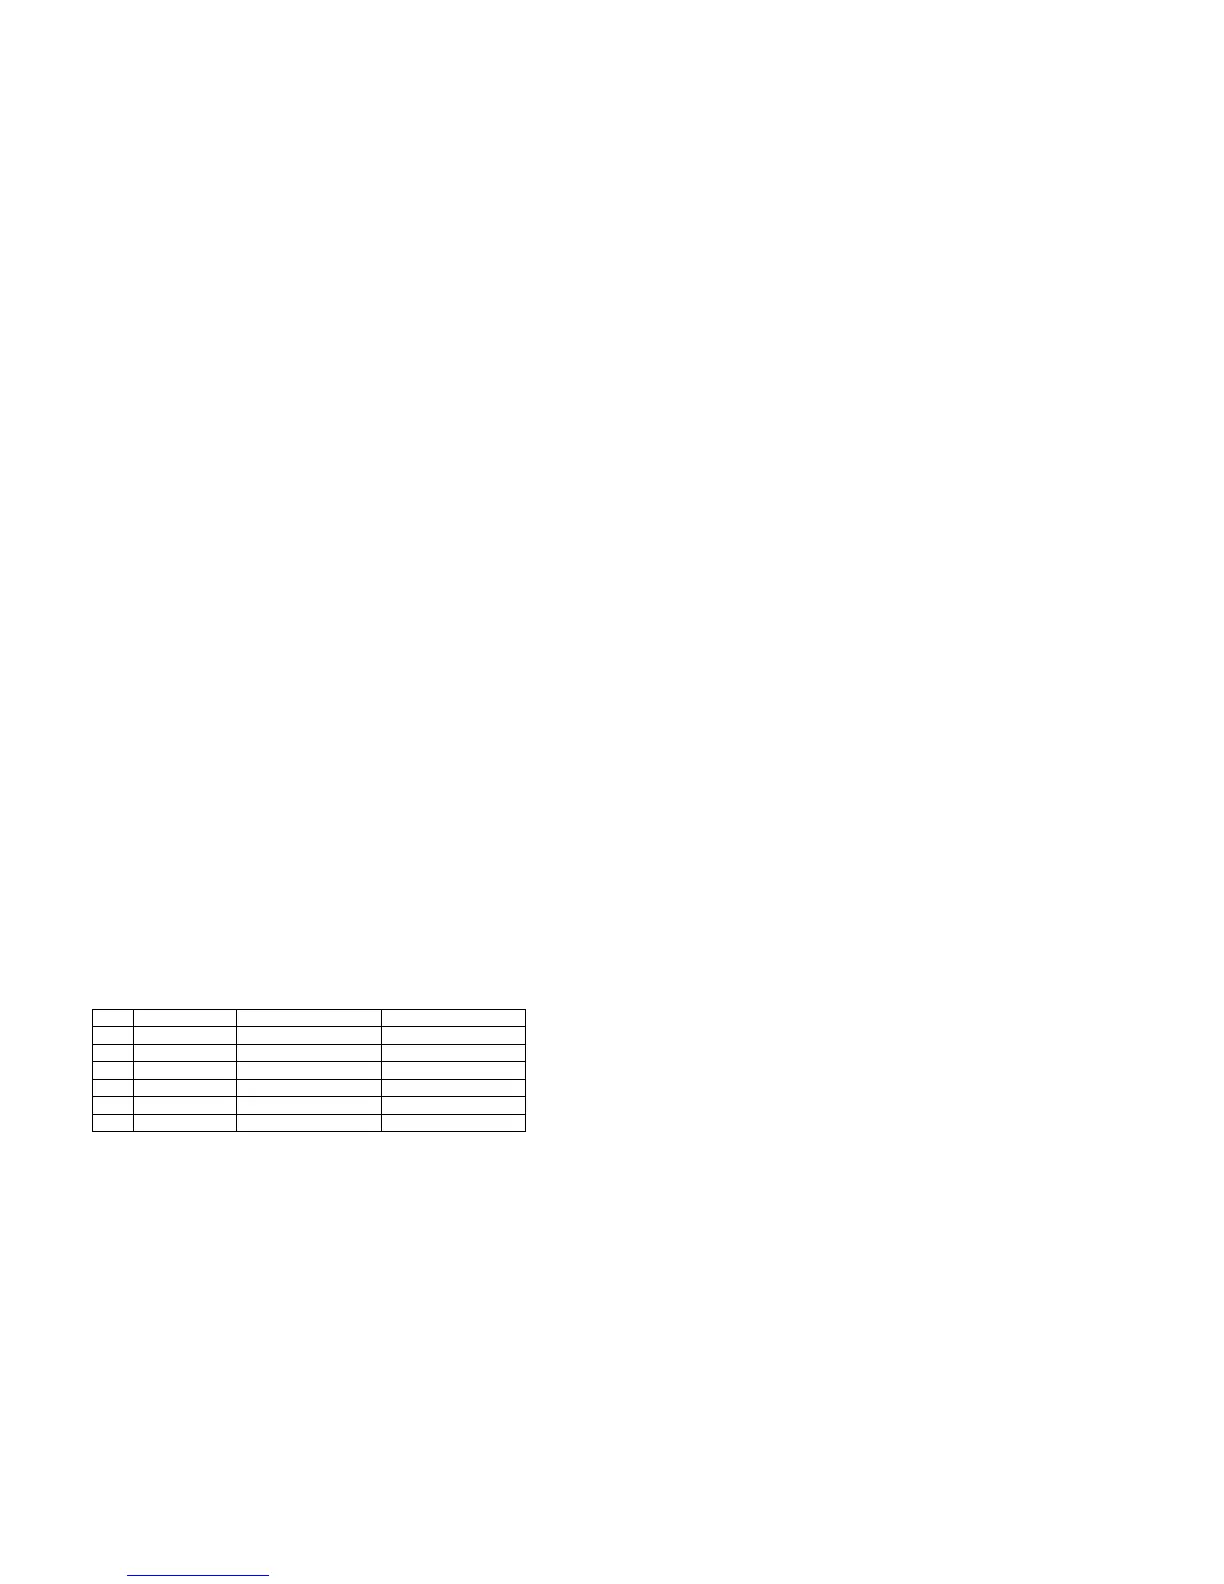
Here you’ll find you’ll find a table showing the different settings of the power supply, which
you select using the settings switch on the back. Also here are the four detachable rubber feet
and 6 holes with metric M4 threads, which should be used for easy mounting of the power
supply to a pedalboard. Do not use screws, which would go further than 5mm inside the unit.
Have a look at the mounting guide on CIOKS web site.
Getting started
First make sure that the voltage value chosen on the voltage selector switch matches the mains
voltage in your wall socket. Connect the mains power cord to the power supply and mains wall
outlet. Using the right Flex cable types connect your pedals to the outlets of power supply
making sure that the voltage and current is correct for every pedal. Rock’n’Roll..! ...or JaZz!
Settings
To change the settings of the power supply you use the settings switch on the back of the
enclosure. In the table below you can see the different settings:
LED mode
The LED in the middle of letter ‘O’ in CIOKS logo can operate in either ‘breathing mode’ or
‘constant’ mode. You select the mode with switch knob no. 1.
Voltage settings
Voltage of outlets 5 and 6 can individually be set to 9 or 12V with switch knobs no. 3 and 4,
where the default value is 9V. Voltage of outlet 10 can be set to either 12 or 15V, where 12V is
default.
Isolated or merged operation of outlets 5 and 6
In the default setting outlets 5 and 6 operate as totally isolated outputs with a maximum current
of 200mA each. In case you need a third powerful 400mA section, you can merge these two
outlets by setting knob no. 2 to ON into a third 400mA section with two outlets sharing the
same GND. The voltage of these two outlets can still be set individually to either 9 or 12V.
The total current you draw from these two outlets should not exceed 400mA when added.
Features
Advanced LED Monitoring
Each isolated outlet or section has its individual LED status indicator. The indicator is lit in
normal operation. Its light gets dim when you operate just on the edge of the current limit. If
you overload or short circuit an outlet, the respective LED indicator turns off.
The LED indicators of outlets 5, 6 and 10 with selectable output voltages, also show you the
voltage chosen with the settings switch. In case a higher voltage than the default setting is
selected for a given outlet, its respective LED indicator will be lit with higher intensity than the
other indicators. Default setting for outlets 5 and 6 is 9V and for outlet 10 it’s 12V.
All indicators take into account the actual level of mains voltage when monitoring a possible
overload. The current limits for each outlet or section of the power supply are specified at
nominal level of the mains voltage. In Europe it’s 230V and 120V in e.g. United States. If the
mains voltage is higher than nominal, you can draw more current from the power supply than
stated in the specifications. This would never be a problem. A more common situation though,
is when the mains voltage is lower than nominal. In such a case maximum current ratings for
each outlet or section might be diminished.
The advanced LED monitoring of each isolated outlet will alert you in case of an overload or
short circuit. If such a situation happens you know where to look to solve the problem.
A glance at the LED status indicators and you have proof of 100% clean power to your pedals.
Breathing ‘O’ LED
The LED in the letter ‘O’ has two main functions. Just after the power supply is connected to
mains and starts to operate, the LED states the serial number of your unit by blinking each
digit if the number. Then depending on the setting it either starts to ‘breath’ or stays lit
showing that the power is on. The ‘breathing’ frequency is dependent on the temperature inside
the power supply and with higher temperature the ‘breathing’ gets more frequent.
Included accessories
Flex cables
CIOKS offers a great selection of different Flex cable types for connecting your pedals to the
power supply. Below you see a list of the included Flex cables with your unit:
Type 1 – black with 5,5/2,1mm centre negative DC-plug x8
 Loading...