G0050002 REV. -
PAGE 2
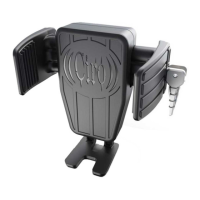
Cybercharger installaon: Install the Ciro accessory ball mount according to the instrucons provided with that product.
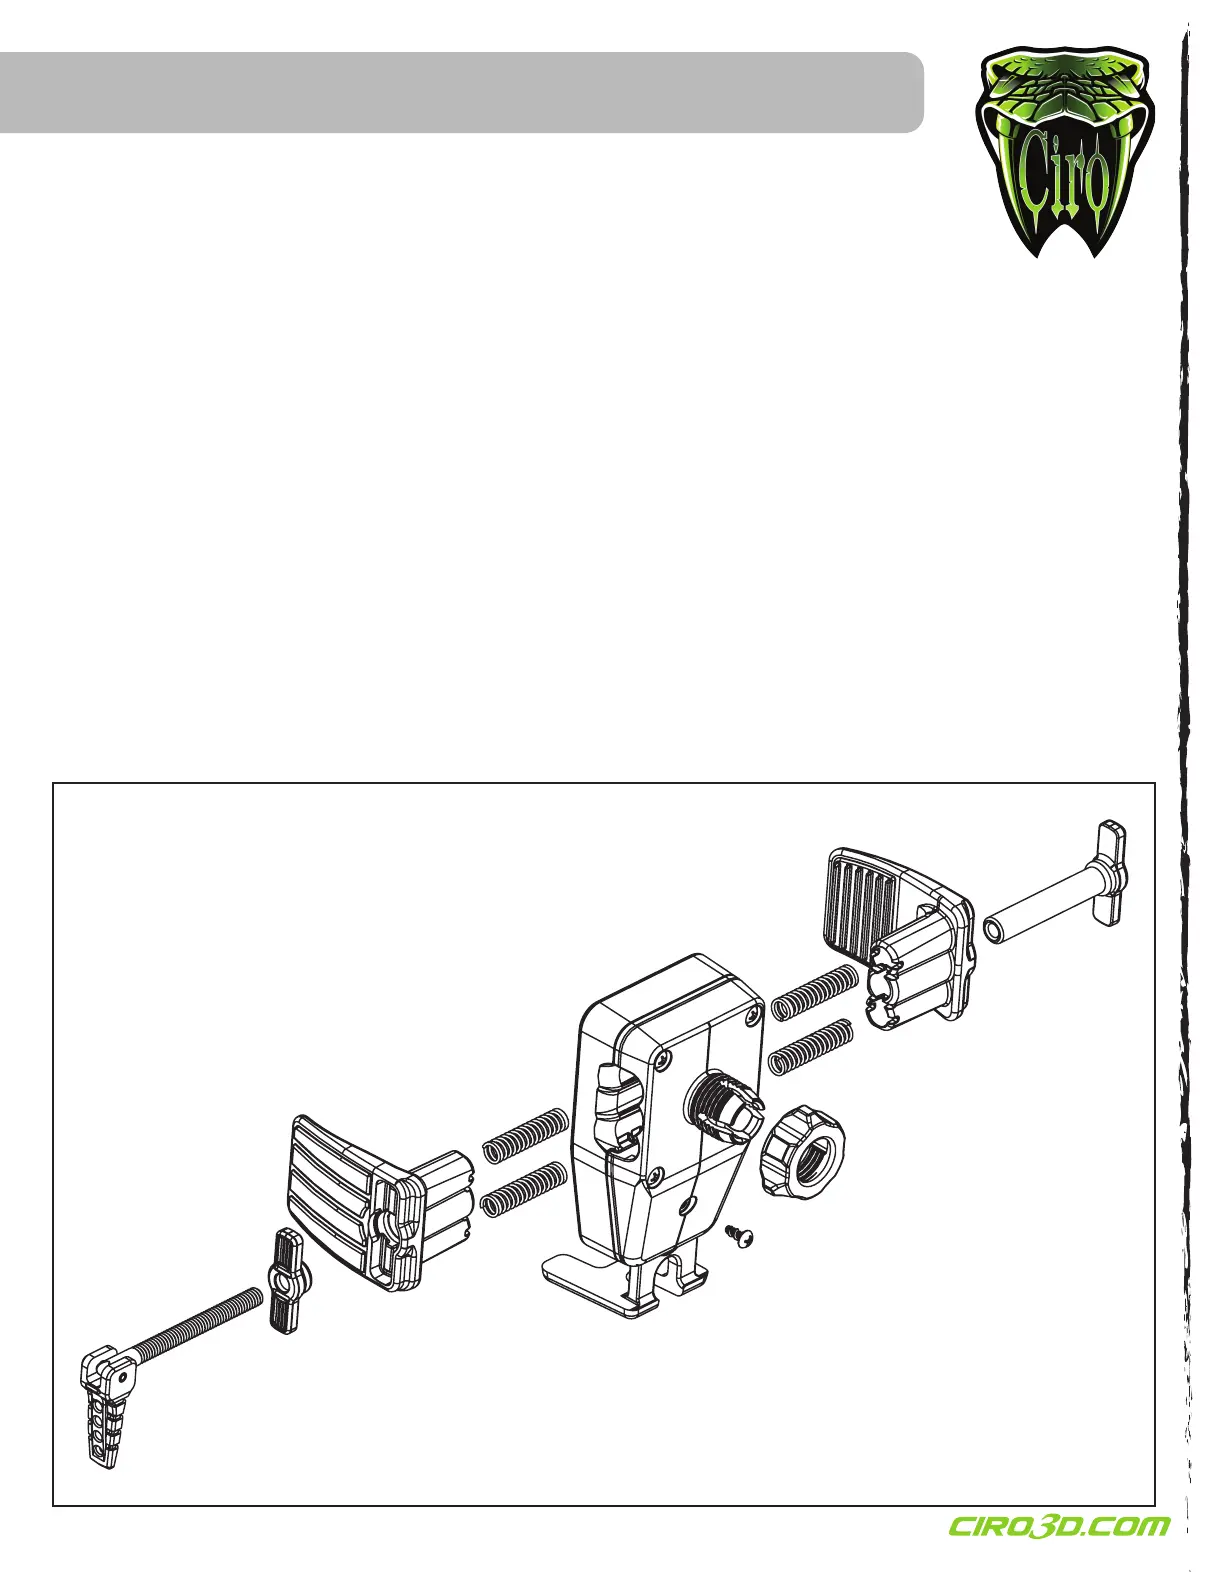
1. Remove the large plasc nut (a) from the back of your Cybercharger. Slide the nut over the ball mount (-). FIG.1 (a)(-)
2. Pop the Cybercharger onto the ball and thread the nut onto it. Adjust the angle and then ghten the nut. To change the posion
loosen the nut, move the Cybercharger to the desired angle and then ghten the nut.
3. Connect the baery power harness to the baery and route the power cable to the mounted Cybercharger. Plug the power cable into the
boom of the Cybercharger.
Cybercharger phone fitment and usage:
-The phone holder includes an adjustable boom support leg meant to provide a durable, repeatable locaon for most popular phones. You may
need to loosen the lower most locking screw (b) and adjust the leg (c) to align the wireless charging coil to your phone. All phones are slightly
different and final placement will need to be determined by the user. The locking screw should then be ghtened to prevent unintended move-
ment. FIG.2 (b)(c)
-Do not overly ghten the clamping cam lever (d) before locking into place. Excessive force could lead to phone damage.
-The clamping cam lever (d) can be moved to the opposite side of the Cybercharger. Hold the side arms (e)(f) together and thread the lever all the
way out. Remove the clamping plate (g) and female thread plate (h). Reinstall them on the opposite side. Thread the cam lever back into place in
its new posion.
FIG.2
(a)
(b)
(c)
(d)
(e)
(f)
(g)
(h)
 Loading...