To reduce risk of electric shock, connect the unit only to DC power source that complies with the Safety
Extra-Low Voltage (SELV) requirements in IEC 60950 based safety standards or ES1 requirements in IEC
62368 based safety standards. Statement 1033
Warning
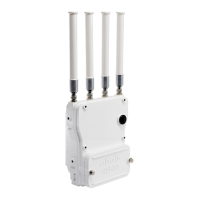
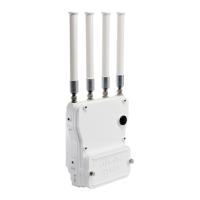
To route and connect the power cable to the IW-6300H-DCW-x–K9 model, follow these steps:
Procedure
Step 1 Open the access point cover. See Opening the Access Cover, on page 13 for instructions.
Step 2 Ensure a 6 AWG ground wire is connected to the access point (see Grounding the Access Point , on page 19).
Step 3 Route the power cable through the 1/2 NPT port.
Step 4 Use a wire stripper tool to remove the insulation from each wire. Remove only enough wire to provide a solid
connection in the terminal block. The hot wires should have no bare wire exposed after the connection is
made.
Step 5 Insert the ground wire into the internal ground.
Step 6 Insert each hot wire into the terminal block.
Figure 17: IW-6300H-DCW-x-K9 Internal Ground and Terminal Block Location
Internal ground2Terminal block1
Step 7 Use a Phillips screwdriver to tighten the terminal block set screws to secure the wires in the terminal block.
Step 8 Verify that no bare wire is exposed. If wire is exposed, remove it from the terminal block, adjust the length,
and reinstall.
Step 9 Check your work.
Step 10 Close the access point cover. See Closing the Access Cover, on page 14 for details.
Installing the Access Point
25
Installing the Access Point
Connecting DC Power to IW-6300H-DCW-x-K9
 Loading...