Step 2 Slide the PDU down slightly so that it locks into place in the key hole on the PDU tray (see callout 2 in the
preceding figure) or the rear-facing flange.
Step 3 Secure the lower PDU mounting button into place as in steps 1 and 2.
Step 4 Install a PDU retention bracket on the top of the PDU as shown in the following figure. Secure the bracket
to the PDU tray with the screws provided.
Figure 16: Attaching the PDU Retention Bracket to the PDU Tray
Step 5 Route the PDU power cable either through the large access opening in the back of the rack canopy.
Step 6 Connect the PDU power cord to the AC power source.
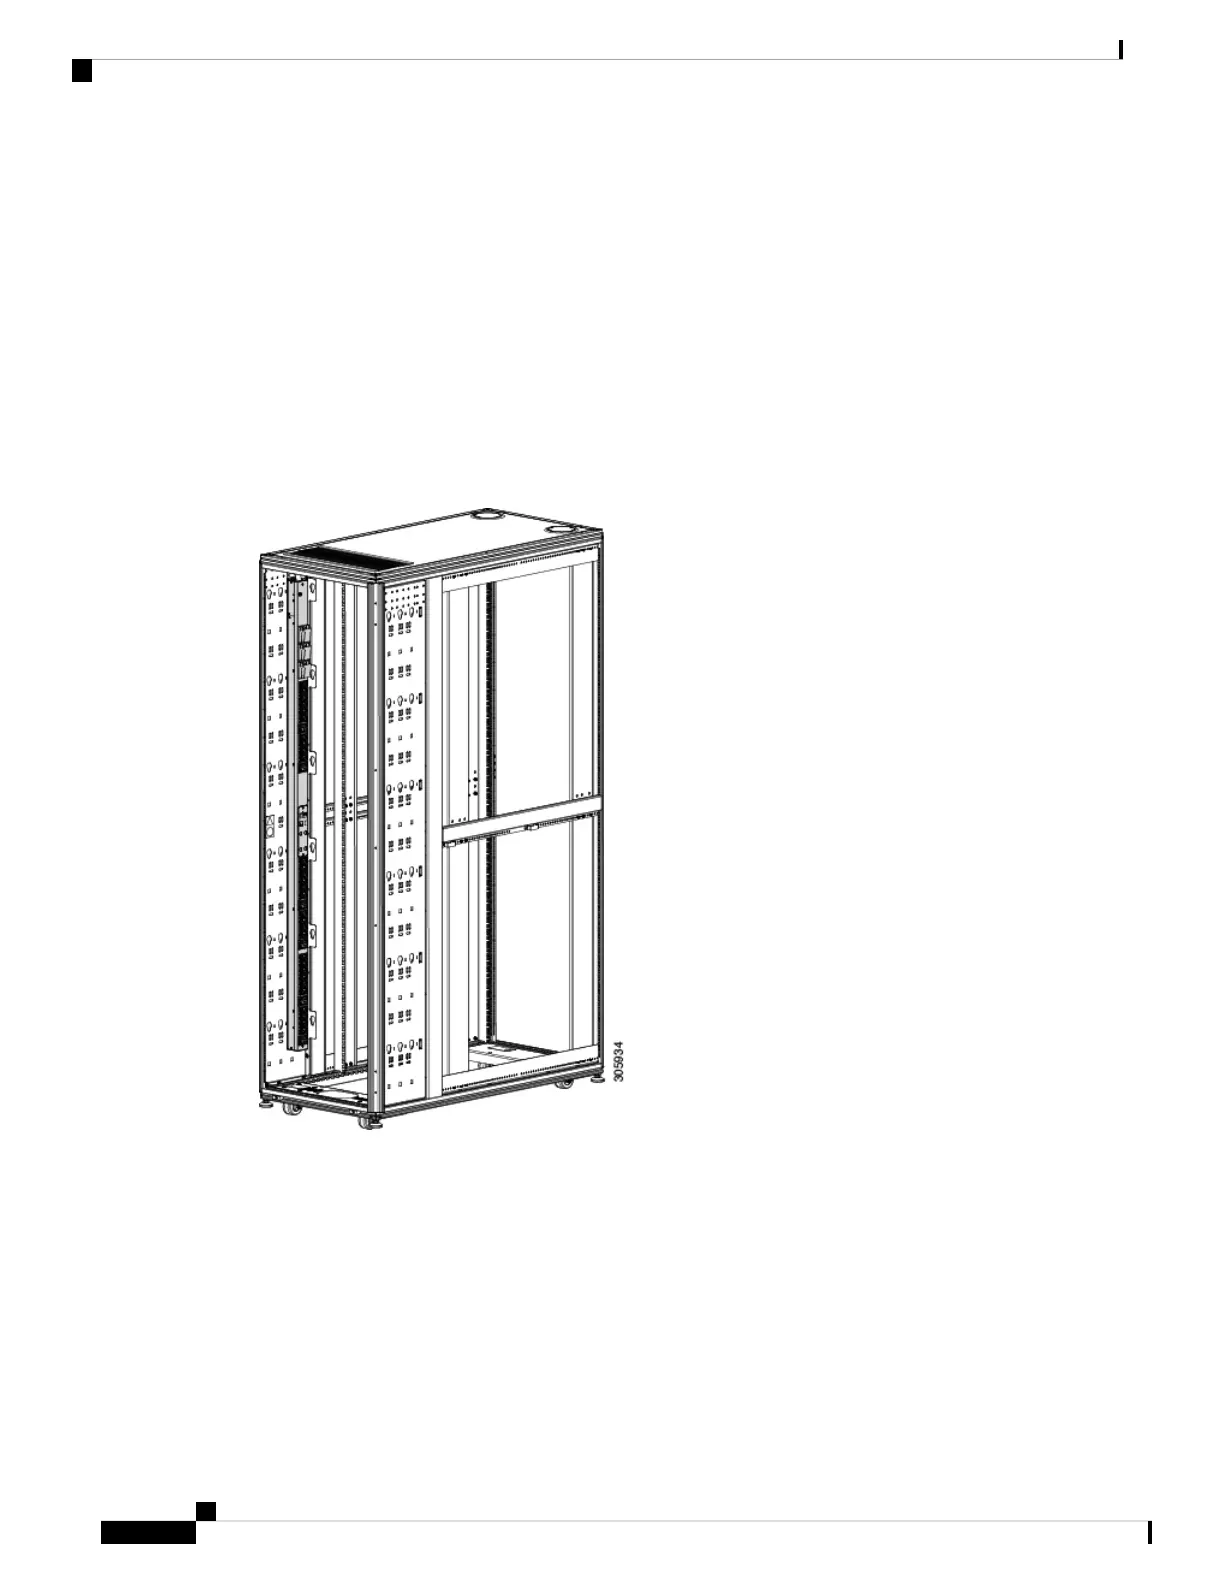
The following figure shows a single zero-U PDU installed in the PDU tray.
Figure 17: One Zero-U PDU Installed
The following figure shows three zero-U PDUs installed side-by-side in the PDU tray.
Cisco R42612 Rack and RP-Series Metered Input PDU Installation Guide
38
Installing Cisco RP-Series PDUs
Installing a Zero-U PDU
 Loading...