EU +44 118 324 1242 | Germany +49 361 7473 4613
www.clearlight-saunas.eu
33
Assembly Instructions Cont’d
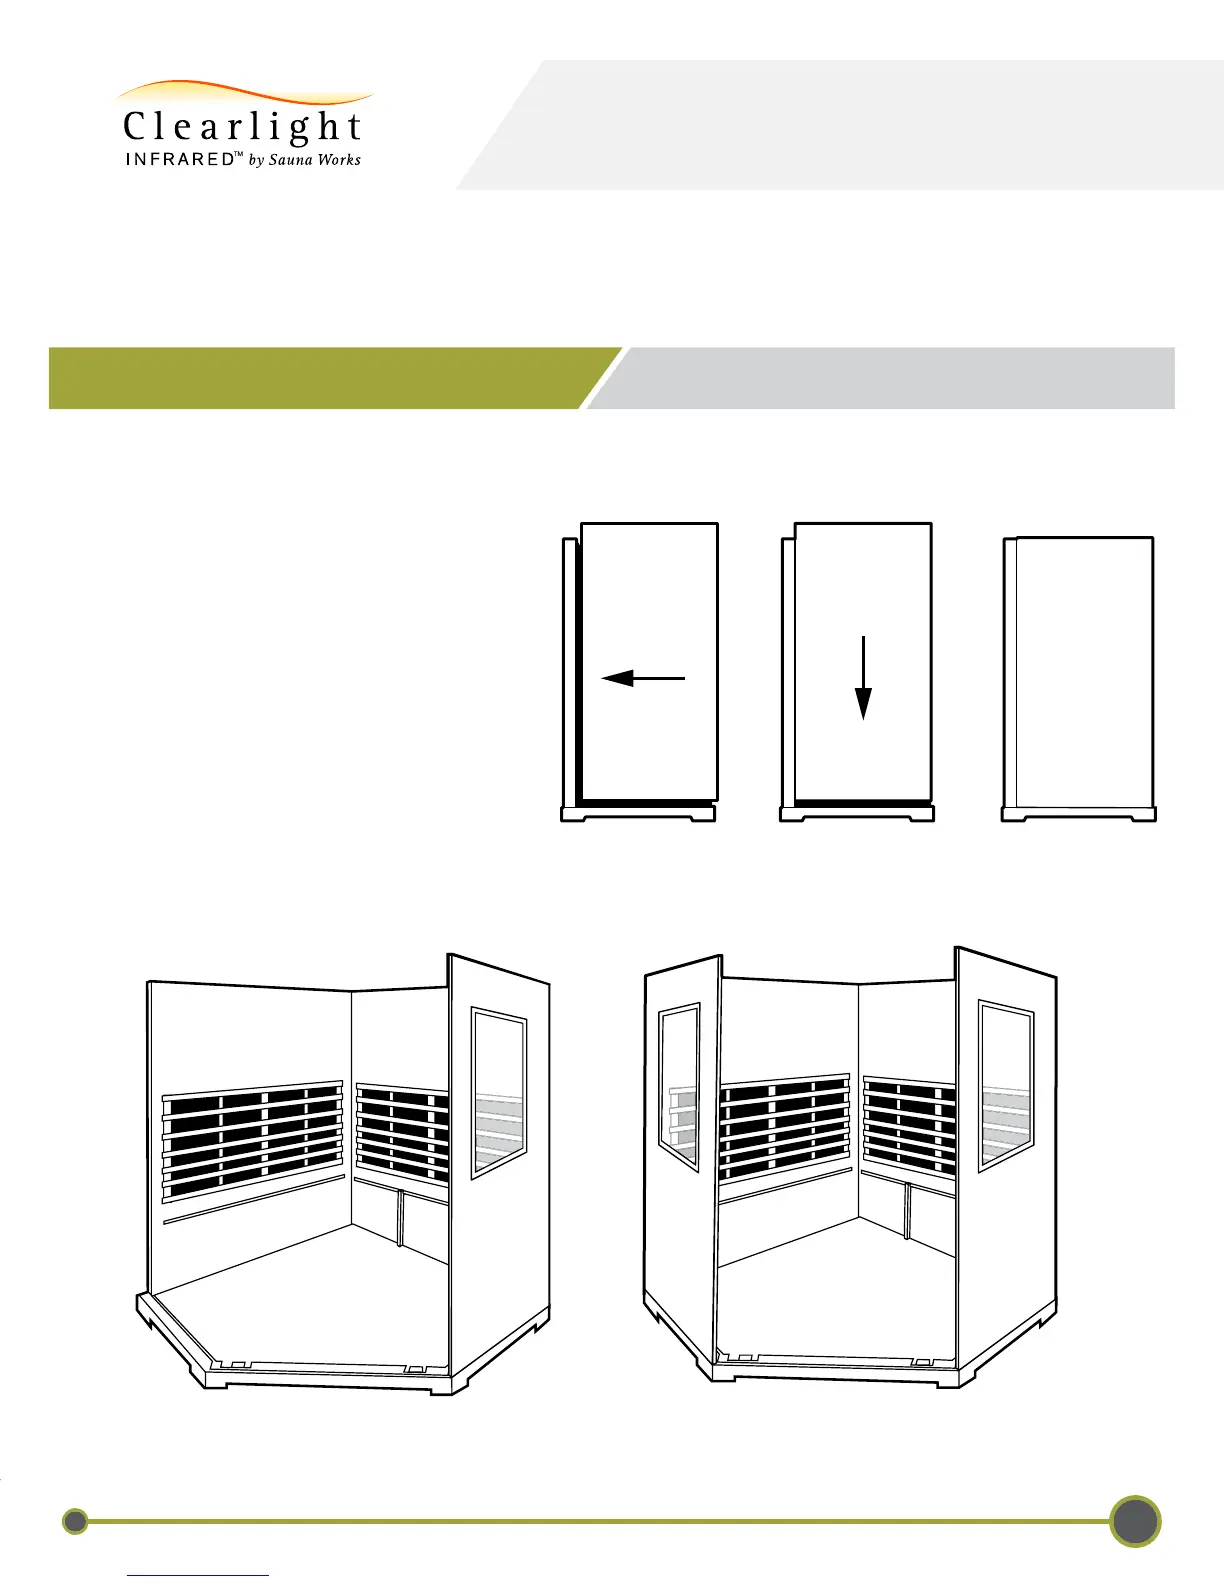
The right side wall will be connected to the right back wall by connecting together the installed brackets. There
are “+” brackets and “-” brackets on the side of each panel. The right side wall will be installed as follows:
1. Place the right side wall in the slot in the floor.
Lift the right side wall up about 4” (10cm)
higher than the right back wall panel
(See Picture 1).
2. Place the right side wall panel against the right
back wall (See Picture 2), then slide down the
right side wall panel until the two panels are
equal height. (See Picture 3).
3. If the panels are not equal height or there is
an obvious gap between the two panels, this
means they are not propery attached and you
should try again.
4. Repeat these steps for the left side wall.
Picture 1 Picture 2 Picture 3
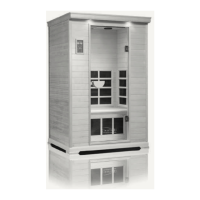
5 - CONNECT THE RIGHT AND LEFT SIDE WALLS
Right Side Wall Installed Left Side Wall Installed
PREMIER IS-C