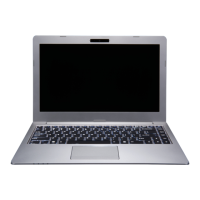
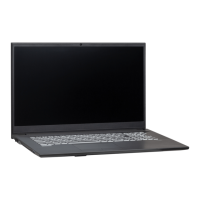
Interface (Ports & Jacks)
Interface (Ports & Jacks) A - 5
A
Install the driver as instructed in “Thunderbolt Port Driver” on page 6 - 21. This will install the
Thunderbolt software to your computer, and this can be accessed by clicking or double-clicking
the icon in the Start screen, Desktop app or notification area of the taskbar.
Thunderbolt support can be enabled (default) or disabled in the BIOS “Intel
(R)Thunderbolt Support (Advanced Menu > Intel(R) Thunderbolt)” on page 5 - 11. You can
also set the level of security for the Thunderbolt port in the BIOS. You can also set the security
level of the port in the BIOS (see “Security Level (Advanced Menu > Intel(R) Thunderbolt)”
on page 5 - 11).
1. Plug a Thunderbolt™ device into the Thunderbolt™ port.
2. Some Thunderbolt devices will require their own driver installation at this point.
3. Access the Thunderbolt software to view information on device chains.
The display configuration for the Thunderbolt port can be set up in the BIOS (see “DDI
Control (Advanced Menu > Advanced Chipset Control)” on page 5 - 9).
Item Description
Ejecting Thunderbolt Devices
In order to prevent system problems make sure you do not simply pull the cable out from
the Thunderbolt port. The hardware must be ejected safely:
1. Go to the notification area of the taskbar in the Desktop App and click on the Safely
Remove Hardware and Eject Media icon.
2. Click on Eject “Thunderbolt Device Name”.
3. When yo u see the “Safe to Remove Hardware” message you can remove the cable.
 Loading...