8 STANLEY
Locate your systems code switch positions from an original hand held remote or
the motor unit receiver. If the switch is “on” or “up”, place a 1; “off” or “down”,
place a 2 in the corresponding box in the TABLE below.
Choose a 4-digit Personal Identification Number (PIN). Any combination of
numbers from 0 to 9 may be used.
Write PIN here:
Before initial programming, press ✱ and # together
until keypad stops flashing. This erases previous
programming and returns unit to unprogrammed factory setting.When
programming to more than one door, do not clear keyless after a successful
programming of the first door.
To test enter PIN followed by any 5th additional number.
Note: Do not use the ✱ star or # pound keys as a 5th number.
If programming is unsuccessful:
• Clear and start over.
• Check to be sure code from table above matches switch positions.
• Reverse code from table above (change 1 to 2; 2 to 1)
CHAMBERLAIN, SEARS, LIFTMASTER, HOME
BUILDER - SECTIONS 1, 2, 3 AND 4
Determine if your system has code switches or a smart-learn button. If your
system has code switches they can be found in an original hand held remote or
on the motor unit receiver. The receiver can be mounted on the side or back
panel of the motor unit or could be mounted on the ceiling or wall (locate the
small gray wire antenna). If you have code switches proceed to Section 1.
Note: Systems that have a yellow, white, or gray smart-learn button will have
code switches in the original hand held remote. If you do not have any
programmed remotes, choose a random 9 digit code using the box below.
If your hand held remotes do not contain code switches, your system will have a
green or orange smart-learn button. Proceed to Section 2 and 3.
1 AND 2 CODE SWITCH SYSTEMS
If the switch is in the plus (+) position place a 1, neutral (0) position place a 2,
negative (-) position place a 3 in the corresponding box in the TABLE below.
If you do not have an 8th or 9th switch on your codes, switches 8 & 9 are in the
(0) position.
Exception: If your original hand held remote has 3 buttons and you are using the
small button on left, place a 1; center button, place a 2; large button place a 3 in
box 1 in the table above. Boxes 2 through 9, place number that corresponds with
switch position.
Choose a 4-digit Personal Identification Number (PIN). Any combination of
numbers from 0 to 9 may be used.
Write PIN here:
Before initial programming, press ✱ and # together
until keypad stops flashing. This erases previous
programming and returns unit to unprogrammed factory setting.When
programming to more than one door, do not clear keyless after a successful
programming of the first door.
To test, enter PIN followed by any 5th additional number.
Note: Do not use the ✱ star or # pound keys as a 5th number.
If programming continues to be unsuccessful, check to be sure the code from
TABLE above match’s switch positions from your system. Clear and start over.
CLICKER MODEL CLK1C
Wireless Keypad - For use with Garage Door Openers
THE CLICKER IS NOT COMPATIBLE WITH SOME ROTATING CODE SYSTEMS
SUCH AS GENIE INTELLICODE OR STANLEY SECURE CODE GARAGE DOOR
OPENER SYSTEMS DEVELOPED BY SEVERAL MANUFACTURERS SINCE 1996.
NOTICE: To comply with FCC and or Industry Canada (IC) rules, adjustment or modifications of this receiver
and/or transmitter are prohibited, except for changing the code setting or replacing the battery. THERE ARE
NO OTHER USER SERVICEABLE PARTS.
Tested to Comply with FCC Standards FOR HOME OR OFFICE USE. Operation is subject to the following two
conditions: (1) this device may not cause harmful interference, and (2) this device must accept any
interference received, including interference that may cause undesired operation.
WARNING
CAUTION
WARNING
WARNING
ATTENTION
AVERTISSEMENT AVERTISSEMENT
AVERTISSEMENT
To prevent possible SERIOUS INJURY or DEATH from a moving gate or garage door:
• ALWAYS keep keypads out of reach of children. NEVER permit children to
operate, or play with remote control transmitters/keypads.
• Activate gate or door ONLY when it can be seen clearly, is properly adjusted,
and there are no obstructions to door travel.
• ALWAYS keep gate or garage door in sight until completely closed. NEVER
permit anyone to cross path of moving gate or door.
Identify Your Garage Door Opener Brand
Determine your brand from an original hand held remote or locate the motor unit
receiver. The receiver can be mounted on the back or side panel of the motor unit
or could be mounted on the ceiling or wall.
You must choose a 4-digit Personal Identification Number (PIN) when
programming the CLK1C. After programming is complete, your PIN plus any
additional number must be entered to activate your system.
If an incorrect PIN is entered, the keypad flashes. When flashing stops, just re-enter
the correct PIN followed by any 5th additional number. (Do not use the ✱ or # Key)
Clear and start over: Press ✱ and # together until keypad stops flashing (5 one
second flashes). If both keys are not pressed down at the same time, the keypad
flashes 10 1/2 second flashes, followed by 5 one second flashes. This erases
previous programming and returns unit to unprogrammed factory setting.
Keypad will flash: During certain programming sequences - when pressing the ✱
or # key or an incorrect PIN is entered.
To program a second garage door opener brand after successfully programming
the first: Determine brand, then follow the brand steps, choosing a different PIN
and in step 1 enter 5,6,7,8 instead of 1,2,3,4. If unsuccessful, wait until keypad
stops flashing, then begin at step 1. Do not clear and start over as first door
programming will be erased.
Keypad will light steadily for 5 seconds: After pressing any key or after entering a
correct PIN. Once programmed, the keypad remains active for 15 seconds. During
this time you may stop, reverse or reactivate the door by pressing any number on
the keypad.
MOUNTING THE CLK1C
Select a smooth vertical surface. Mount the keypad out of the path of the moving
garage door, but within sight of it. At least 4 inches of clearance is needed above
the keypad in order to slide the cover up.
Slide outside cover up and remove. Remove battery cover. Take battery out of
compartment (it is not necessary to disconnect it). Mount the keypad using the two
mounting holes and screws supplied, then reinsert battery, replace battery cover,
and slide outside cover down.
CHANGING YOUR PIN
It is not necessary to reprogram the CLK1C to change the existing PIN.
To change your PIN:
■ Enter existing 4-digit PIN and the ✱ key.
■ Enter new 4-digit PIN and the ✱ key.
■ To test, enter new 4-digit PIN followed by any 5th additional number.
Note: Do not use the ✱ or # keys as a 5th number.
SECTION BRAND
1, 2 Chamberlain, Sears, LiftMaster, Home Builder -
(9 Code Switch Systems, Yellow, White or Gray Learn Button)
3 Chamberlain, Sears, LiftMaster, Home Builder -
(Green Learn Button)
4 Chamberlain, Sears, LiftMaster,
Home Builder - (Orange/Red Learn Button)
5 Linear, Moore-O-Matic
6 Genie - (9 Code Switch Systems)
7 Genie - (12 Code Switch Systems)
8 Stanley
Helpful Hints
123456789
Step 1 Door 1, Enter 1 2 3 4 and the ✱ key.
or Door 2, Enter 5 6 7 8 and the ✱ key.
Step 2 Enter your PIN and the ✱ key.
Step 3 Enter your PIN and the # key.
Step 4 Enter 1 and the # key.
Step 5 Enter code in sequence from the TABLE above and the # key.
Programming is complete.
CODE SWITCH SEQUENCE
✚
0
–
PROGRAMMING
BATTERY REPLACEMENT
Replace the 9-volt battery when the keypad light becomes dim or does not light
up. Slide the outside cover up, unscrew the battery cover and replace battery. It
may be necessary to reprogram the keypad after battery is replaced.
The Clicker can be
programmed to operate
with different brands of
garage door openers.
It is compatible with most
garage door opener
systems manufactured by
Chamberlain, Genie, Home
Builder, LiftMaster, Linear,
Moore-O-Matic, Sears and
Stanley.
✱
7
4
1
0
8
5
2
#
9
6
3
Dip Switches or
Smart-Learn
Button
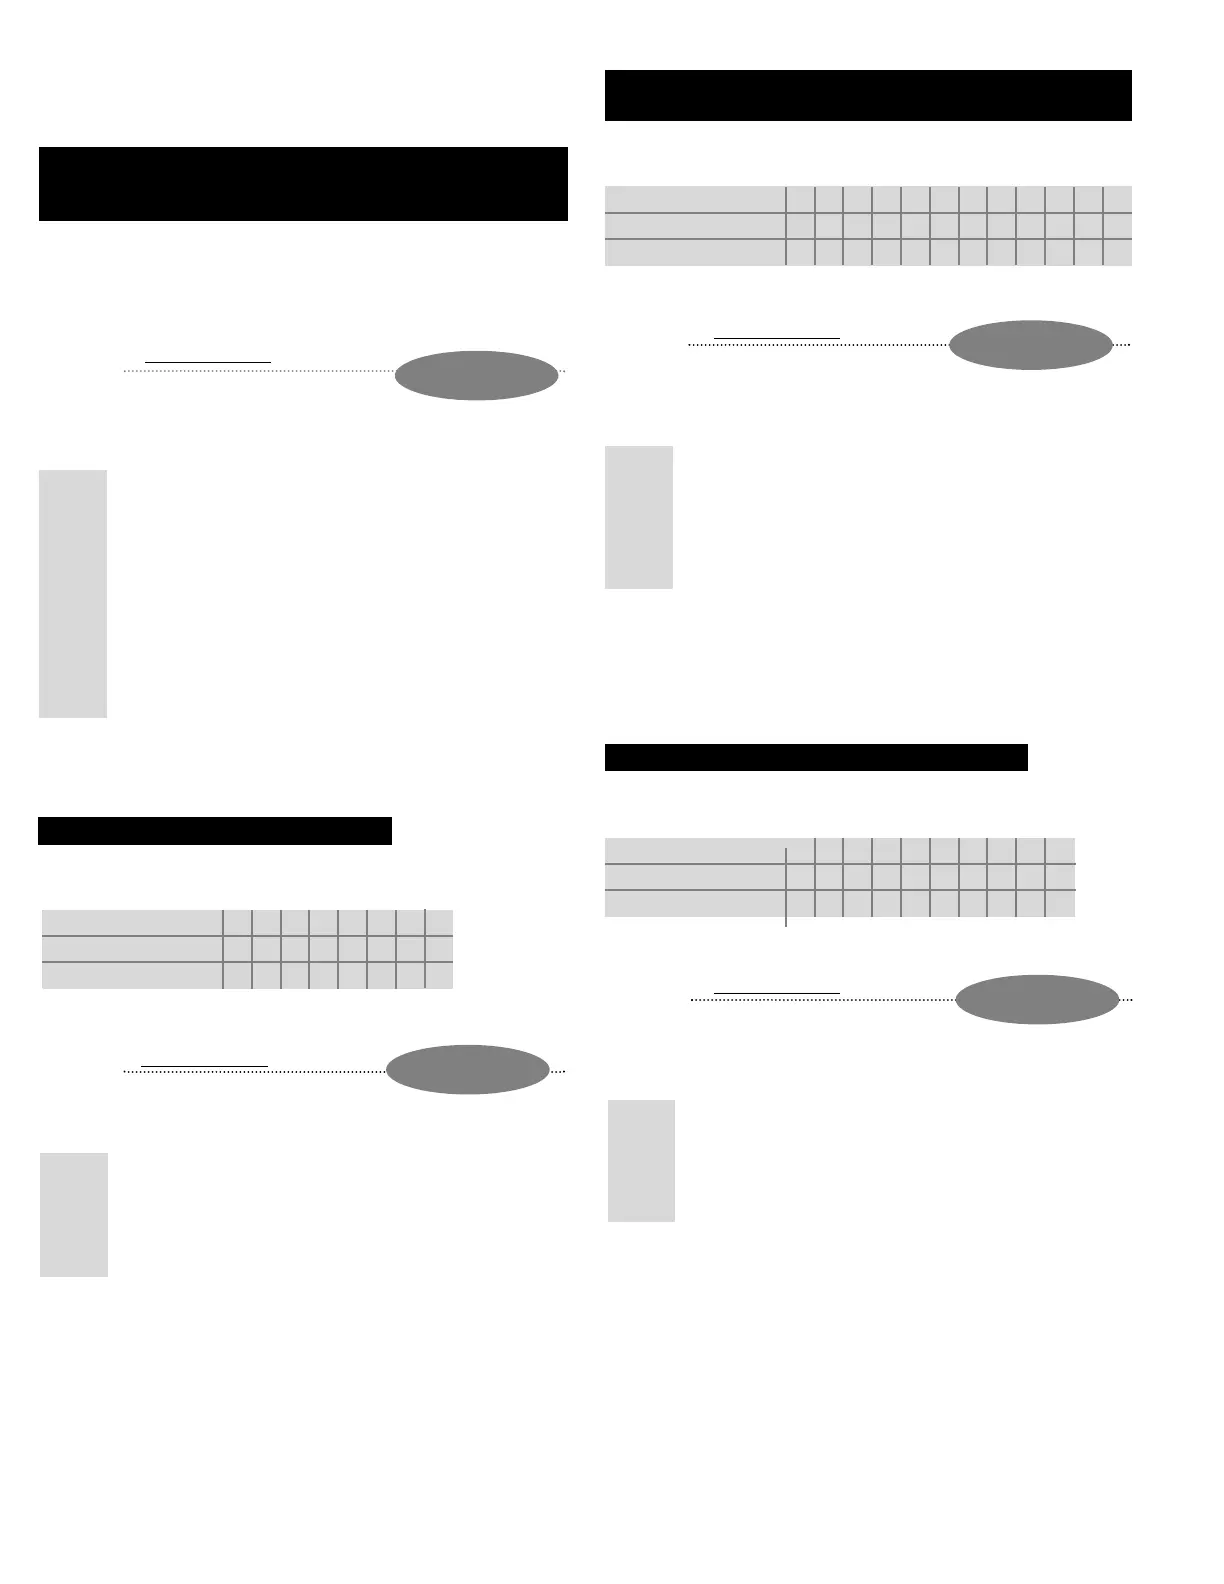
6 GENIE (9 CODE SWITCH SYSTEMS)
7 GENIE (12 CODE SWITCH SYSTEMS)
Locate your systems code switch positions from an original hand held remote or
the motor unit receiver. If the switch is “on” or “up”, place a 1; “off” or “down”,
place a 2 in the corresponding box in the TABLE below.
Choose a 4-digit Personal Identification Number (PIN). Any combination of
numbers from 0 to 9 may be used.
Write PIN here:
Before initial programming, press ✱ and # together
until keypad stops flashing. This erases previous
programming and returns unit to unprogrammed factory setting.When
programming to more than one door, do not clear keyless after a successful
programming of the first door.
To test enter PIN followed by any 5th additional number.
Note: Do not use the ✱ star or # pound keys as a 5th number.
If programming is unsuccessful:
• Clear and start over.
• Check to be sure code from table above matches switch positions.
• Reverse code from table above (change 1 to 2; 2 to 1)
©2006, Clicker Corporation
114A2566D All Rights Reserved
TECHNICAL SUPPORT: 1-800-442-1255
(MONDAY-FRIDAY 6AM-7PM CST; SATURDAY 8AM-6PM)
Chamberlain, LiftMaster and Moore-O-Matic are Trademarks of Chamberlain Group. Genie is a Trademark of Overhead Door Corporation. Home Builder is a Trademark of Home
Hardware. Linear is a Trademark of Linear Corporation. Sears is a Trademark of Sears & Roebuck. Stanley is a Trademark of The Stanley Works.
123456789101112
CODE SWITCH SEQUENCE
ON/UP
OFF/DOWN
Step 1 Door 1, Enter 1 2 3 4 and the ✱ key.
or Door 2, Enter 5 6 7 8 and the ✱ key.
Step 2 Enter your PIN and the ✱ key.
Step 3 Enter your PIN and the # key.
Step 4 GENIE (9 Code Switch Systems) - Enter 6 and the # key.
or GENIE (12 Code Switch Systems) - Enter 7 and the # key.
Step 5 Enter code in sequence from the TABLE above and the # key.
Programming is complete.
Step 1 Door 1, Enter 1 2 3 4 and the ✱ key.
or Door 2, Enter 5 6 7 8 and the ✱ key.
Step 2 Enter your PIN and the ✱ key.
Step 3 Enter your PIN and the # key.
Step 4 GREEN LEARN BUTTON Enter 3 and the # key.
or ORANGE/RED LEARN BUTTON Enter 4 and the # key.
Wait 10 seconds.
Step 5 Press and release smart-learn button on motor unit. (indicator light
next to smart-learn button should turn on.)
Step 6 Enter your PIN into the keypad.
Step 7 Press and HOLD any additional number on the keypad until the
indicator light next to the smart-learn button blinks.
Note: Do not use the ✱ or # keys as a 5th number.
Programming is complete. Wait 10 seconds.
Once programmed, the keypad remains active for 15 seconds. During this time you
may stop, reverse or reactivate the door by pressing any number on the keypad.
To test enter PIN followed by any 5th additional number.
Note: Do not use the ✱ star or # pound keys as the 5th number.
PROGRAMMING
Step 1 Door 1, Enter 1 2 3 4 and the ✱ key.
or Door 2, Enter 5 6 7 8 and the ✱ key.
Step 2 Enter your PIN and the ✱ key.
Step 3 Enter your PIN and the # key.
Step 4 Enter 8 and the # key.
Step 5 Enter code in sequence from the TABLE above and the # key.
Programming is complete.
PROGRAMMING
12345678910
CODE SWITCH SEQUENCE
ON/UP
OFF/DOWN
5 LINEAR AND MOORE-O-MATIC
Locate your systems code switch positions from an original hand held remote or
the motor unit receiver. If the switch is “on” or “up”, place a 1; “off” or
“down”, place a 2 in the corresponding box in the TABLE below.
Choose a 4-digit Personal Identification Number (PIN). Any combination of
numbers from 0 to 9 may be used.
Write PIN here:
Before initial programming, press ✱ and # together
until keypad stops flashing. This erases previous programming and returns unit
to unprogrammed factory setting.When programming to more than one door, do
not clear keyless after a successful programming of the first door.
To test enter PIN followed by any 5th additional number.
Note: Do not use the ✱ star or # pound keys as a 5th number.
If programming is unsuccessful:
• Clear and start over.
• Check to be sure code from table above matches switch positions.
• Reverse code from table above (change 1 to 2; 2 to 1)
12345678
CODE SWITCH SEQUENCE
ON/UP
OFF/DOWN
Step 1 Door 1, Enter 1 2 3 4 and the ✱ key.
or Door 2, Enter 5 6 7 8 and the ✱ key.
Step 2 Enter your PIN and the ✱ key.
Step 3 Enter your PIN and the # key.
Step 4 Enter 5 and the # key.
Step 5 Enter code in sequence from the TABLE above and the # key.
Programming is complete.
PROGRAMMING
3 GREEN LEARN BUTTON
4 ORANGE LEARN BUTTON
SYSTEMS WITH SMART-LEARN BUTTON
Locate your smart-learn button on your system. It will be located on the side or
back panel of the motor unit (near the small grey wire antenna).
The original hand held remote will not have code switches.
Choose a 4-digit Personal Identification Number (PIN). Any combination of
numbers from 0 to 9 may be used.
Write PIN here:
Before initial programming, press ✱ and # together
until keypad stops flashing. This erases previous
programming and returns unit to unprogrammed factory setting.When
programming to more than one door, do not clear keyless after a successful
programming of the first door.
Circle your
Brand and
proceed to the
appropriate
section.
If you did not have any remotes and you set a 9 digit random code and you have
a yellow, white or gray smart-learn button, press the smart-learn button and
release it. Enter your 4-digit pin number and hold any additional number, the door
should operate. Programming is complete.
PROGRAMMING
 Loading...