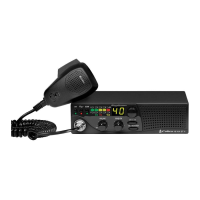
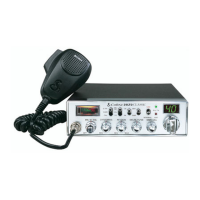
12. TONE SWITCH-HI/LOW. This switch is used to shape the audio response to
the operator’s preference. Bass is increased in the LOW position and treble is
increased in the HI position.
13. BAND SELECTOR. This switch selects HI, MID or LOW band of
operation.
В. INDICATOR FUNCTIONS
1. S-METER. Swings proportionally to the strength of the incoming signal.
2. RF METER. Swings proportionally to the RF output power.
3. SWR METER. Swings proportionally to the ratio of standing wave voltage
and RF output. Used to properly adjust the length of the antenna, and to
monitor the quality of the coaxial cable and all RF electrical connections. If
there is any dégradation whatsoever in any of the above, due to humidity, salt
spray, vibration or corrosion, the SWR meter reading will rise, thereby indi-
cating that a problem exists.
To calibrate, .switch to the “CAL” position transmit by pressing the mike
switch,^andWdju¥tAhWSWRWontroTto the “CAL” mark on the meter then
switch to “SWR” position for the SWR measurement.
4. CHANNEL INDICATOR. Numbered LED indicates the selected channel you
wish to operate on. LED indicates “9” when CH-9 is switched on.
5. RECEIVER/TRANSMIT INDICATOR. The receiver/transmit LED indicator
is located next to the channel indicator. When in receive, the LED will be
green. When in transmit the LED will be red.
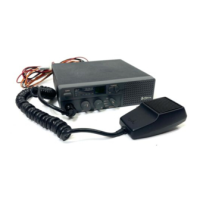
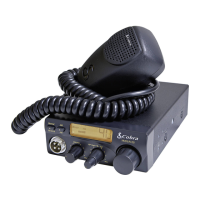
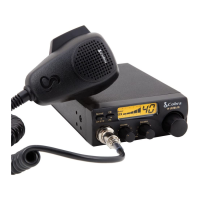
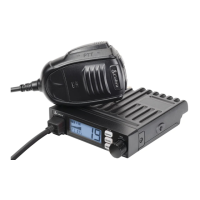
6. PRESS-TO-TALK MICROPHONE. The receiver and transmitter are con-
trolled by the press-to-talk switch on the microphone. Press the switch and
the transmitter is activated, release switch to receive. When transmitting, hołd
the microphone two inches from the mouth and speak clearly in a normal
“voice”. The radios corne complété with low-impedance (500 ohm) dynamie
microphone. For installation instructions on o.ther microphones, see next
section, “ALTERNATE MICROPHONES AND INSTALLATION.”
OPERATING PROCEDURE TO RECEIVE
1. Be sure that power source, microphone and antenna are connected to the
proper connectors before going to the next step.
2. Tum unit on by tuning VOL control clockwise on COBRA 148GTL-DX.
3. Set the VOLUME for a Comfortable listening level.
4. Set the MODE switch to the desire mode.
- 14-

 Loading...