Ser
v
i
ce
&
Maintenance
By
tttilizing
state
of
the art
technology
and aero-space
manufactu
r
·
ing tedmiques
Colours wheelchairs
are
more advanced
than ever.
Due
to tne rapid
pace
at
which
our
industry is
evo
l
ving,
it is
iml)<ls
-
sible for
us,
in a
manuallilce
this, to
provide
the
most
complete
and current
information
on
repair
and
maintenance
of your Colours
wheelchair.
In
order
to
minimize
the
risk
of
accidents,
poor per-
formance
or
causing damage
to
your
chair.
it
is
critica
1
that
you
see
an
authorized Colours service provider for
all repairs.
Remember
,
your
number
one
source
for
information
and
assistance
is tile dealer that
delivere<l your
chair.
Your
nearest dealer can
help answer
questions
regarding wheelchair
adjustment, mainte·
na
nee
and warranty.
Since
the
maintenance needed for each individual
user
wiU vol}'.yo11 sho11td
c,onsult
with y()JJt
Colours
repre-
sentative
to
f!jtablish
a
periodic maintenance program
suited
to
your particular
use
Cleaning
Uph
o
lstery
\Vh.en
clea
ning
the
upholstery,
use w rm water
nd
a
mild
so p- Up·
holste'1
cleaner/foam
can also be
used,
but
avoid
other cleaning
solvents.
Frame
Whether your Colours frame
has been owder
coateor
anodized,
great
cart>
is taken in the
choice
of
material
and
process
to keep
your
chair
looking
it's
b t.
K ping the
chair
clean and pro
rly
maintained is
as
imJl(lrtant
with your
wheelchair
as
it
is
with
any
other
mechanical
equipment.
Proper maintenance
and
cleaning
will
greatly
reduce the chance
for
performance
problems.
and
c:ao
extend
the life of
your chair
.
Clean
the
frame
parts with
warm water
and soap, car
shampoo
or a
rnild non-abrasive
cteaMr.
Dry
any
remaining water from
the chair.
One drop
of
lubricant
is
recommend,
once or
twice
a year in
the
brake
assembly and on the bacluest
hinges
to
make
these parts op-
erate smoothly.
a
r4
MM
.
NTE.NANCE
,
WARRANTY
&
ACCESSOR
I
ES
Adjustments
lo the
arm
rests should only
l1e
made
by
an authon'zed
Colours dealer.We discuss them for
in-
formolionol
p11rpose
only.
There
are
many more accessories
and
components
available.
For
a co
refer
to page
36.
Push
Hand
l
le
s
To
install:
1.
l
n$ert
the push
hand!e
into the push
handle receiver
locat«i
directly behind
the
backrest
2.
Lock
the push
handle
into place by
inserting
the
push handle
set
screw
(or the
optional
push
handle quick
release).
3.
Malee
certain that the set
screw
is
fully inserted
and
locl<ed
into place.
4
.
Remember
that
push handles
are left and
right
specific.
THE I'USH
HANDLE
•
""""""""
'
'"
'"
"""".
_.
PUSH
HAHGU
ltlC£1\1U
To
remove:
Remove
the puh
handle
set
sc:rew
(or
pull
the
quick release pin)
out and pull
the
push handle
out of push
handle
receive
r
.
THE
OPliO AL
PUSH
H
ANDU
QIJ!(K
IIJELEASE
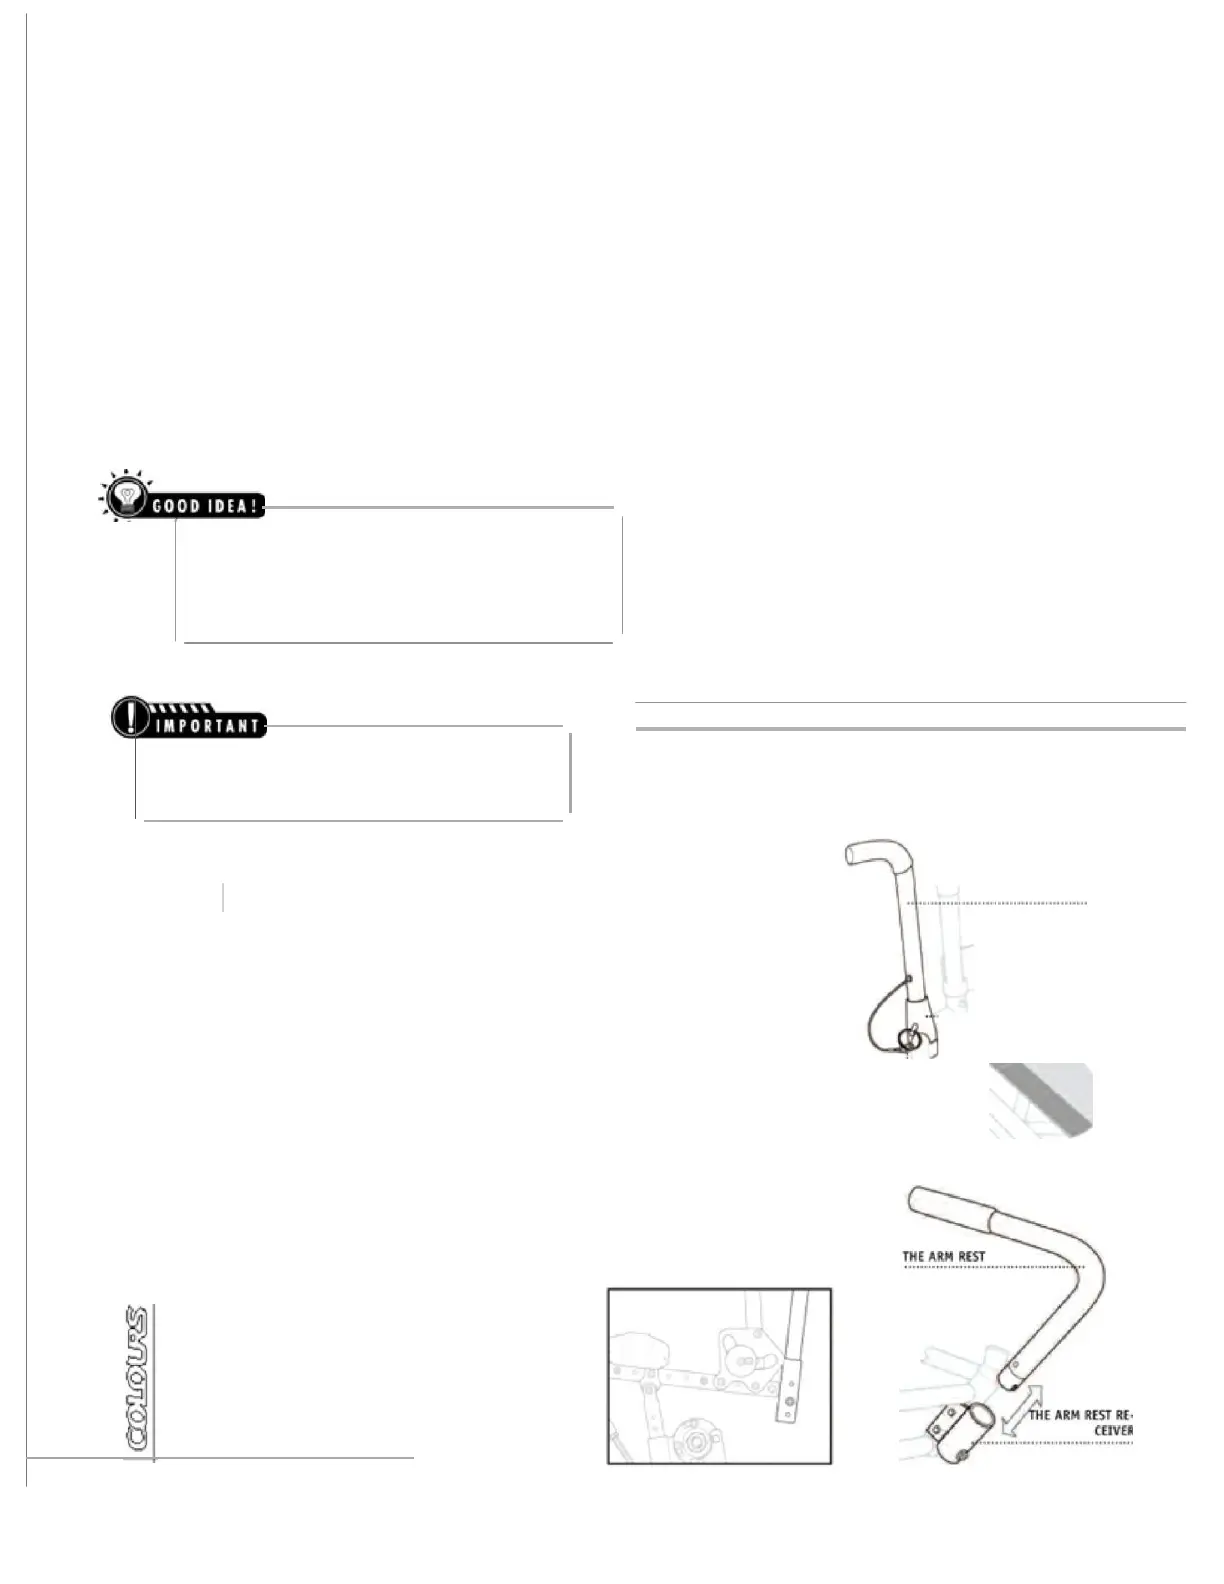
Arm Rests
To
install:
1. Insert
arm-rest
into the arm rest
receiver. Make
sure that the
grooved
end
of
the
arm rest
handle lotks firmly
into
I)<ISitio!'l
when inserted
into the arm rest receiver.
2.
Arm Rests
are left and
right
specific.
To
remove:
Pull
the arm
re
s
t
handle
out of the arm rest re<eiver.
\)
0 W N E R
'
S M A H U A
L
 Loading...