ENGLISH
3
Call for customer service and/or missing or damaged parts (800-334-6871)
• Disassembly of your fixture will void the warranty
• For supply connections, use wire rated at least 90° C.
• In the event of glass breakage, the entire lens cover must be replaced per UL
requirements. Contact Customer Service for ordering assistance.
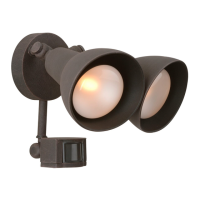
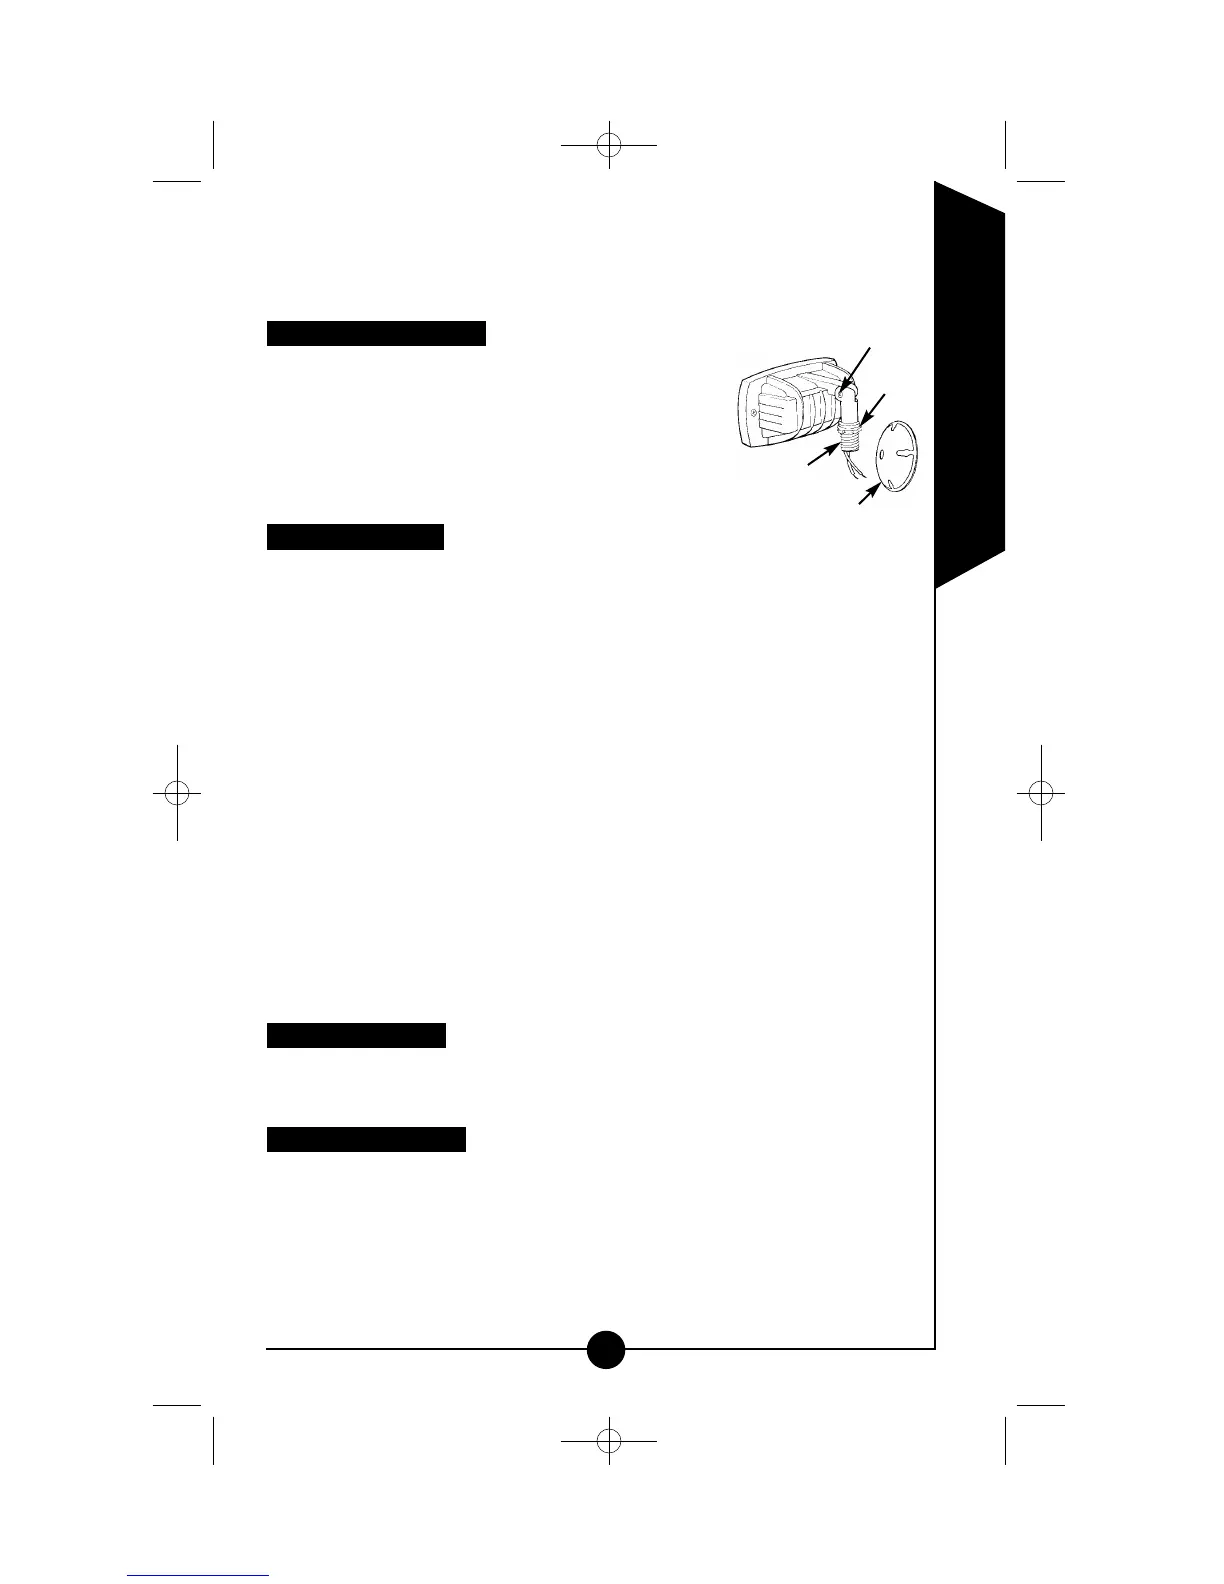
Assembling your fixture
Step 1: Loosen the swivel bolt (F) located on the back
of the fixture.
Step 2: Thread the junction box coverplate (E) onto the
mounting arm (D) and secure with the locknut
provided (B) using pliers to tighten.
Note: The locknut should be on the outside of the
junction coverplate.
Wiring your fixture
Note: This fixture should be mounted to a grounded junction box.
Step 1: Turn off the power at the main fuse/breaker box.
Step 2: Connect the white house supply wire to the white fixture wire using
a wire nut.
Note: Wire nuts not supplied. Connect the black house supply wire to the
black fixture wire using a wire nut. Connect the house supply ground wire to
the fixture ground wire using a wire nut.
Step 3: Attach fixture and coverplate to the junction box and fasten securely
with screws, making sure no wires are sticking out from underneath
the coverplate.
Step 4: Apply silicone caulk around the edges of the coverplate to provide a
watertight seal from rain and moisture.
Step 5: Turn on power at main fuse/breaker box.
Note: This fixture can be used with a dimmer switch to adjust light output. To
install a dimmer switch: Use a dimmer switch designed for incandescent light-
ing that has a rating of 150 watts or higher. Follow the installation instructions
included with the dimmer switch. Keeping the halogen bulb in a dim mode for
an extended period of time may shorten the life of the bulb. To achieve maxi-
mum bulb life, occasionally turn the switch to full brightness for a few hours.
Aiming your fixture
For optimum performance halogen fixtures must be mounted so that the bulb
is within 4 degrees of horizontal. Adjust fixture vertically to desired position and
tighten swivel bolt securely.
Servicing your fixture
CAUTION: When replacing bulb in the fixture, always replace with
the same wattage bulb or a lower wattage bulb. DO NOT replace with
a bulb of greater wattage than specified on the fixture. To do so could
create a fire hazard and or shorten the life of the bulb.
Note: If lens is replaced, use only tempered safety glass of equal thickness.
E
B
D
F
 Loading...