8 The Willow
H) ASSEMBLY OF EXTERIOR WINDOW TRIM AND SHUTTERS
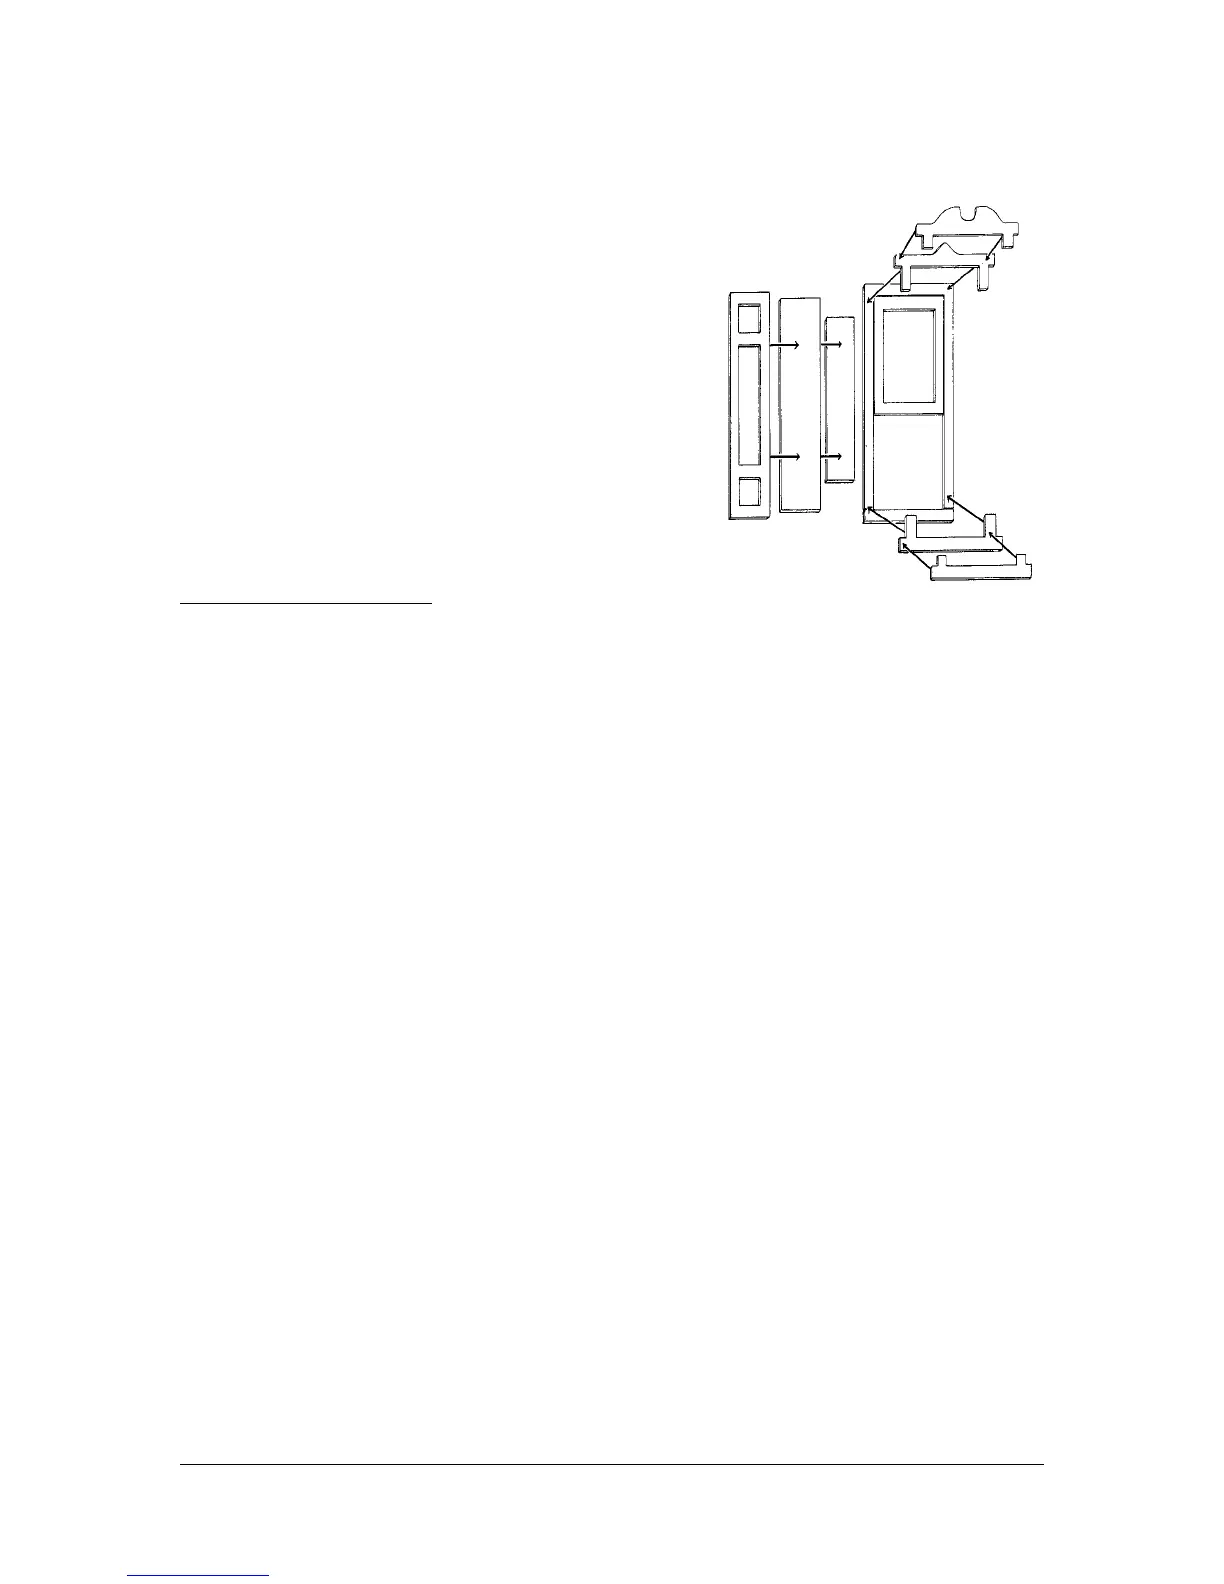
1. R&P eleven window top trims (1) and eleven top trim
backers (7). Position and glue a top trim backer centered on the
top edge of each window casing - top corner edges flush.
Position and glue a top trim on each backer centered with top
corner edges flush.
2. R&P eleven window bottom trims (3,6) and eleven window
bottom trim backers (8). Position and glue a bottom trim backer
centered over bottom of each window casing bottom - bottom
edges flush. Position and glue a bottom trim on each backer
centered with bottom edges flush.
3. R&P twenty two shutter fronts (11) and twenty two shutter
backs (11). Position and glue a shutter front centered over each
shutter back. All edges should be flush. Glue a shutter
assembly to each side of every window.
I) ASSEMBLY OF ROOF, ROOF TRIM, THIRD FLOOR PARTITION, CHIMNEYS, AND
SECOND FLOOR FIREPLACE
1. Before you can begin to put the roof on, you need to carefully “pop” off both chimney assemblies.
2. R&P front roof (4), back roof (3), eight pieces of gable trim (2).
3. Using tabs and slots, position and glue front roof then back roof.
4. R&P third floor partition. Position and glue third floor partition wherever you would like it.
5. Position and glue both chimney assemblies permanently in place.
6. Position and glue gable trims in place The four smaller pieces should be placed directly over the
larger pieces along the bottom edge.
7. Position and glue second floor fireplace permanently in place.
8. R&P three foundation pieces (4). One piece is longer than the other two. CAREFULLY lay your
house on its back. Position the longer foundation piece vertically in the center of the house and glue.
Position the shorter two pieces horizontally in the center of the two halves and glue.
J) ASSEMBLY OF FRONT DOOR TRIM
1. R&P front door (1), front door backer (2), and two front door gingerbread (3). Remove front door
plastic from plastic window sheets by carefully cutting along dotted lines. Glue plastic to wrong side of
front door backer. Glue backer to front door centered with edges flush. Glue gingerbread trims centered
in area under window near bottom of door.
2. R&P three pieces of front door trim (2,5). Position and glue these three pieces on edges surrounding
front door opening.
3. R&P front door casing trim (5). Position and glue on trim over top of casing with same shape.
4. R&P door top trim (2) and four “S” trims (2). Position and glue top trim over top of casing piece
 Loading...