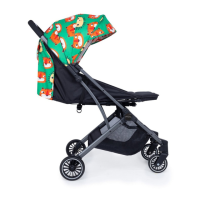
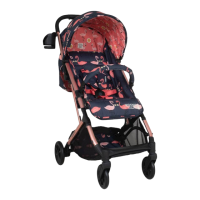
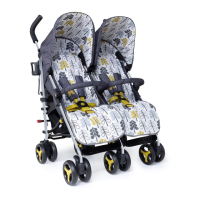
Chassis
12- Closing:
Note: The chassis cannot be closed with either the carrycot or the child car seat tted.
To close with seat unit tted, the seat unit must be forward facing and in the most
upright recline position.
While pressing the primary release button (1), pull both secondary levers (2) back.
Press down on the handle (3) until the autolock retains the chassis in the folded
position (4).
Fold handle inwards 2 to achieve the most compact fold (5).
Carrycot
13- Preparation:
Remove mattress and liner from carrycot (1).
Unfold both frame bars until they locked into positions (2).
14- Ret the liner into the carrycot and secure (1).
Ret the mattress over the liner in the carrycot (2).
Attach the carrycot handle to the carrycot (3).
There are a set of “D” ring located at the base of the carrycot for the attachment of a
separate safety harness approved to BS EN 13210 should this be required (harness not
supplied). Push the “D” rings through the slots in the liner (4).
15- Fitting:
Note: The carrycot can only be tted rearward facing as shown in illustration.
Dots are marked on the seat mounts and carrycot mounts (1). These should be on the
same side and aligned if tted correctly.
16- Removing:
Note: Please ensure that the carry handle is securely tted before lifting the carrycot
clear of the chassis.
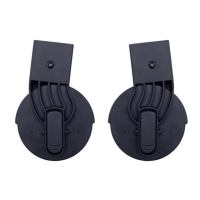
Carrycot carry
handle
17- Removing:
Carrycot hood
18- Fitting:
19- Adjusting:
20- Removing:
Carrycot apron
21- Fitting:
Removing is a reversal of this procedure.
Fitting & operation information:
Please refer to the following diagrams:
Chassis
1- Opening:
Release the autolock (1) and lift the handle upwards until the chassis locks into position
(2).
Check the chassis has locked in place.
2- Adjusting handle position:
Front wheel
3- Fitting:
4- Removing:
Rear wheel
5- Fitting:
6- Removing:
Brake
7- Applying:
8- Releasing:
Front swivel lock
9- Applying:
10- Releasing:
Basket
11- Removing:
Retting is a reversal of the procedure.
 Loading...