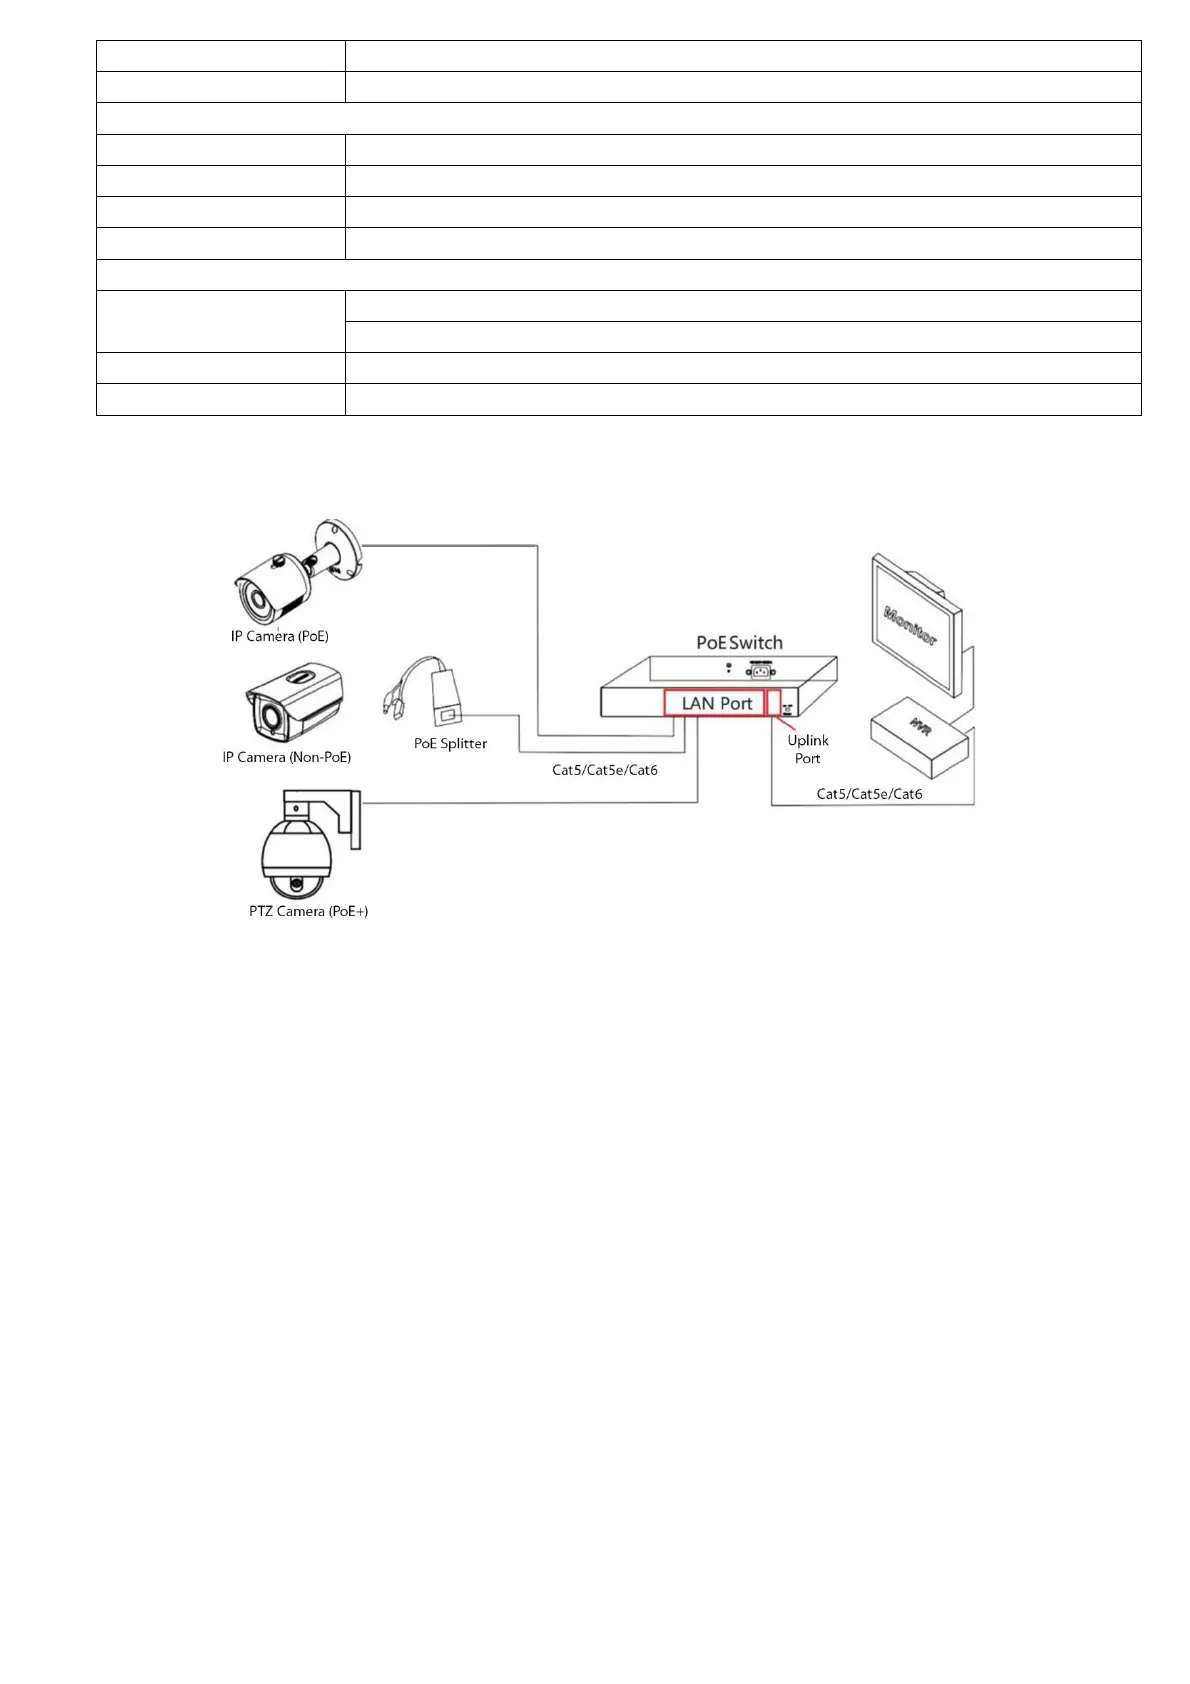
Application Diagram
Installation Precautions
To ensure the normal operation and service life of the switch, observe the following precautions
➢ Please install it in a well-ventilated room. Do not block the vents of the equipment.
➢ Do not place and install the switch in direct sunlight or near a heating device. Allow enough space (more than
10cm) to allow the device to dissipate heat properly.
➢ Do not install the device in a place exposed to moisture, dust, or soot.
➢ Please keep the equipment horizontally installed or installed in a stable place and take care to prevent the product
from falling.
➢ Do not place heavy objects on the device.
➢ Do not dribble or spill liquid on the device and ensure that no liquid filled items can be placed on the device to
prevent liquid from flowing into the device.
➢ The interface cables of the device must be routed indoors, and outdoors cables must not be routed to prevent
overvoltage and overcurrent caused by lightning.
➢ Please use the power adapter supplied with the product. Do not use other non-supported products.
The grid voltage must meet the input voltage range of the dedicated power adapter.
➢ Do not disassemble the device at will.
➢ Please transport, use, and store the equipment within the allowable humidity and temperature range.
➢ Be sure to plug the power plug into a GROUNDED socket or connect the ground wire to the grounding
screw of the housing.
Connection Cable
① Connect one end of the network cable to the switch port and the other end to a computer or other network device.
Note: Please connect all the computers or network device to be connected to the switch before connecting the power
adapter.
② Power on the device connecting to the switch. The corresponding indicator will light up. The installation is
complete.
 Loading...