Do you have a question about the Craftsman CMXEVBCV945L and is the answer not in the manual?
Never operate this unit when flammable materials or vapors are present due to fire/explosion risk.
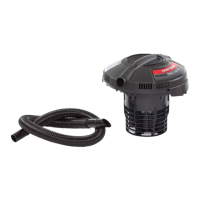
Always unplug the vacuum before removing the tank cover to prevent accidental startup.
Always wear eye protection to prevent serious injury from blown debris.
Follow basic precautions when using an electrical appliance, including unplugging, proper use, and avoiding hazardous materials.
Ensure proper grounding to reduce electric shock risk; consult qualified electrician if unsure.
Use 3-conductor grounding cords of adequate size; inspect for damage before use.
Steps to attach caster feet and casters to the vacuum tank.
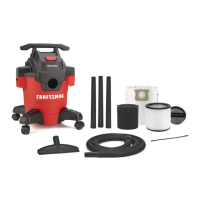
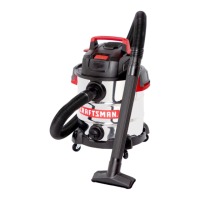
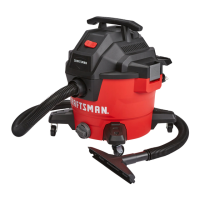
Attach caster feet, casters, and connect hose and extension wands for initial operation.
Essential to use a dry filter for dry pick up to protect the motor and prevent dust discharge.
Steps for correctly fitting the cartridge filter onto the lid cage and securing it.
Method for cleaning the cartridge filter by shaking or brushing off debris.
Procedure to detach the cartridge filter from the lid cage using the retainer.
Instructions for rinsing the cartridge filter with water and drying it completely.
Use filter bag for debris, disconnect power before installation, and inspect for damage.
Steps to remove the inlet deflector and attach the filter bag collar to it.
Remove dry filters and clean tank before wet operation.
Use cartridge filter for small liquids, foam sleeve for large liquids.
How to install, clean by shaking or rinsing, and check for tears in the foam sleeve.
Connect hose to blower port; wear eye protection.
Steps to safely drain liquid waste from the tank using the drain cap.
Understanding the float mechanism that stops suction when the tank is full of liquid.
Instructions on how to store tools and accessories on the vacuum.
Steps to wrap and secure the hose strap around the hose.
Place tools in the holder and store the vacuum indoors.
| Model | CMXEVBCV945L |
|---|---|
| Category | Vacuum Cleaner |
| Type | Wet/Dry Vacuum |
| Voltage | 120V |
| Hose Length | 7 feet |
| Included Accessories | Extension Wand |