4.1 Nebula pad installation
1.Obtain and print the bracket stl model in the U disk or
the official website download center;
2.Place the screen bracket on the side of the profile on
the right, and tighten it with 3 M5X10 screws and T-nuts;
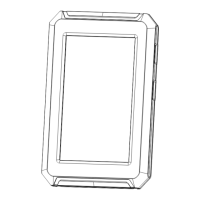
3.Align the Nebula pad with the bracket and slide down
to lock it tightly
4.Connect the display cable.
Model download path:
https://www.creality.com/pages/download Ecosystem
Creality Nebula Smart Kit
4. Installation steps(take Ender-3 V2 Neo as an example)
M5 T-nut M5 X10
4.2 G-Sensor and Nebula Camera Installation
M3*8 self-tapping screw
Connection to nebula screen
Note: Time-lapse photography files can be viewed on the Creality Cloud
03