13. Montera hårdlift
Justera ryggstödet till fullt liggläge och pla-
cera hårdliften i sittdelen.
Lås fast hårdliften med hjälp av säkerhets-
banden på sidorna som bilden visar.
14. Liggdelsfunktioner
Liggdelen är utrustad med avtagbart och
tvättbart innertyg. Under madrassen nns
ett mindre ryggstöd som kan xeras med
hjälp av stödbenen på baksidan.
Ytterligare madrass får ej överstiga tjocklek
på 15mm.
15. Hårdliftsvarning
Hårdliften är avsedd för barn som ej kan
sitta upp, rulla runt eller på egen hand ta sig
upp på knä. Barnets maxvikt: 9kg.
15b. Hårdlift och liggdel, montering
Öppna / fäll upp genom att höja stödbenen
under madrassen till sina upphöjda positio-
ner.
Kontrollera att hårdlift / liggdelen är korrekt
uppfälld genom att kontrollera att benen är
ordentligt låsta i sina positioner.
16. Din Comfort ska nu vara helt monterad
och klar för användning.
Hårdlift / Liggdel
VARNING: Denna produkt är endast avsedd
för ett barn som inte kan sitta upp utan hjälp
Använd endast på fast, horisontellt och torr
yta
VARNING: Låt inte andra barn leka utan
uppsikt nära liggdelen
VARNING: Använd inte om någon del är tra-
sig, trasiga eller saknas.
13 14
15 16
Liggdel
Hårdlift
12. Fälla ihop vagnen
Dra i ihopfällningshandtagen på båda sidor
(A) medan du fäller ryggstödet / chassit fram-
åt för att initiera ihopfällningen (B)
Lyft säkerhetsspärren på höger sida för att
slutföra ihopfällningen (C)
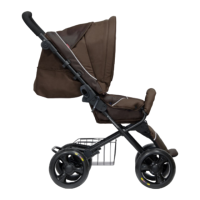
13. 5-punkt säkerhetssele
För spännena 1 & 2 i låshuset 3 och klicka
ihop tillsammans.
Justera fem-punktsbältet vid punkterna som
anges. För att lossa selen pressa ihop spän-
nena 1 & 2 och dra ur låshuset 3.
D-ringar nns för att uppfylla BS 6684.
Varning! För att undvika allvarliga skador,
använd alltid 5-punkts säkerhetssele.
Säkerhetsselen skall inte tas av.
12. Fälla ihop vagnen
Dra i ihopfällningshandtagen på båda si-
dor (A) medan du fäller ryggstödet / chassit
framåt för att initiera ihopfällningen (B)
Lyft säkerhetsspärren på höger sida för att
slutföra ihopfällningen (C)
13. 5-punkt säkerhetssele
För spännena 1 & 2 i låshuset 3 och klicka
ihop tillsammans.
Justera fem-punktsbältet vid punkterna som
anges. För att lossa selen pressa ihop spän-
nena 1 & 2 och dra ur låshuset 3.
D-ringar nns för att uppfylla BS 6684.
Varning! För att undvika allvarliga skador,
använd alltid 5-punkts säkerhetssele.
Säkerhetsselen skall inte tas av.
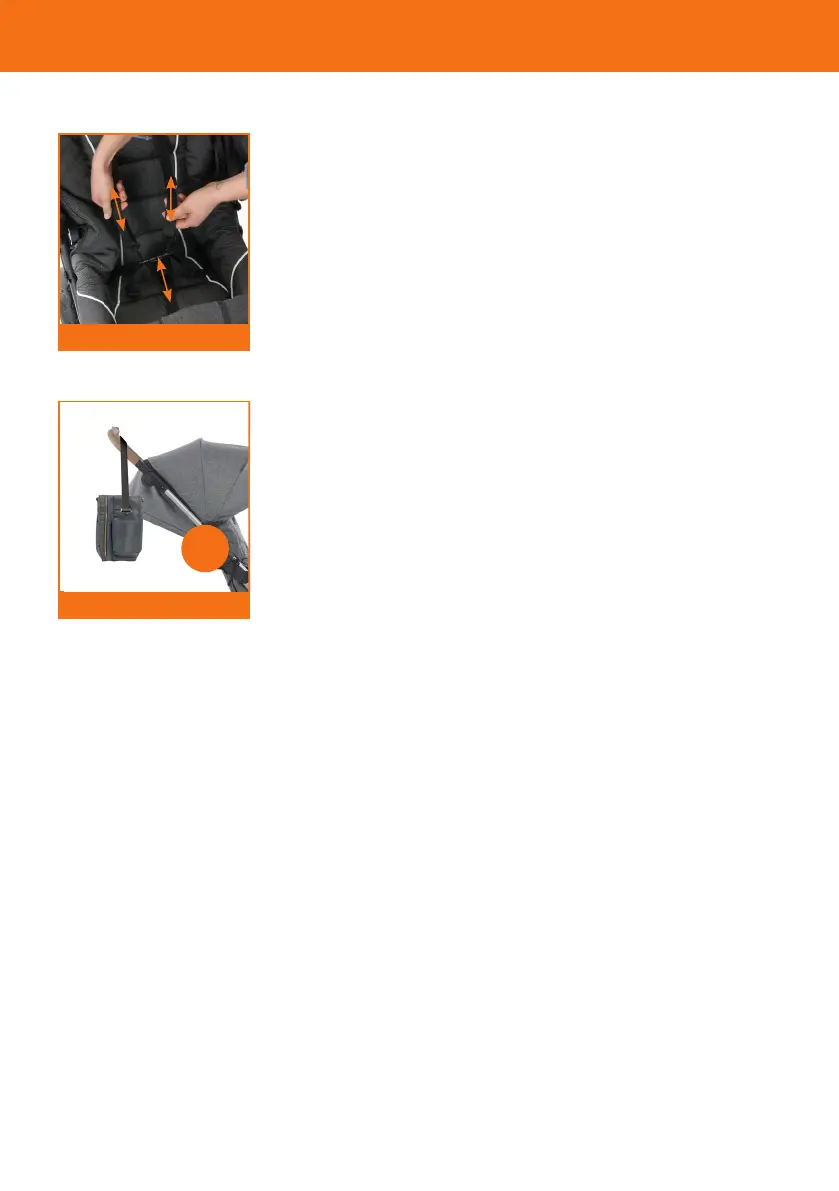
14. (XT Air*) Suetten kan förlängas med
hjälp av dragkedjan i suetten, och förlängs
då.
15 & 16. Vänligen notera att Compact 360
nns i två olika versioner. Standardutföran-
det är utrustad med EVA-hjul och XT Air ut-
förandet är utrustad med lufthjul.
instruktioner
13
1
2
3
14
15
EVA LUFT
16
14. Varning
All last som är fäst vid handtaget och/eller
på ryggstödets rygg och/eller på sidorna av
barnvagnen kommer att påverka vagnens
stabilitet.
12. Folding the chassis
Pull the folding handles on both sides (A)
whilst folding the backrest/chassi forward to
initiate the folding sequence (B)
Lift the safety latch on the right side to com-
plete the folding process (C)
13. 5-point safety harness
Feed the buckle tongues 1 & 2 into the
buckle housing 3 and click together.
Adjust your ve-point harness at the points
indicated. To unfasten the harness squeeze
in the buckle tongues 1 & 2 and pull out of
the buckle housing 3.
D-Rings are provided for attaching an extra
harness complying to BS 6684.
Warning. To avoid serious injury, always use
the 5-point safety harness.
The harness shall not be removed from the
seat.
14. (XT Air*) The canopy can be extended
with the zipper on the canopy, extending it.
15 & 16. Please note that there are two ver-
sions of the Compact 360, Regular and XT
Air. The Regular version is equipped with
EVA-wheels and the XT Air version is equip-
ped with Air wheels.
general instructions
13
1
2
3
14
15
EVA AIR
16
14
!
 Loading...