Installation
6-4
Installation of heaters (optional)
There are three critical areas if the application requires the use of heaters:
1. Proper mounting of the heater(s) on the heat exchanger(s).
2. Proper joining of heater lead wires and connecting wires.
3. Thermal anchoring of the lead wires to the heat exchanger(s).
Please contact Cryomech, Inc. if you have poor performance or need more specific details on
installation of the heaters.
Mounting the radiation shield (optional)
1. Clean the radiation shield with isopropyl alcohol.
2. Apply a small amount of Apiezon N grease or pure Indium foil on the shield mating
surface. Attach the radiation shield with brass screws. Tighten it evenly to the first
stage heat exchanger.
Connect the remote motor assembly’s flex line (if applicable)
1. Remove the dust plug from the Aeroquip fitting attached to the end of the remote
motor’s flexible line and place in the tool kit for future use.
2. Remove the dust cap from the cold head’s mating Aeroquip fitting (labeled “Motor”)
and place in the tool kit for future use.
3. Make certain the flat gasket is present and properly seated in the cold head’s Aeroquip
fitting. Reference Figure 6-1
4. With a dry, clean lint-free cloth remove any visible particles from the ends of the
Aeroquip couplings.
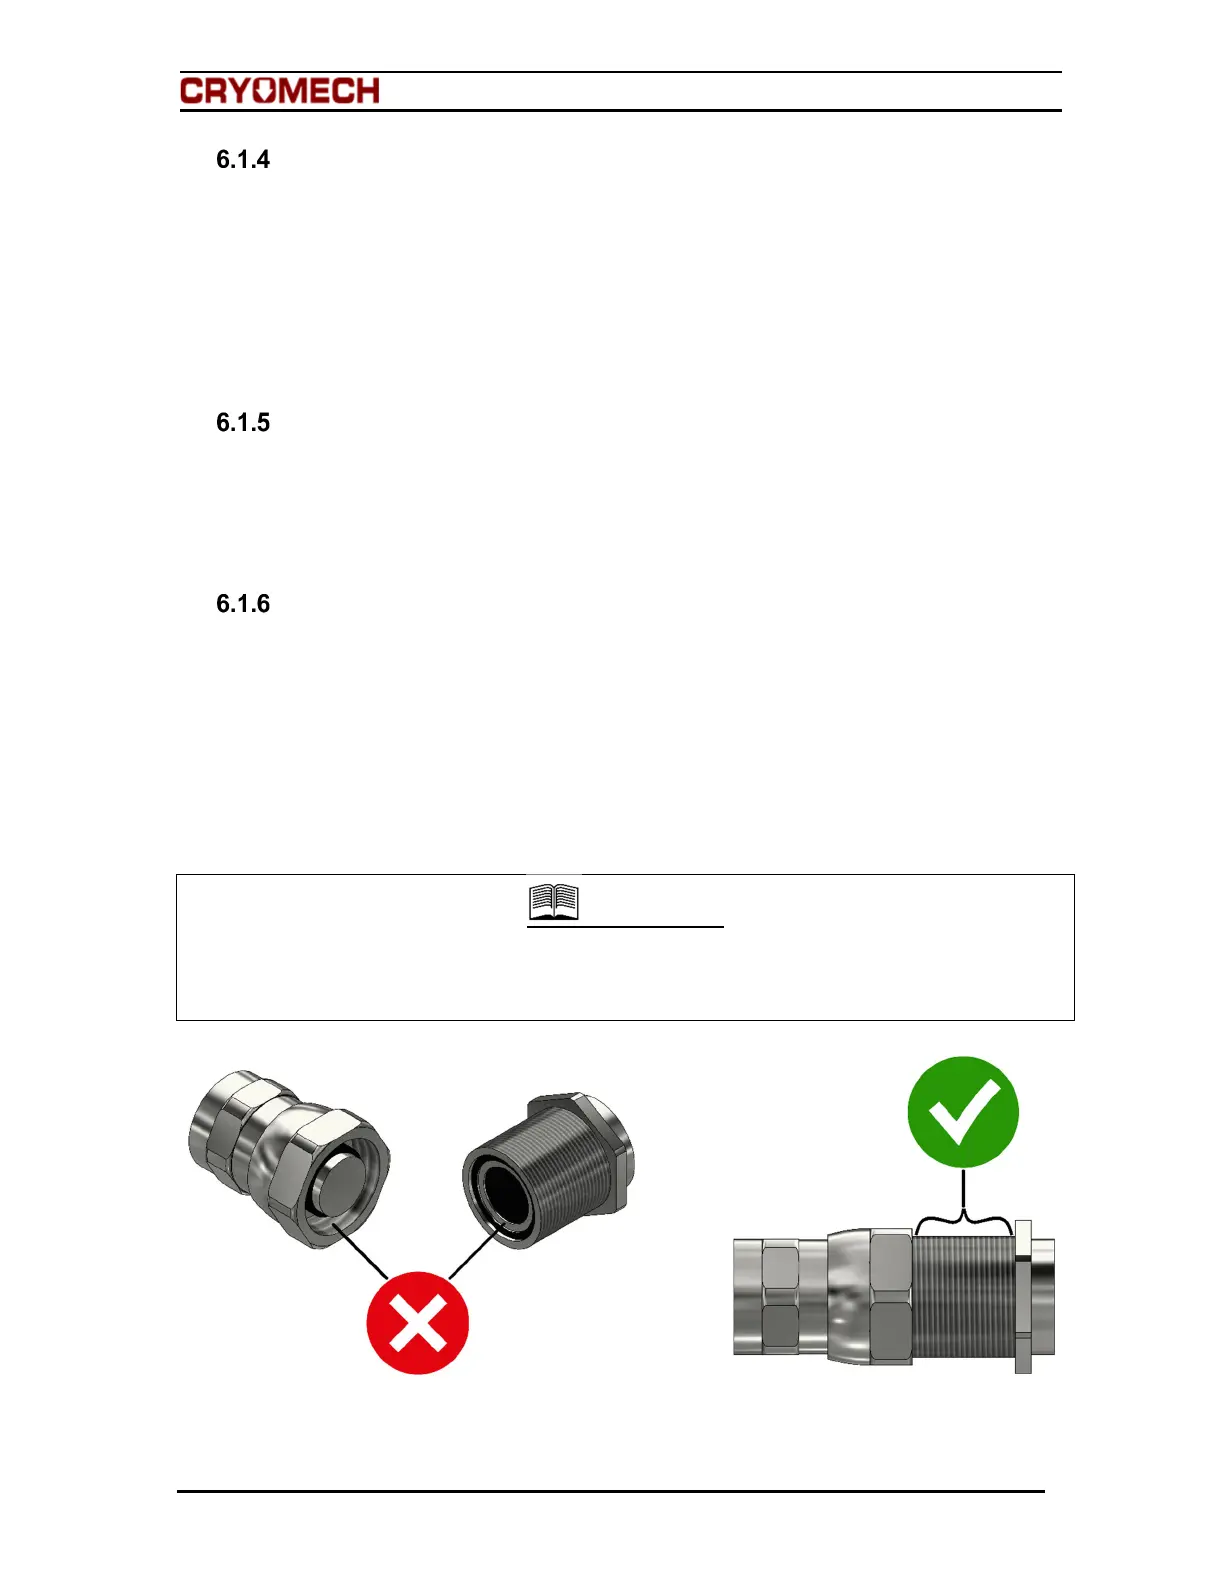
IMPORTANT
When connecting or disconnecting Aeroquips, Cryomech, Inc. recommends using a small amount of
dry Teflon spray lubricant. Follow the manufacturer’s instructions for its use. Do not spray lubricant
onto sealing surfaces of the Aeroquips. First, hand tighten Aeroquips, then spray small amount
lubricant on the threads of the male Aeroquip. See Figure 6-3.
Figure 6-3: Dry Teflon spray lubricant guidelines
 Loading...