Installation
6-4
Figure 6-4: Temperature Monitor
6.4 Connecting the Pressure Controller
The instrumentation cord also connects the condenser heater and pressure transducer to
the pressure controller.
1. Connect the 3 pin male condenser heat connector to the 3-pin female heater
output on the back of the HRC-110 pressure controller.
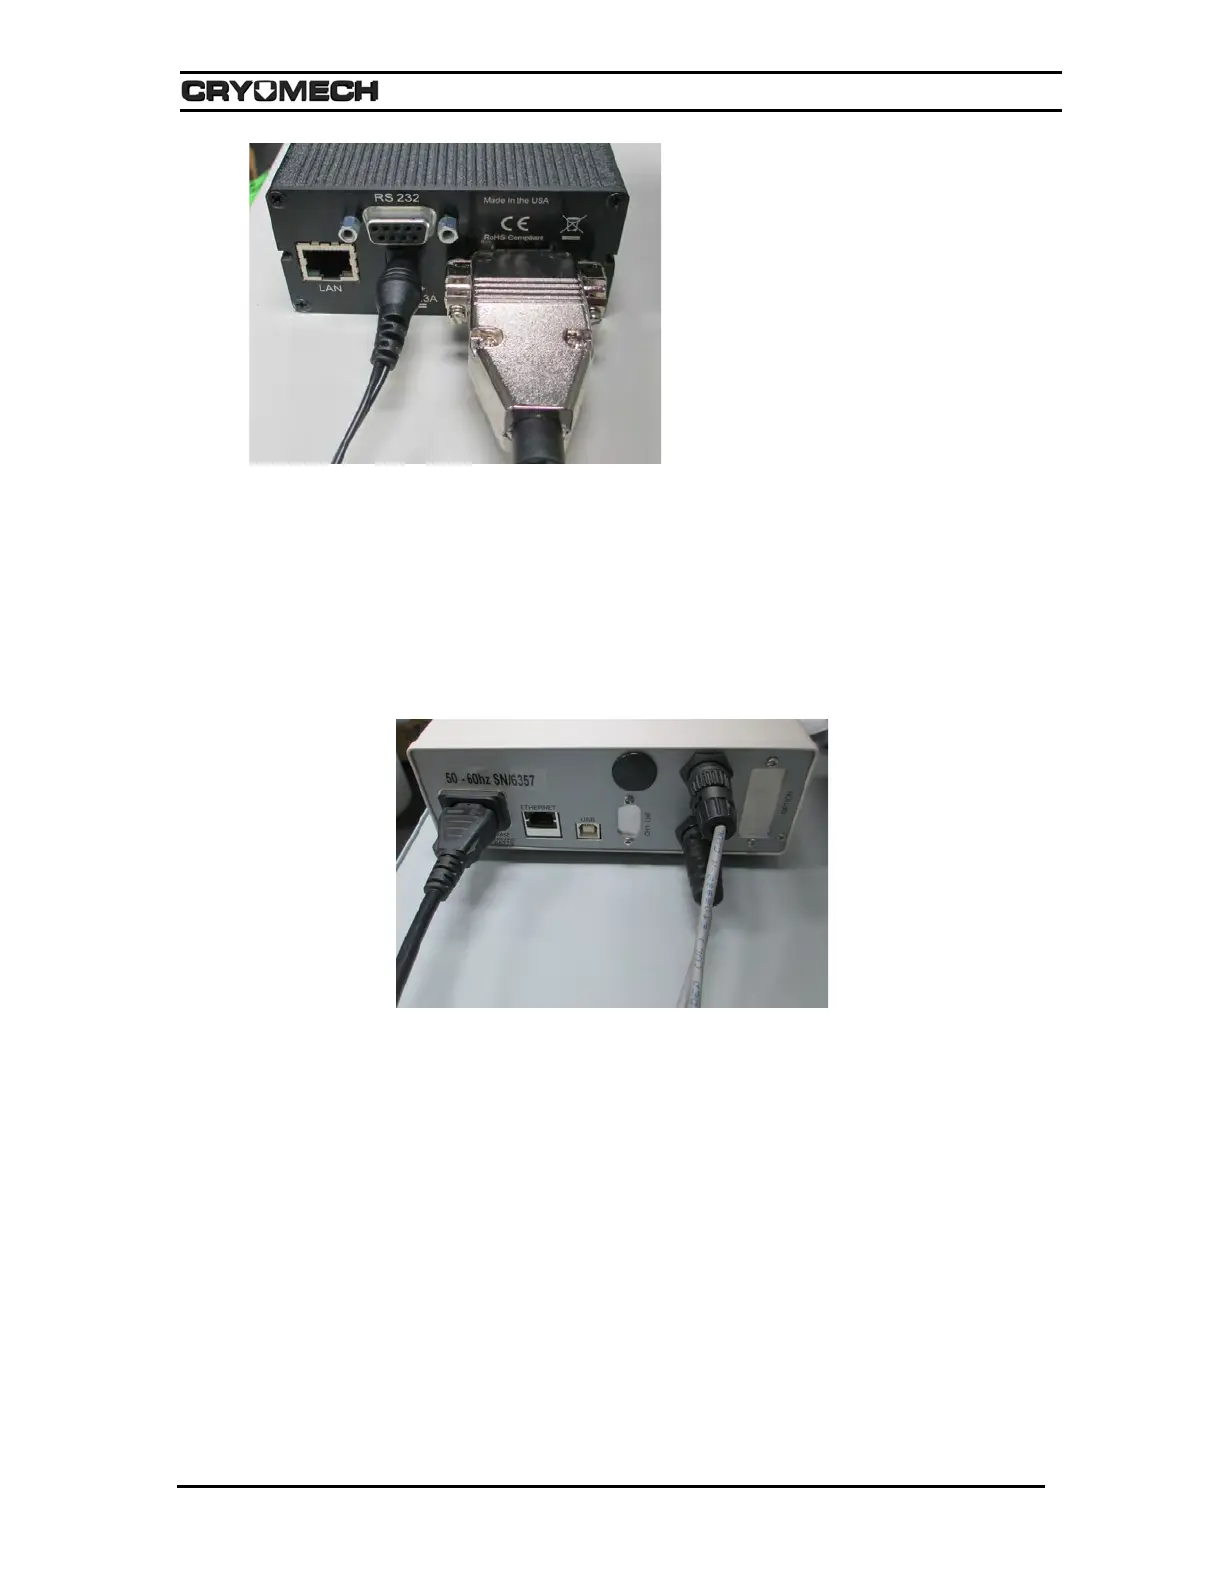
2. Connect the 4 pin male pressure transducer connector to the 4-pin female
transducer input on the back of the HRC-110 pressure controller. See Figure 6-5
3. Refer to the pressure controller manual for start up and operation instructions.
Figure 6-5: Pressure Controller Back Panel
6.4.1 Set the Pressure Controller
If your cryostat boil off rate is smaller than the liquefaction rate of the re-liquefier, it is
necessary to apply heat to the Pulse Tube condensing heat exchanger. This will ensure
that the system pressure remains above atmospheric pressure. Cryomech recommends
that you leave the pressure set point at 3psig. Please read the attached HRC-110
pressure controller manual for instructions on how to change this set point, if desired. The
pressure controller heater output ships disabled. Enter the main menu and enable the
heater output for pressure control.
6.5 Compressor installation
The entire section on compressor installation should be reviewed before installing the
compressor package.