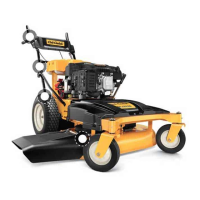
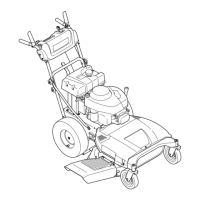
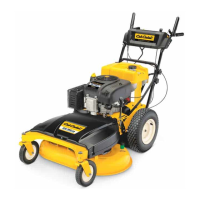
14
WARNING
Do not operate mower
without the belt cover
installed. Failure to
follow this instruc-
ti
on could result in
personal injury or
property damage.
Periodically inspect
the blade spindles for
cracks or damage,
especially if you strike
a foreign object.
Replace immediately
if damaged.
5
Deck Spindle
Grease fittings can be found on each deck spindle.
See Figure 5-5. Lubricate with 251H EP grease or an
equivalent No. 2 multi-purpose lithium grease. Using a
grease gun, apply two strokes (minimum) or sufficient
grease to the spindle shaft.
Blade Timing Belt
The cutting deck spindles are driven by timing (cogged)
belt, assuring that the deck blades are always perpen-
dicular to each other. At least once a season, or after
striking any foreign object, check the timing belt as
follows:
1. Remove the belt cover by removing the three screws
and washers which secure it to the frame. See
Figure 5-6.
WARNING: Do not operate mower
without the belt cover installed. Failure
to follow this instruction could result
in personal injury or property damage.
2. The top of each spindle pulley is marked with
an arrow. See Figure 5-7. The arrows should be
perpindicular (at a 90˚ angle) to each other.
If the arrows on the surface of each spindle pulley
are not perpindicular (at a 90˚ angle) to each other,
see your authorized dealer.
WARNING: Do not operate the
machine without the deck’s timing
belt properly set. Failure to follow this
instruction could result in personal
injury or property damage.
Figure 5-5
Maintenance
and
Adjustments
Adjustments
WARNING: Shut the engine off and
remove the ignition key before making
adjustments.
Handle Height
The upper handle is secured to two support bars that can
be adjusted to raise or lower the handle height. Adjust if
necessary as follows:
1. Remove the upper star knob and carriage screw from
both sides of the upper handle. See Figure 5-8.
2. Align one of the three holes on each support bar with
the holes on the handle and secure with previously
removed carriage bolt and star knob.
Cutting Deck Removal
WARNING: Before performing any
maintenance, lubrication or repairs, dis-
engage blades, stop engine and remove
key to prevent unintended starting.
Figure 5-6
Figure 5-7
 Loading...