CURRENTBACKYARD.COM4
Before rst use of grill:
• Remove all packaging and sale labels from the grill. Do not use
sharp tools to remove stickers.
• Wash cooking grate with warm soapy water, rinse and dry
thoroughly.
Before each use of grill:
• Use grill only on a rm and level surface to prevent tipping over.
• To prevent household circuit breakers from tripping, keep electric
controller dry and do not use other electrical products on the same
circuit.
• Check grease tray to make sure it is empty and is mounted under
the drain hole.
• The grease tray must be inserted into appliance and emptied
after each use.
• For stick-free cooking, apply a thorough coating of vegetable oil or
vegetable oil based spray to the cooking grate.
Turn grill on:
• Plug power supply cord into a properly grounded, GFI protected
outlet. If extension cord must be used refer to “Extension Cord Use
and Safety” on page 2.
• Press power button to turn on controller. Light ring will turn blue
indicating controller is ready for use.
• Rotating control knob will adjust temperature 5°F up or down. Press
knob to conrm desired temperature.
• Light ring will pulse red until SET temperature is reached, then will
glow solid red. Temperature display will alternate between SET and
ACTUAL temperature until SET temperature is reached.
• To adjust temperate, turn clockwise to raise the temperature or
counterclockwise to lower the temperature. Press the control knob
to SET the DESIRED temperature.
• For further instruction on controller use, see “Quick Start” on page 5.
• To convert to °C, press Timer and Smart Clean buttons together.
Changing between °F and °C can only be done while unit is “ON”.
Grilling:
• For best results, cook with the lid closed to hold in heat and provide
complete cooking.
• Temperature display on the controller indicates the cooking
temperature inside the grill.
• Controller setting for various foods are dependent upon outdoor
conditions and personal cooking preferences.
• If you have an appliance problem see the “Troubleshooting Section”.
Turn grill off:
• To turn controller/grill off, press and hold the power button for 3
seconds until the display turns off.
• Unplug cord from outlet.
Cleaning electrical controller:
• Clean controller face by wiping with a soft, dry cloth.
Controlling grease res:
• To aid in controlling grease res use the following precautions:
• Keep grill free from grease; chance of re is greatly increased by
grease buildup.
• Trim excess fat off meat and use less fatty cuts of meat to reduce
chance of grease res.
• If are-up occurs during cooking reduce controller setting and close
lid.
• If are-up continues turn off the controller and unplug the power
cord.
• Clean the heating element tray assembly under the heating element
at least once a season, more often with heavy use.
Cleaning your grill:
• Excess build up of burned grease and food particles will reduce the
grill’s cooking performance. To obtain optimum performance:
• Clean the heating element tray plate assembly and frame at
least once a season, more often with heavy use.
• Using a mild detergent or hot soapy water, moderately scrub
surface of the heating element tray assembly with a plastic
or brass bristle brush.
• Clean cooking grates regularly with warm soapy water or a
baking soda and water solution. Use non-abrasive scouring
powder for stubborn stains.
• Your Current cooking grates are made from anodized aluminum,
and will take on seasoning over time. They should get darker and
eventually turn black. This is intended, and can help improve the
performance of the product.
SAFETY TIPS
• If a bristle brush is used to clean any of the grill cooking surfaces,
ensure no loose bristles remain on cooking surfaces prior to grilling.
It is not recommended to clean cooking surfaces while grill is hot.
Do not clean the cooking grate with a scraper, sharp tool or putty
knife.
• It is not recommended to clean the cooking grates in a dishwasher.
Storing your grill:
• Clean cooking grate.
• Store grill in weather protected area or under grill cover when not
in use.
• Always unplug your grill prior to storage.
USE AND CARE
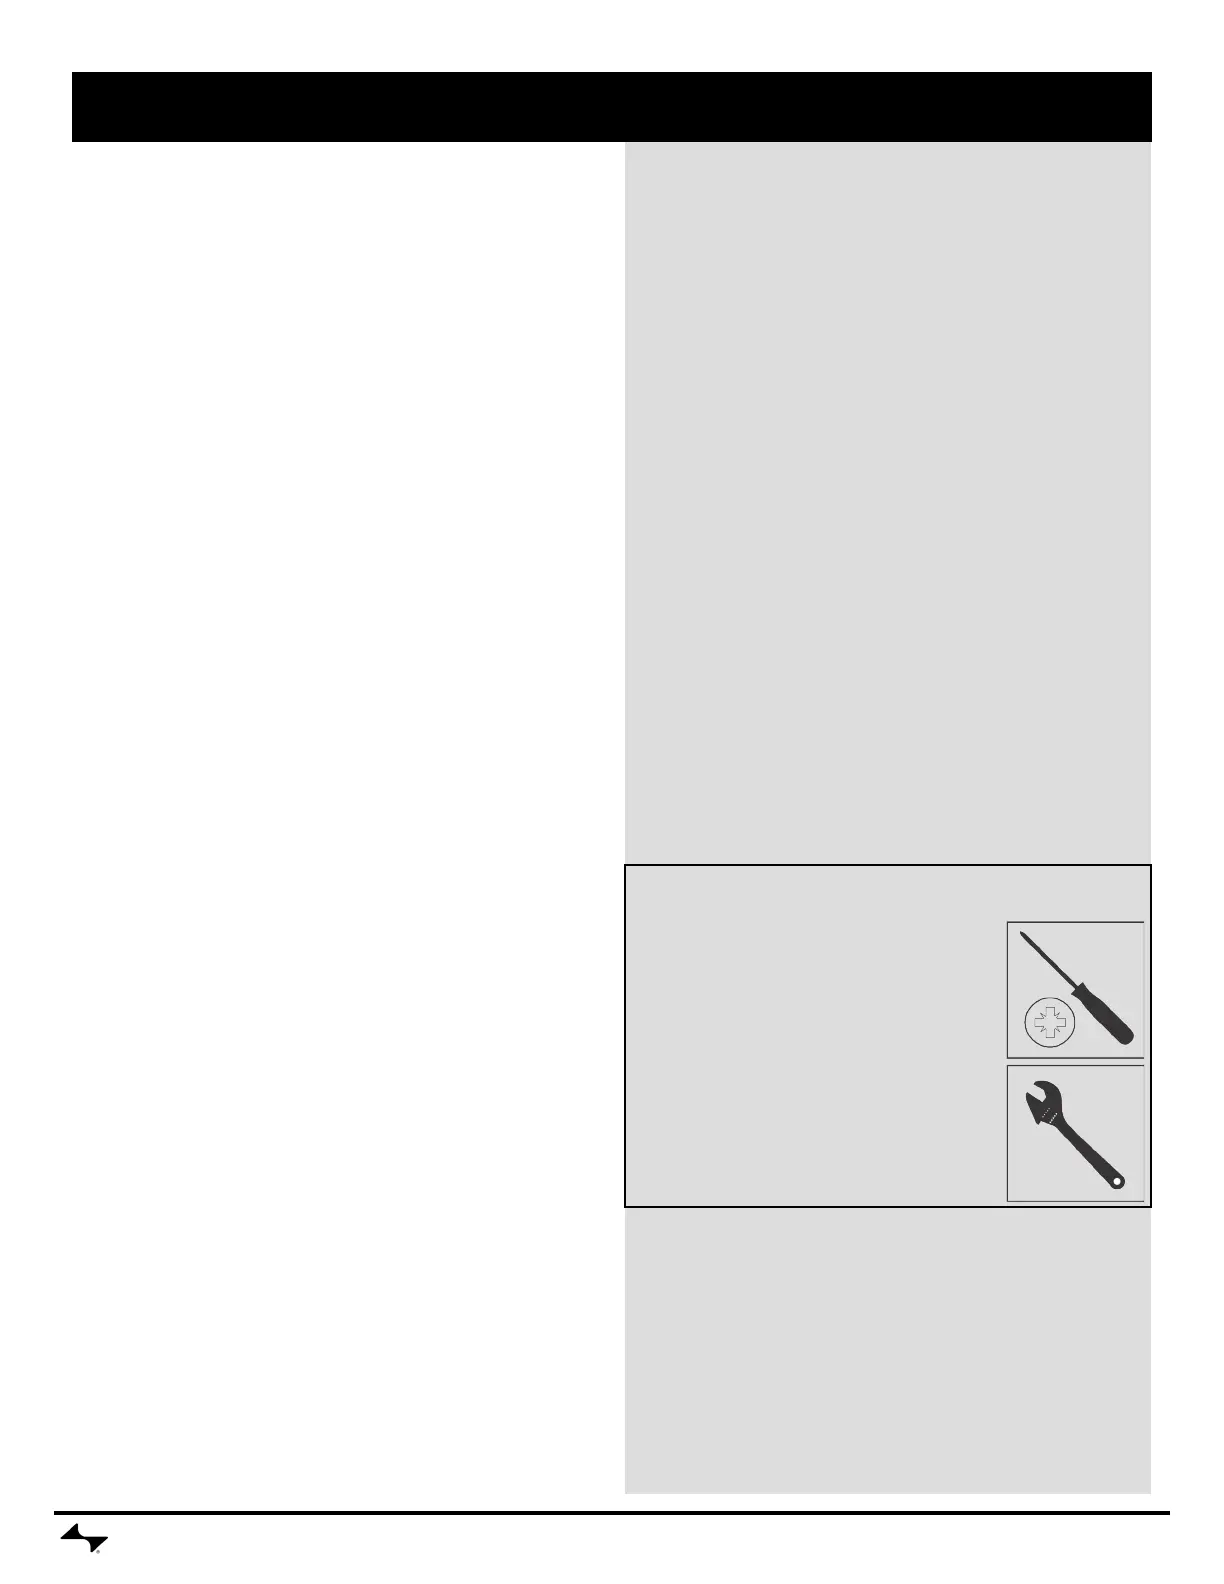
Adjustable Wrench (or 7/16” combo wrench)
(Not included)
Tools Required for Assembly
Phillips Screwdriver
(Included)
 Loading...