Network Setup
115
• Enter the MAC address of the DHCP client.
• Enter the reserved IP address for the DHCP client.
Click Submit.
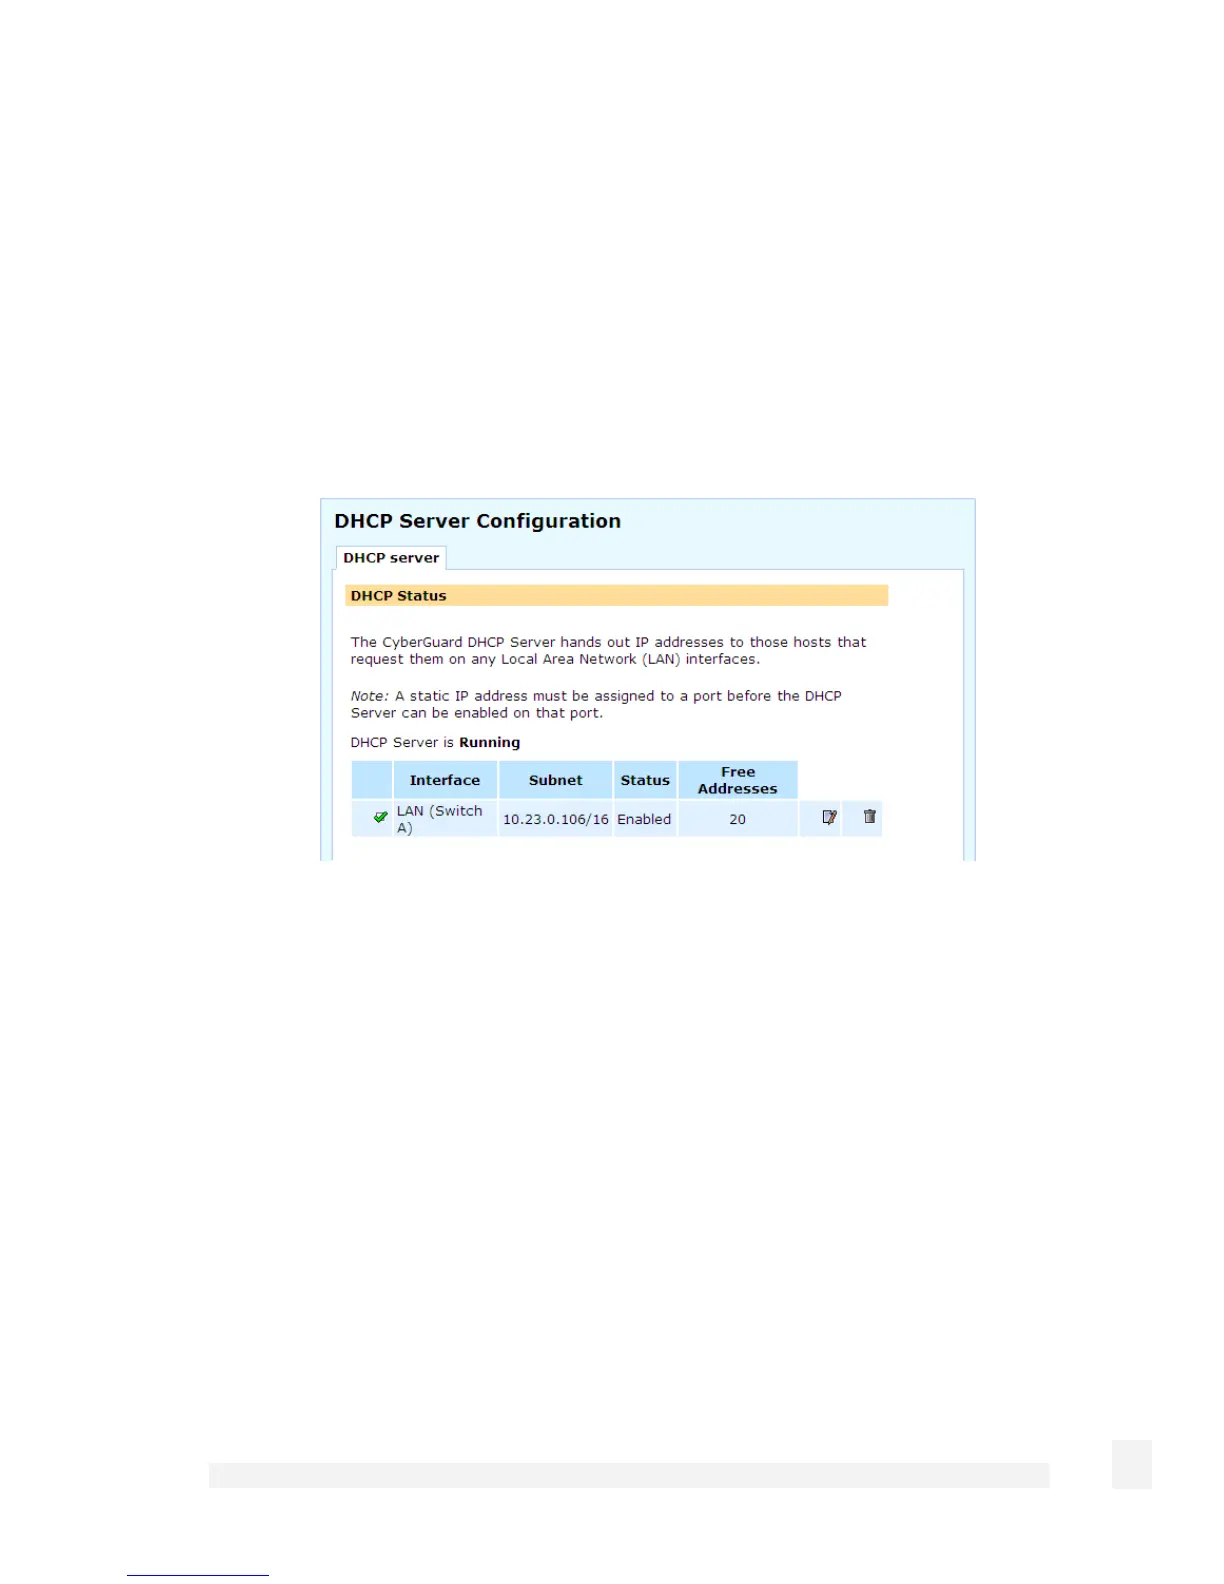
DHCP status
This main DHCP server page displays the status for each interface on which the DHCP
server is running. There are Edit, Delete and Enable/Disable icons displayed for each
Interface.
The Subnet is the network on which DHCP server is handing out addresses. Free
Addresses displays the number of remaining available IP addresses that can be
distributed. You may need to increase the number of IP addresses to hand out if this
value is 0.
DHCP Proxy
The DHCP proxy allows the CyberGuard SG appliance to forward DHCP requests from
the LAN to an external server for resolution. This allows both static and dynamic
addresses to be given out on the LAN just as running a DHCP server would.
To enable this feature, specify the server which is to receive the forwarded requests in
Relay Host. This server must also be configured to know and accept requests from the
CyberGuard SG appliance's LAN. Then check Enable DHCP Relay and click Apply.
 Loading...